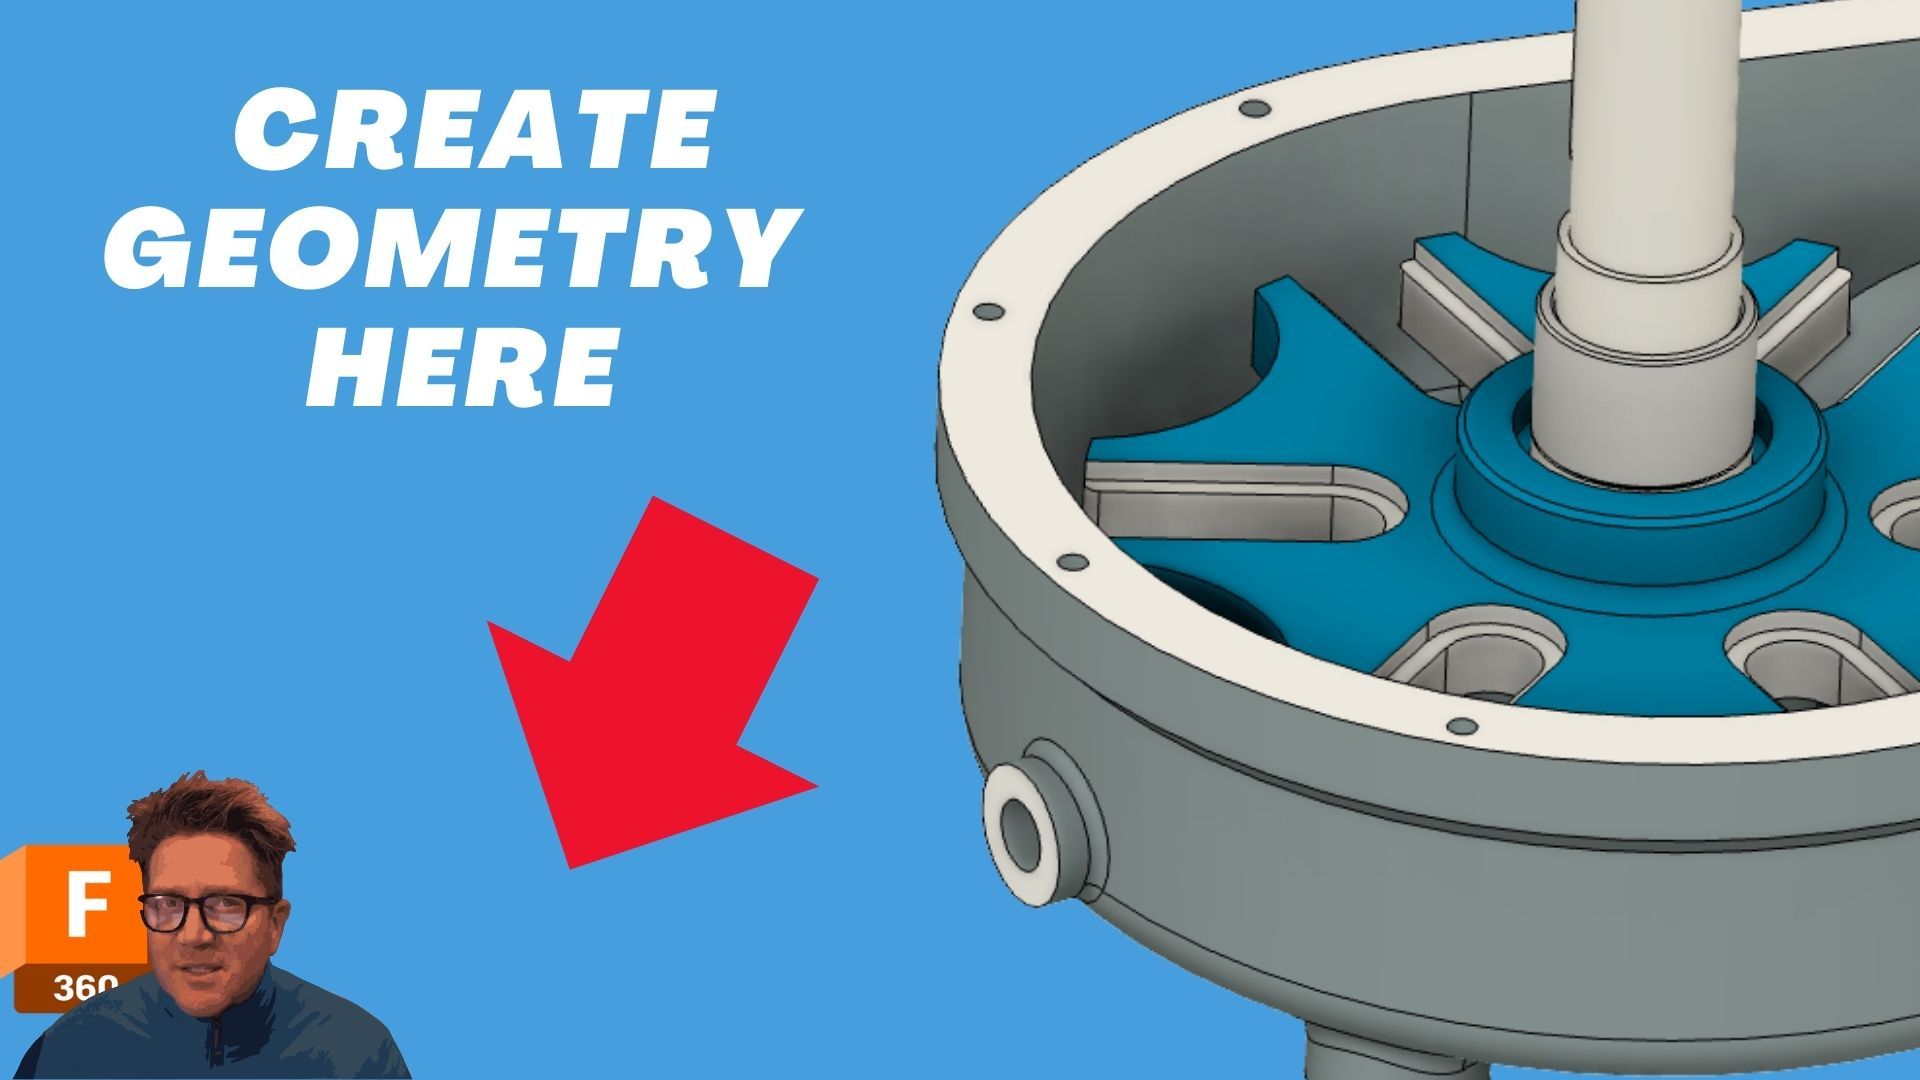
How to Create Geometry Anywhere with Construction Planes in Fusion 360
Apr 25, 2025If you're struggling to create geometry off in space because your default planes aren't where you need them to be, you're in the right place. Let’s go over how you can design anywhere using construction planes in Fusion 360.
🔹 Getting Started: Offset Plane
Let's start with the Offset Plane. This is one of my favorite tools because it's the quickest way to create a plane based on an existing face or plane.
Simply select a face, drag out a little bit, type in the distance you want, and hit Enter. Now you have a construction plane you can sketch and design on. It’s very cool and opens up a lot of flexibility.
🔹 Construction Planes Menu
When you go up to the Construct menu, you’ll find a series of different plane options. I usually start with Offset Plane.
It’s important to know that when you start a brand new design, Fusion 360 gives you three default planes: Front, Top, and Right. In the browser, they’re labeled as XY, XZ, and YZ.
Default Planes Are Infinite
These planes are actually infinite. Even though they appear small on the screen, you can sketch anywhere that would align with the infinite plane’s position.
🔹 Working with Construction Planes
When you create a new construction plane, a Construction folder appears in your browser. This is where your reference planes will live.
You can drag their size to make them easier to see, but this only affects the visual scope—it doesn’t change their position in space. You can also toggle their visibility on and off.
Note: You cannot stretch or resize the original three default planes.
🔹 Creating Planes Based on Faces and Points
Let's say you want to create a plane like a face but located somewhere else in the design. Choose Offset Plane and select the face you want to reference. You can drag the plane out, type in a value, or select a point in space.
Offsetting to a Point
If you select a vertex, the new plane will align based on distance—not directly attach to the vertex. For example, if the vertex is 198mm from the starting face, the offset plane will stay at 198mm even if the model changes.
Using "To Object" Option
If you truly want the plane to stay attached to a specific point, select the To Object option. Then select the vertex or a sketch point you care about. This way, if you modify the model, the plane dynamically updates to stay attached to that vertex.
🔹 Dynamic Relationships with Sketches
Suppose you need to create a plane above your model. Select a bottom face, offset it upwards, and click OK. Now you can create a sketch on this new plane, like a cylinder running downward.
The best part? The sketch is dynamically linked. If you move the reference plane up or down later, the sketch updates with it!
🔹 Do You Really Need a New Plane?
Something that often comes up in beginner classes is, "How do I create a plane right here on this face?"
Most of the time, you don’t need to create a new plane. Just click Create Sketch and select the face. You can sketch directly on any flat face or plane without extra steps.
🔹 Planes as Splitting Tools
Another powerful use of construction planes is splitting bodies. If you have an offset plane exactly where you want it:
- Select the plane
- Select the body
- Use the Split Body tool
This will divide your part into two bodies, which you can hide or remove as needed.
✅ Final Thoughts
Construction planes are essential for creating geometry anywhere you need in Fusion 360. They offer flexibility for sketches, references, and even splitting bodies for more advanced designs.
Thanks so much for watching and reading—I'll see you in the next tutorial!

