
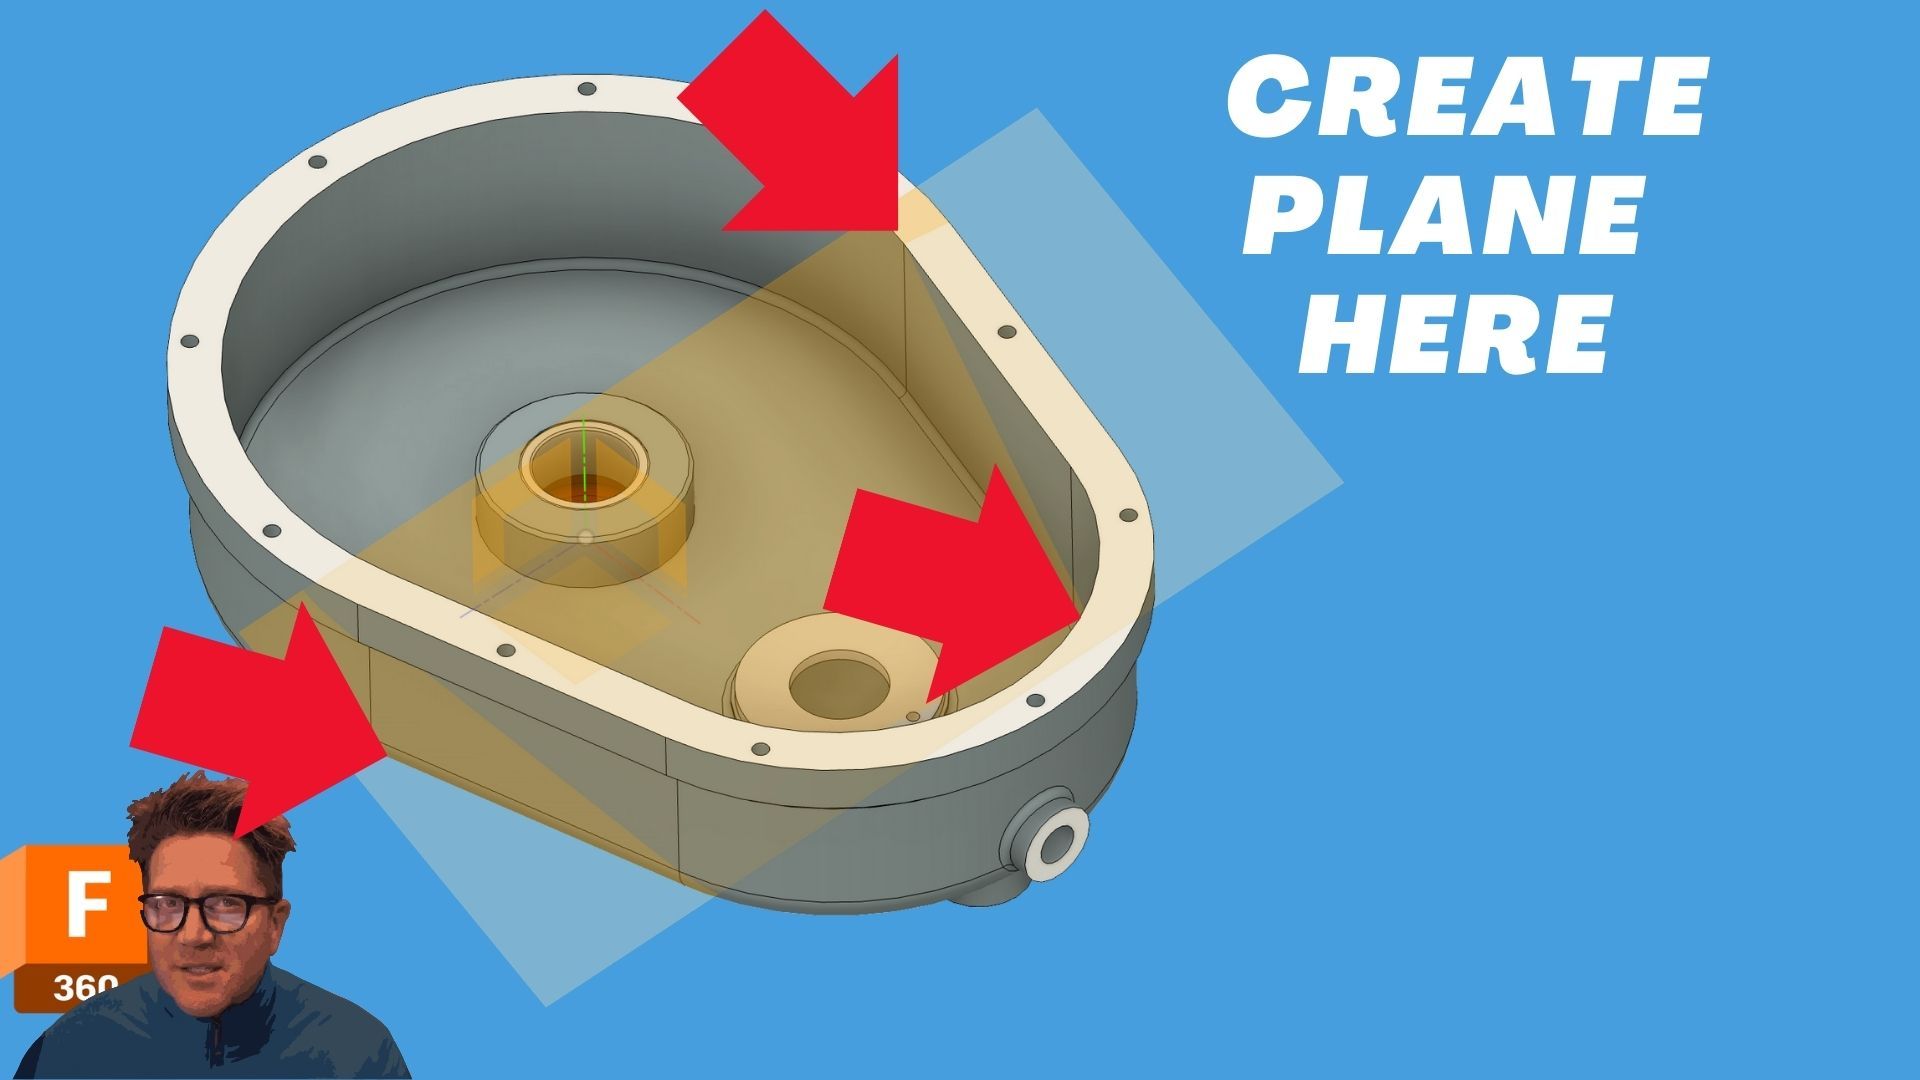
How to Create a Plane Through Three Points in Fusion 360
May 01, 2025Table of Contents
- Introduction: What Is a Plane Through Three Points?
- How to Create the Plane
- What Points Can Be Selected
- Bonus: Use It as a Cutting Plane
- Conclusion: A Flexible Custom Plane Tool
- Expandable Transcript
🎥 Watch the Tutorial
Introduction: What Is a Plane Through Three Points?
Fusion 360 offers a powerful tool that allows you to create a custom construction plane defined by any three points in your design. This is perfect for situations where none of the default planes (XY, YZ, XZ) align with your geometry, and you need a plane in space that reflects your model’s design intent.
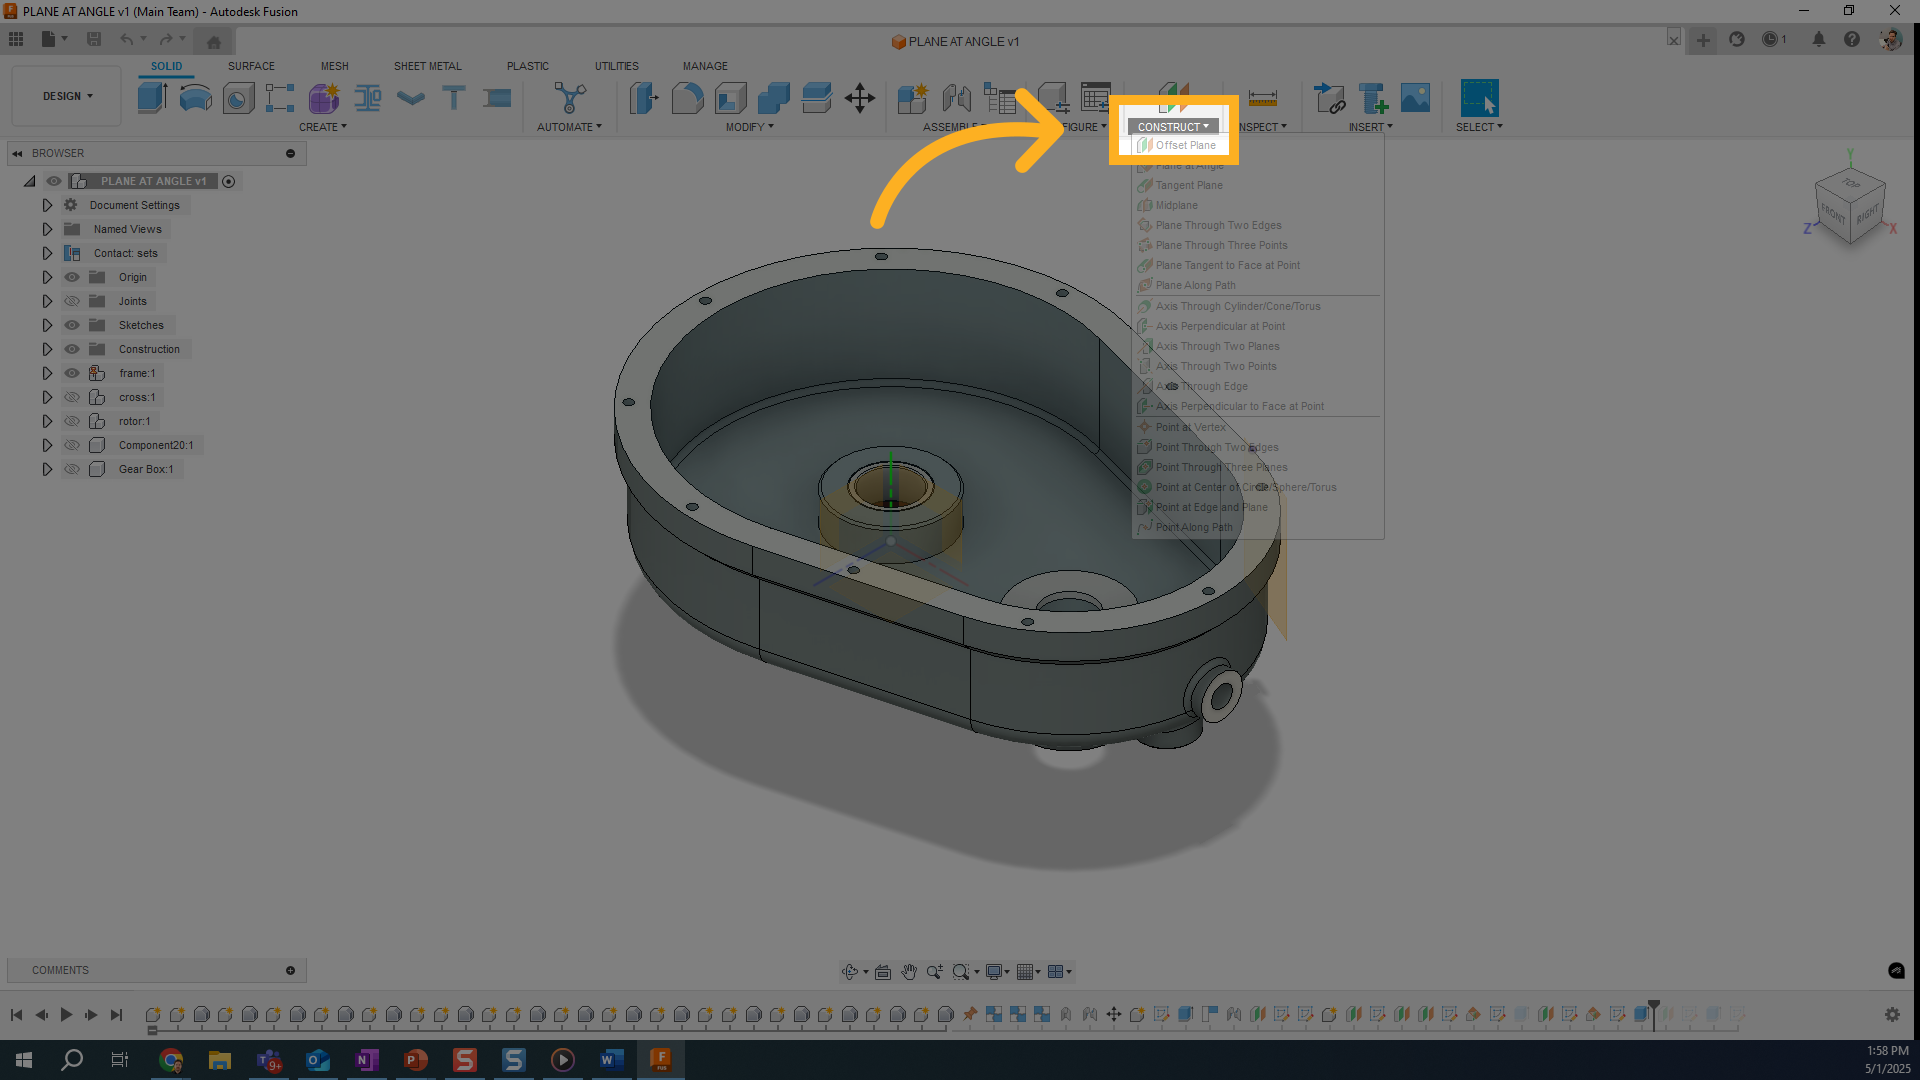
1. Click "Design Toolbar - Construct"
Reopen the toolbar to adjust viewing settings, ensuring you have the best perspective for your work.
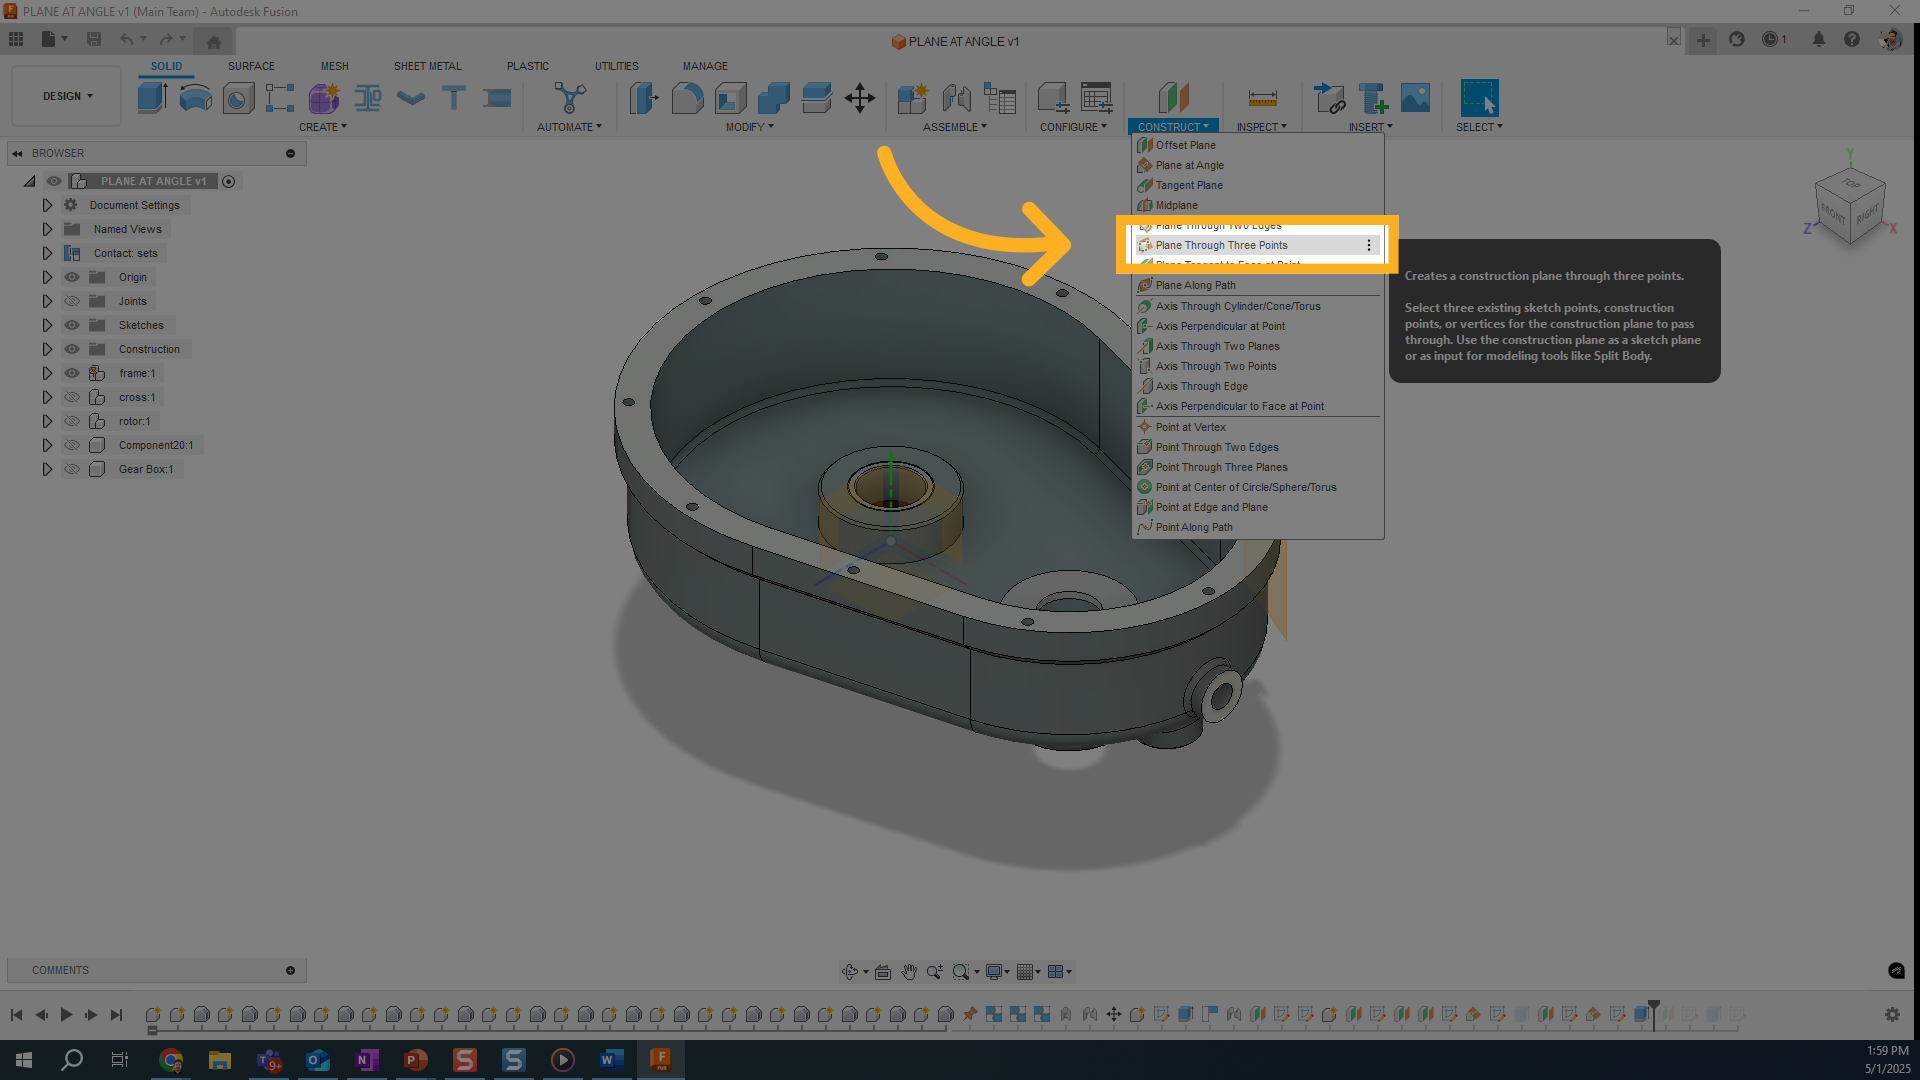
2. Click "Plane Through Three Points"
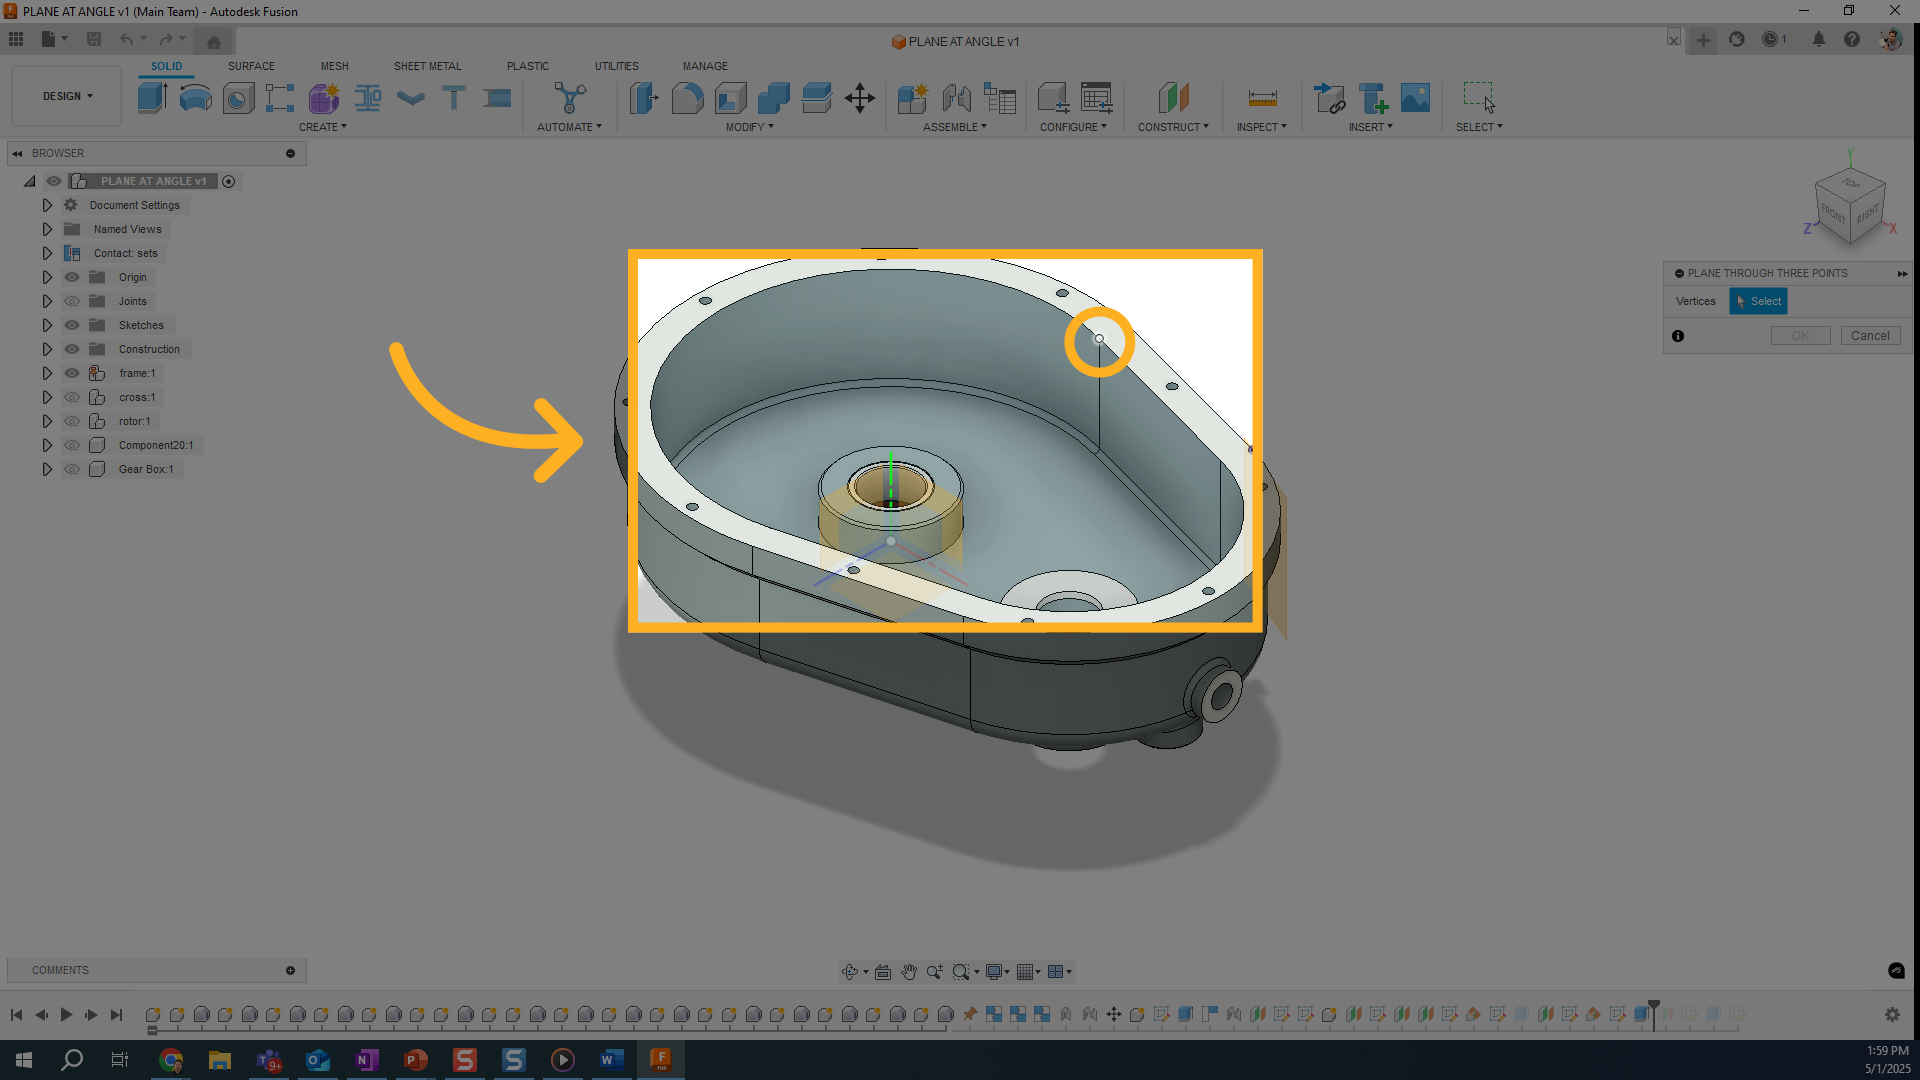
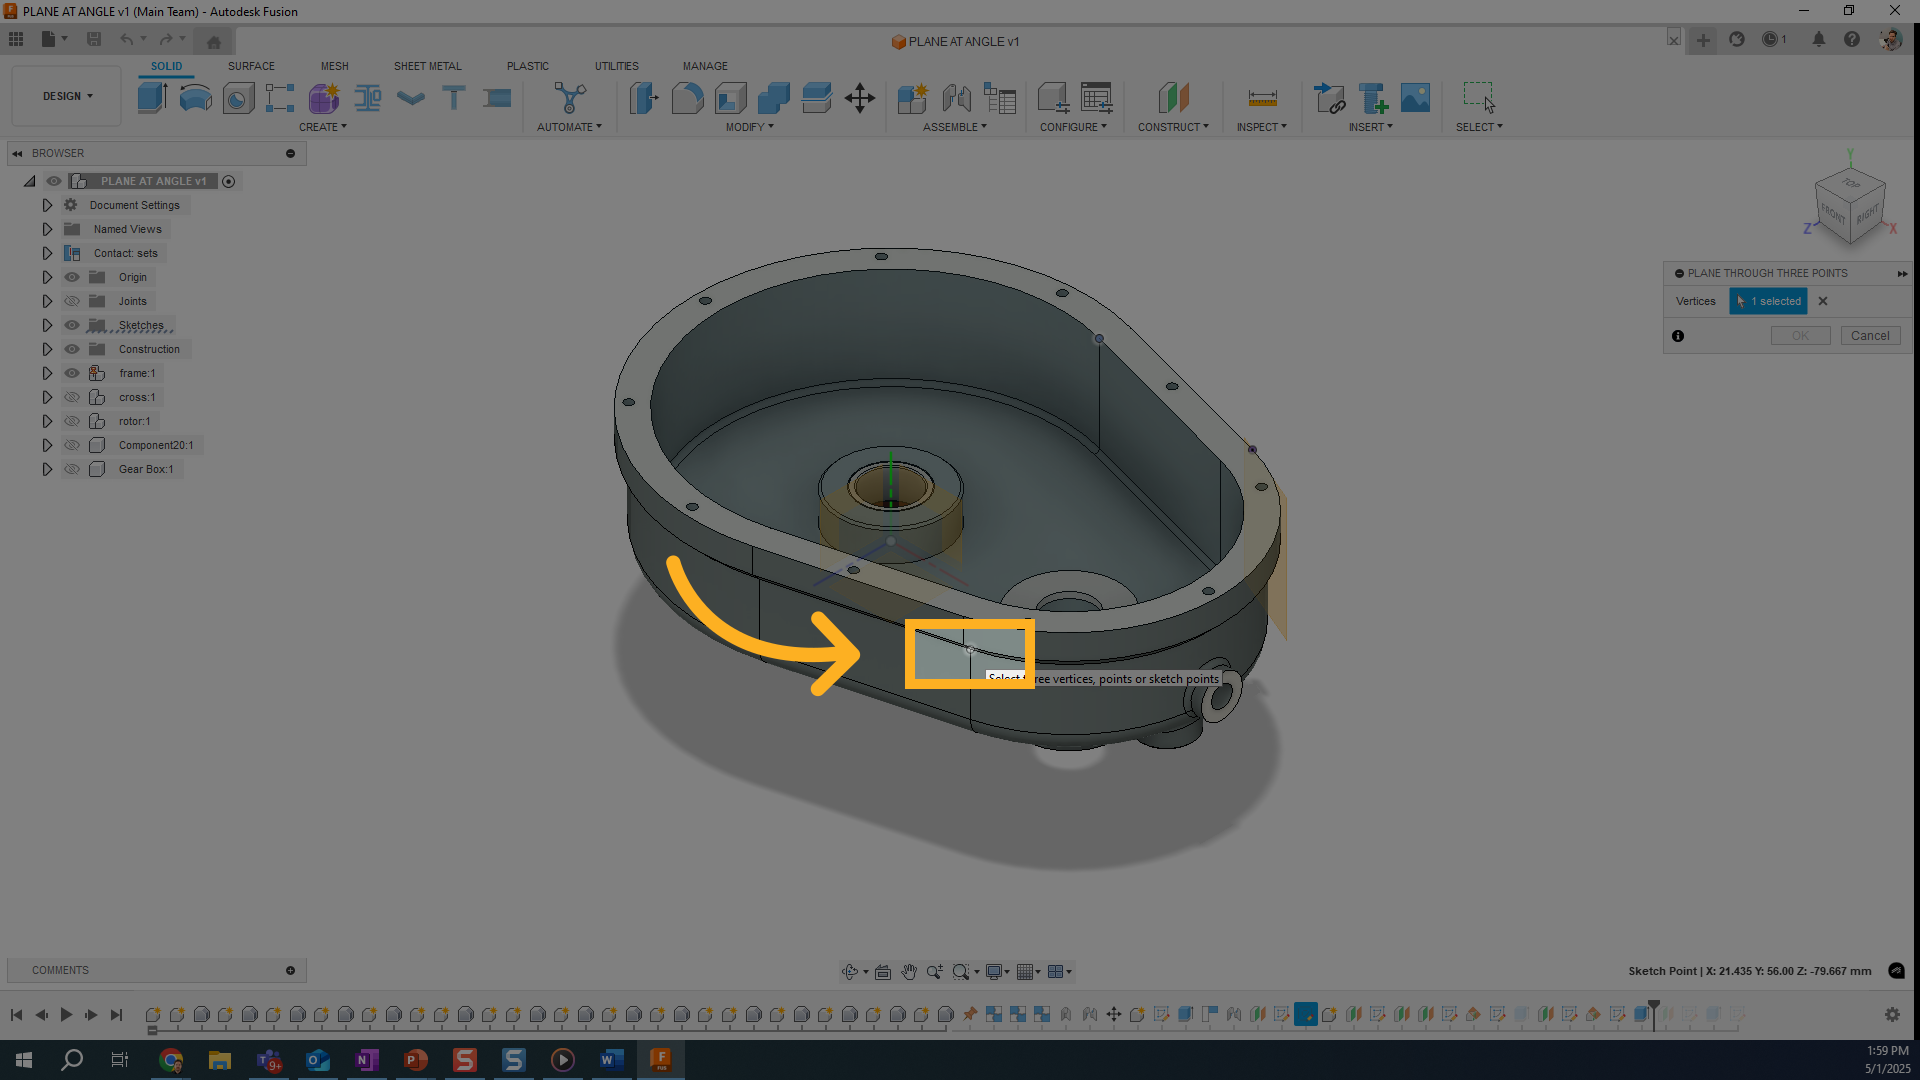
3. Click here
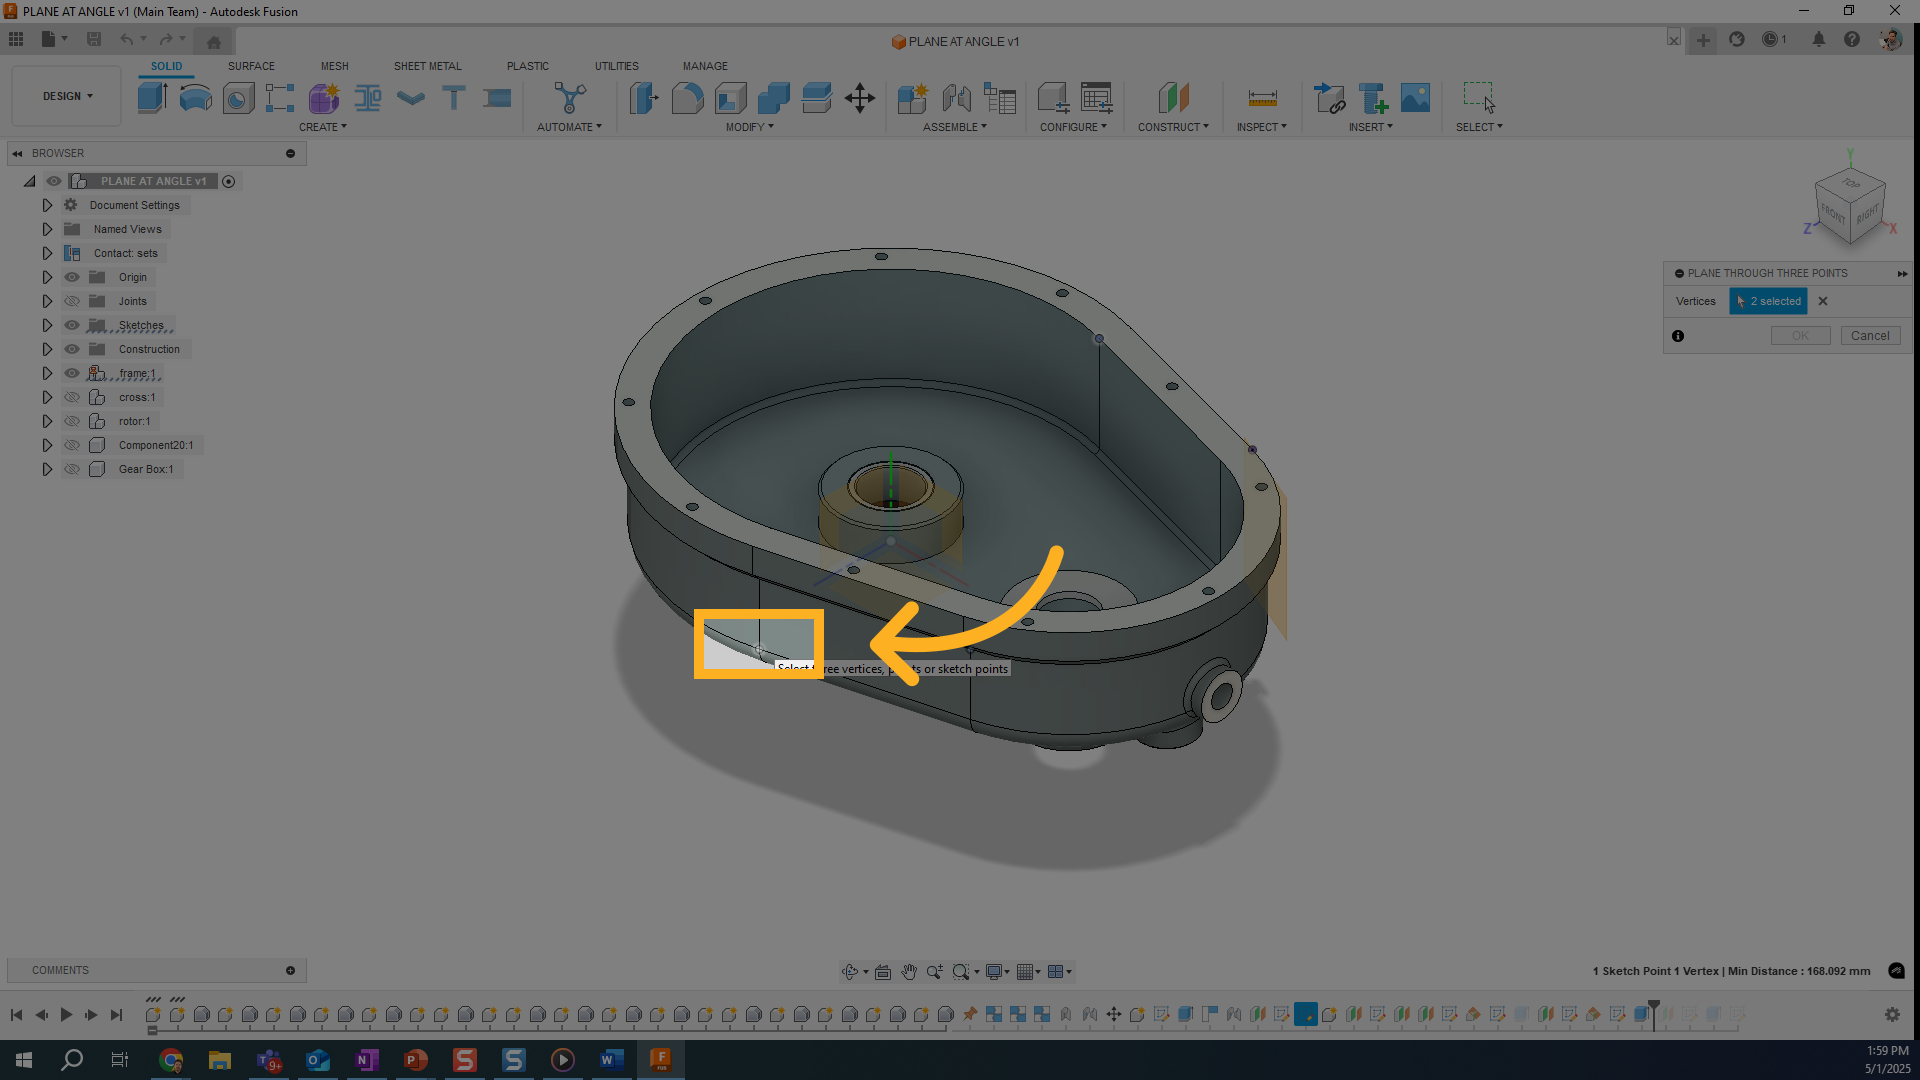
4. Click here
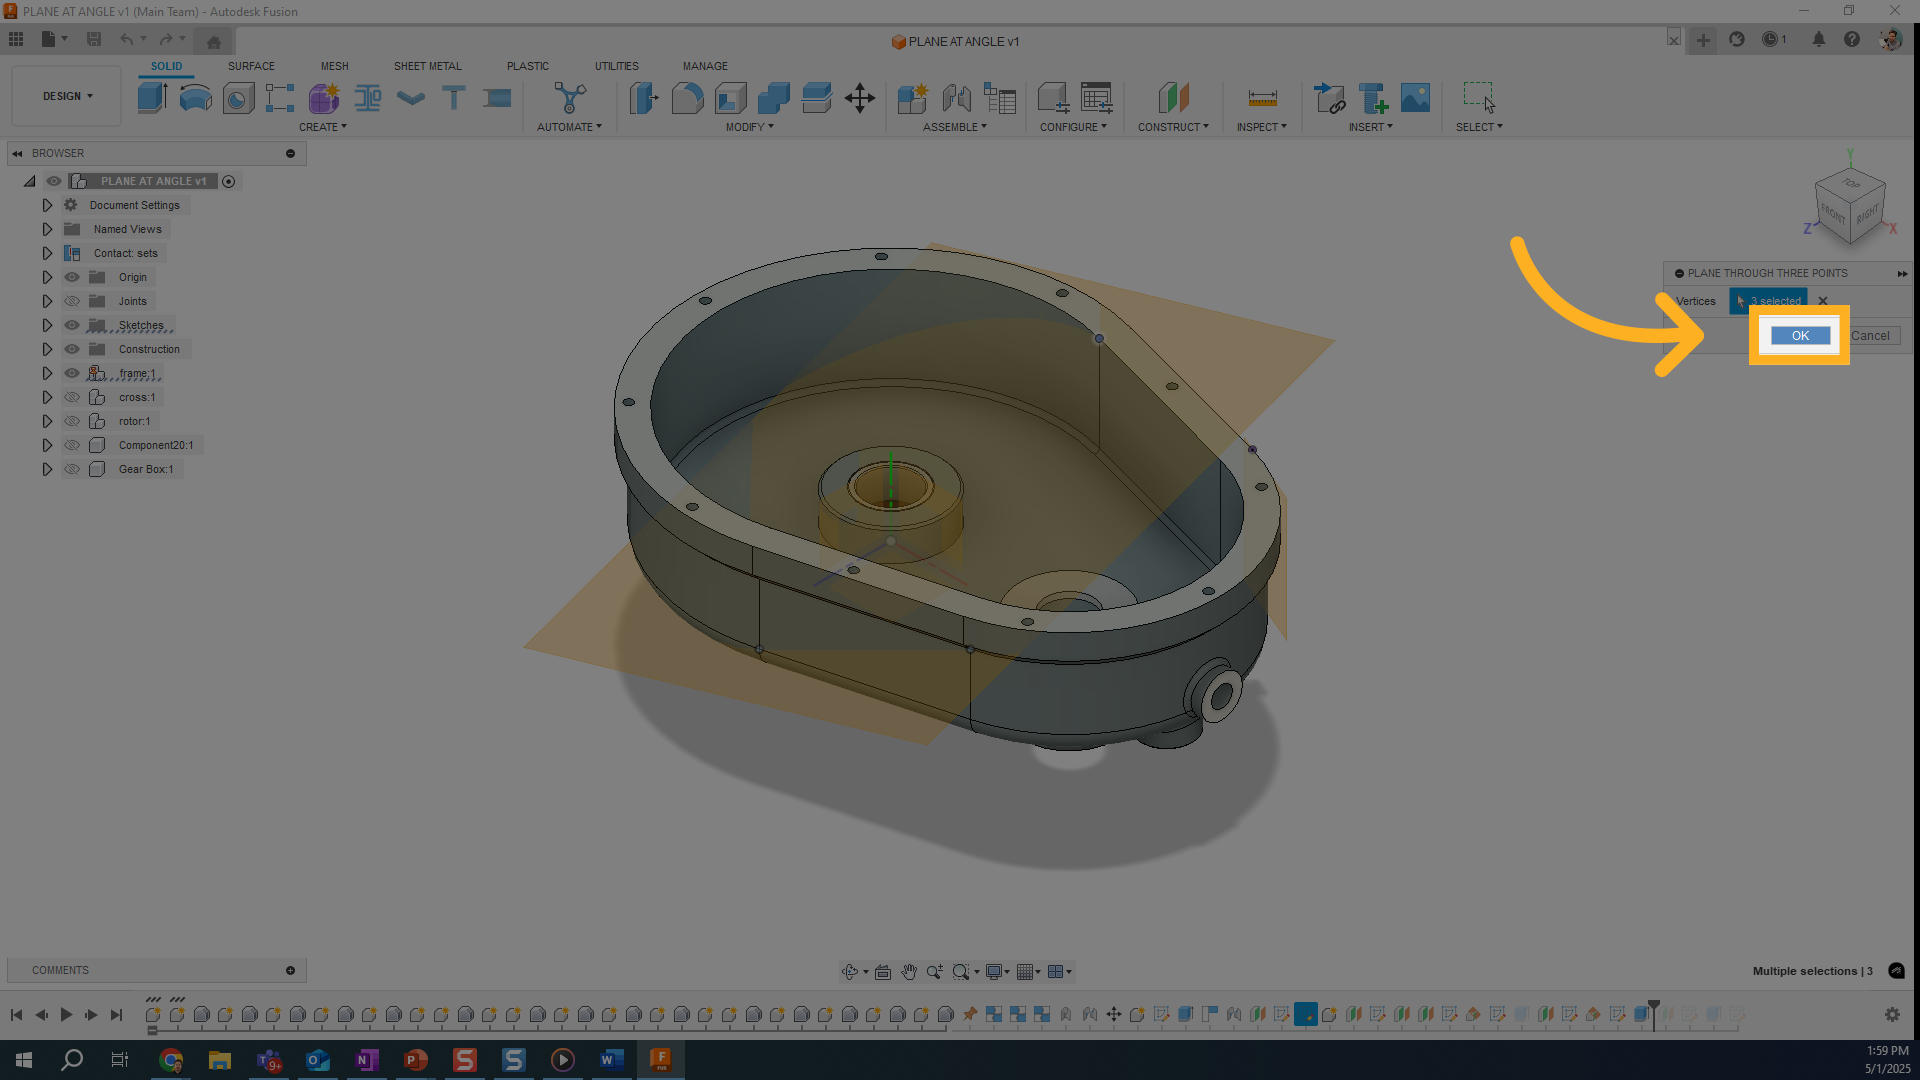
5. Click here
6. Click "OK"
How to Create the Plane
- Go to Construct > Plane Through Three Points.
- Select three vertices or points anywhere on your model.
- Fusion will automatically calculate the plane that passes through all three.
- You’ll see the plane appear in the browser as construction geometry.
- Start a new sketch on this plane to create features exactly where you need them.
What Points Can Be Selected?
This tool is flexible — you can use:
- Model vertices (corners, endpoints)
- Sketch points
- The origin (great for anchoring to global references)
💡 Note: Planes in Fusion 360 are infinite in size — even if they look small, you can drag them bigger just for visibility while working.
Bonus: Use It as a Cutting Plane
You can use your new plane for more than sketching — it also works as a cutting plane in the Split Body tool.
- After creating the plane, go to Modify > Split Body.
- Select the body and the custom plane.
- This is a great way to section off geometry exactly where you want it.
Conclusion: A Flexible Custom Plane Tool
The Plane Through Three Points tool is a great way to create sketches or cut geometry in areas that don’t lie on traditional planes. With just three clicks, you can define a plane anywhere in 3D space and start creating accurate, purpose-driven features in your design.
Expandable Transcript
0:02 – Have the option to select three different points on your model and create a custom reference plane or construction plane. 0:10 – It’ll show up in the browser when completed. You can now use this plane to sketch on and create new features. 0:17 – To create this, go to Construct > Plane Through Three Points. 0:22 – Select three vertices on the design. Fusion will solve the plane that runs through those three. 0:28 – You can pick almost anything — a model vertex, a sketch point, or the origin. 0:37 – Remember: planes are infinite. You can drag them bigger for better visibility. 0:39 – You can even use this plane as a cutting tool using Split Body. 0:46 – Thanks for watching. See you in the next video!Click to expand the full video transcript (with timestamps)
