

Fusion 360 - 23 Tips Beginners Must Learn
Aug 04, 2022Intro
Today, I’m going to be telling you 23 tips and tricks that all beginners need to know in order to start making their own designs.
Fusion 360 is a complex software that offers a lot to learn. It can be confusing and frustrating, but with the proper guidance, you’ll be on your way to becoming a pro in no time!
This guide will help walk you through the essential things you should know when you’re starting. Let’s jump right in!
Steps
1. Hit Save
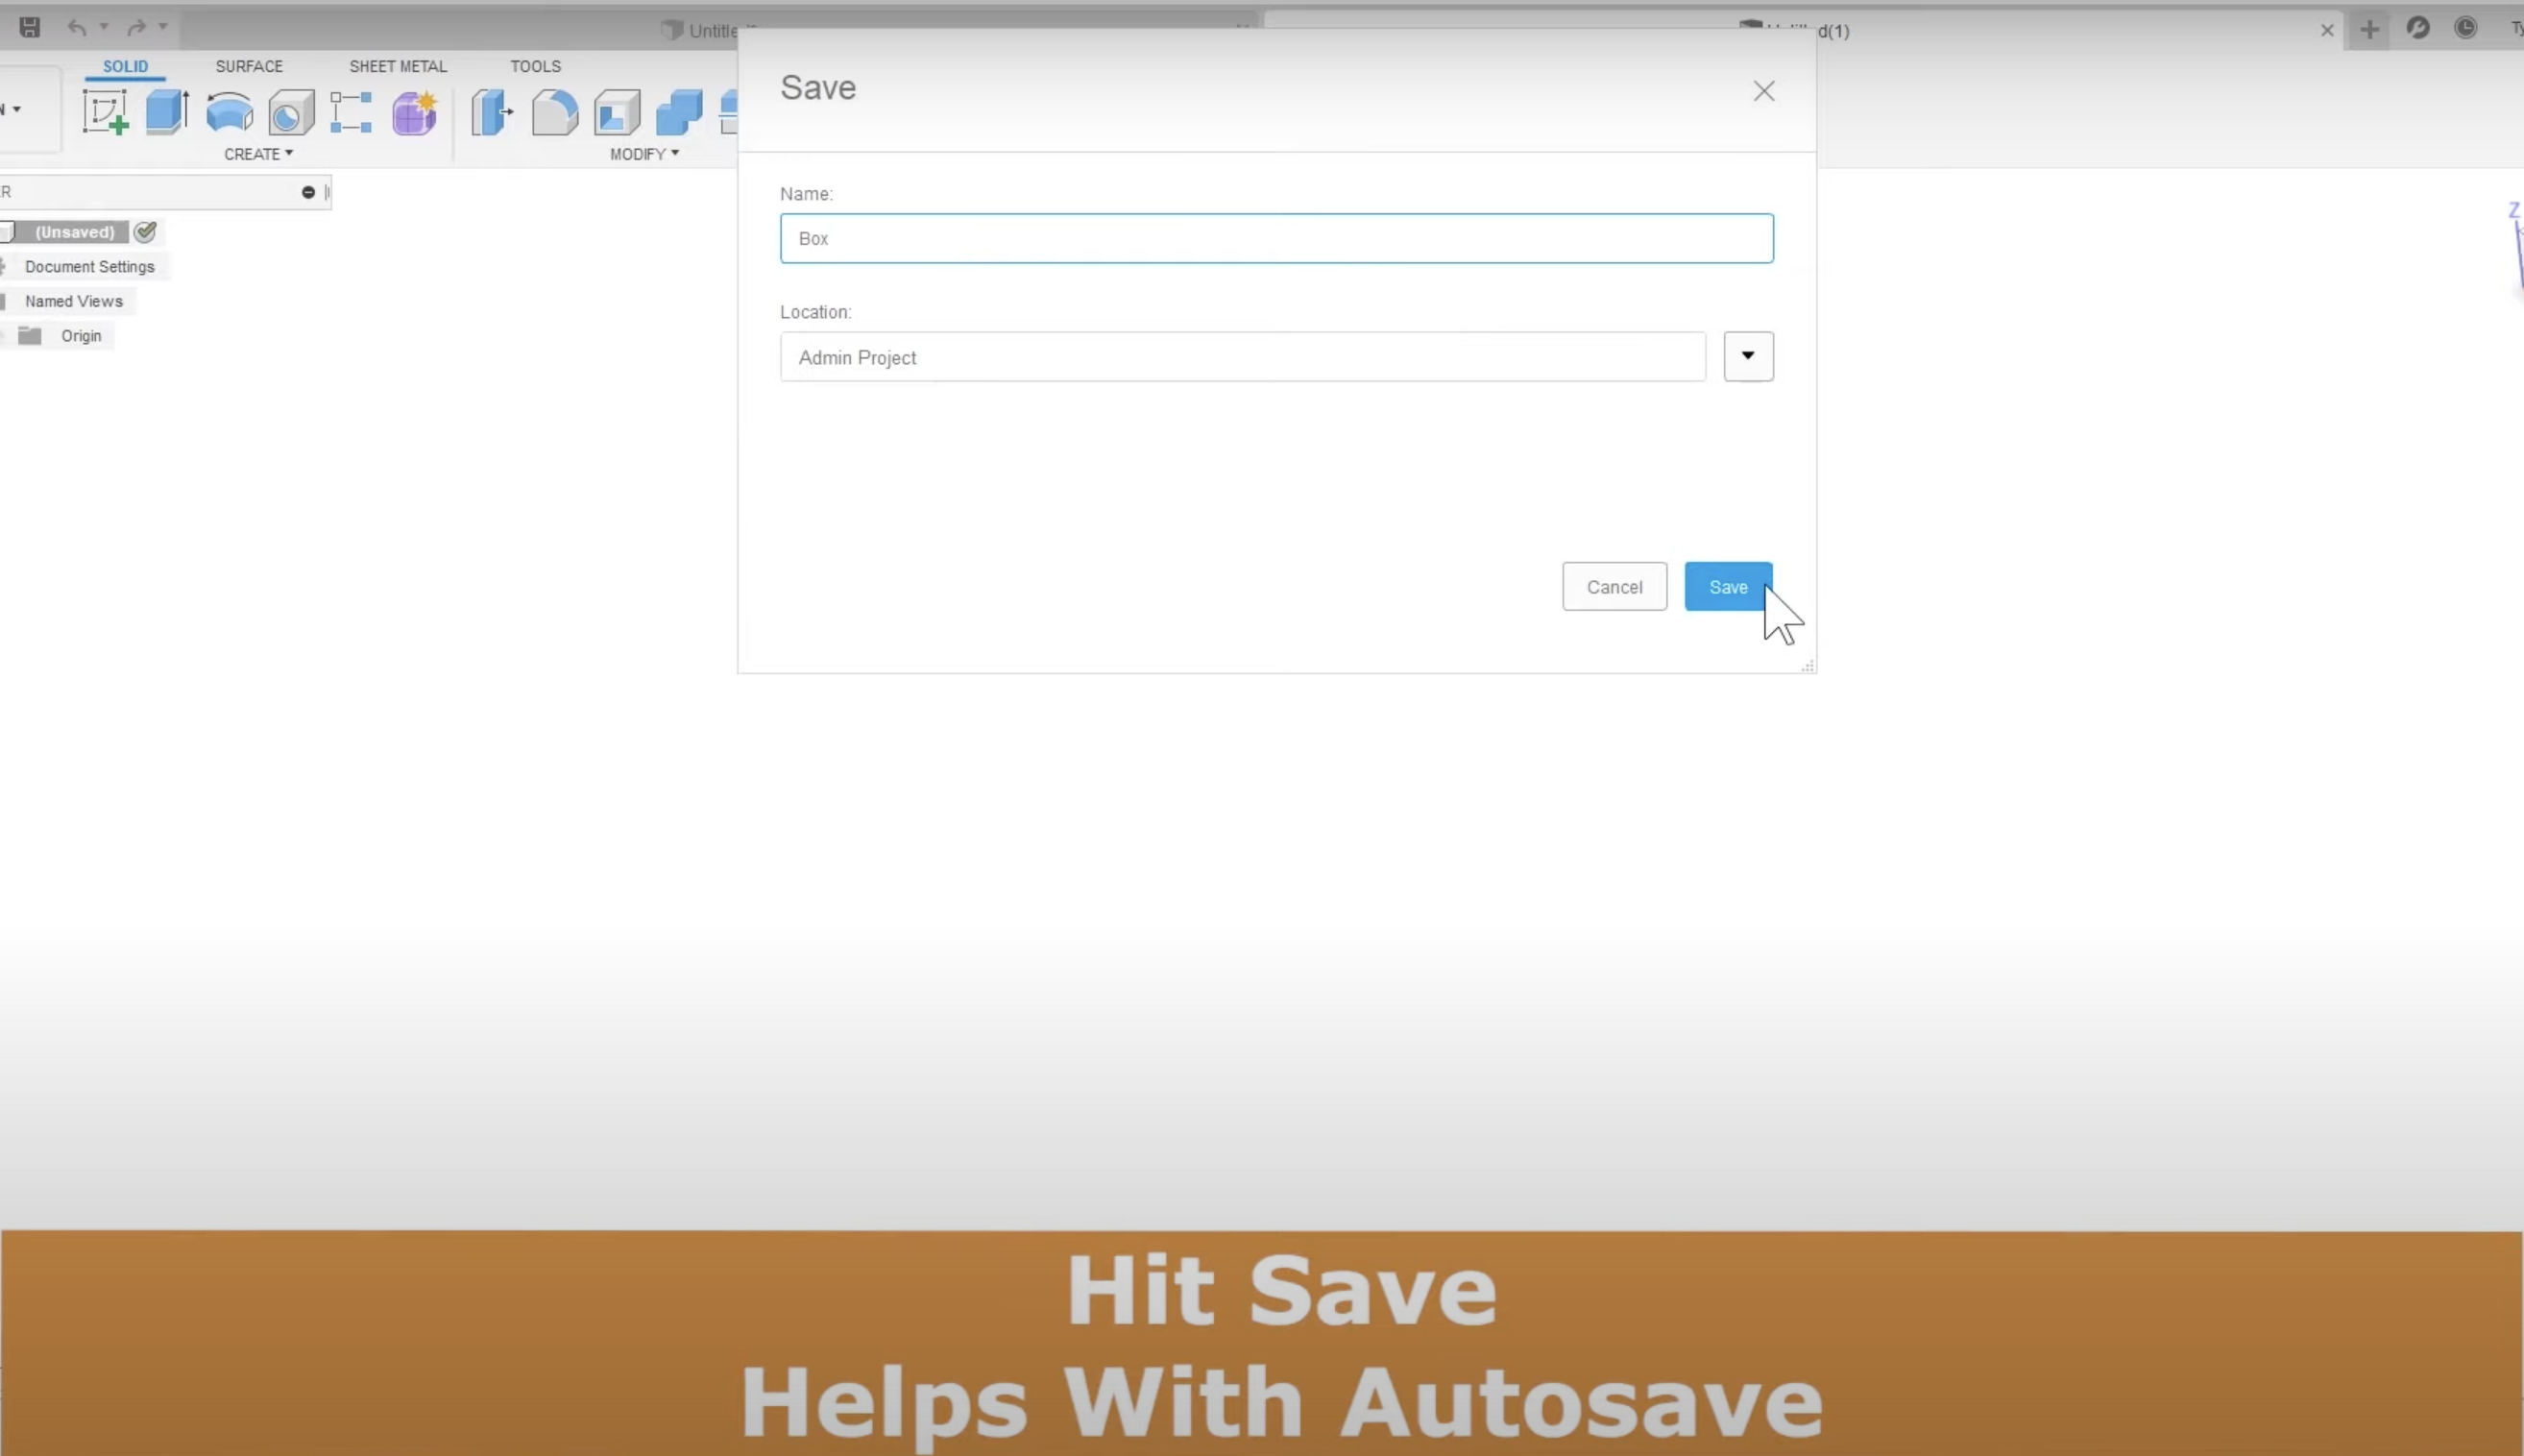
First, be sure to hit the save button and give it a name before you get started to help with autosaving.
2. “S” Key Search Favorites - Modal Toolbar

Though you could use your toolbar, it’s much faster to press the S key to search for the tool that you’re looking for.
3. Centering on the Origin. All Reference Planes Centered.

Be sure when you’re starting to center on the origin point. From there you can drag it out.
4. “D” Smart Dimension
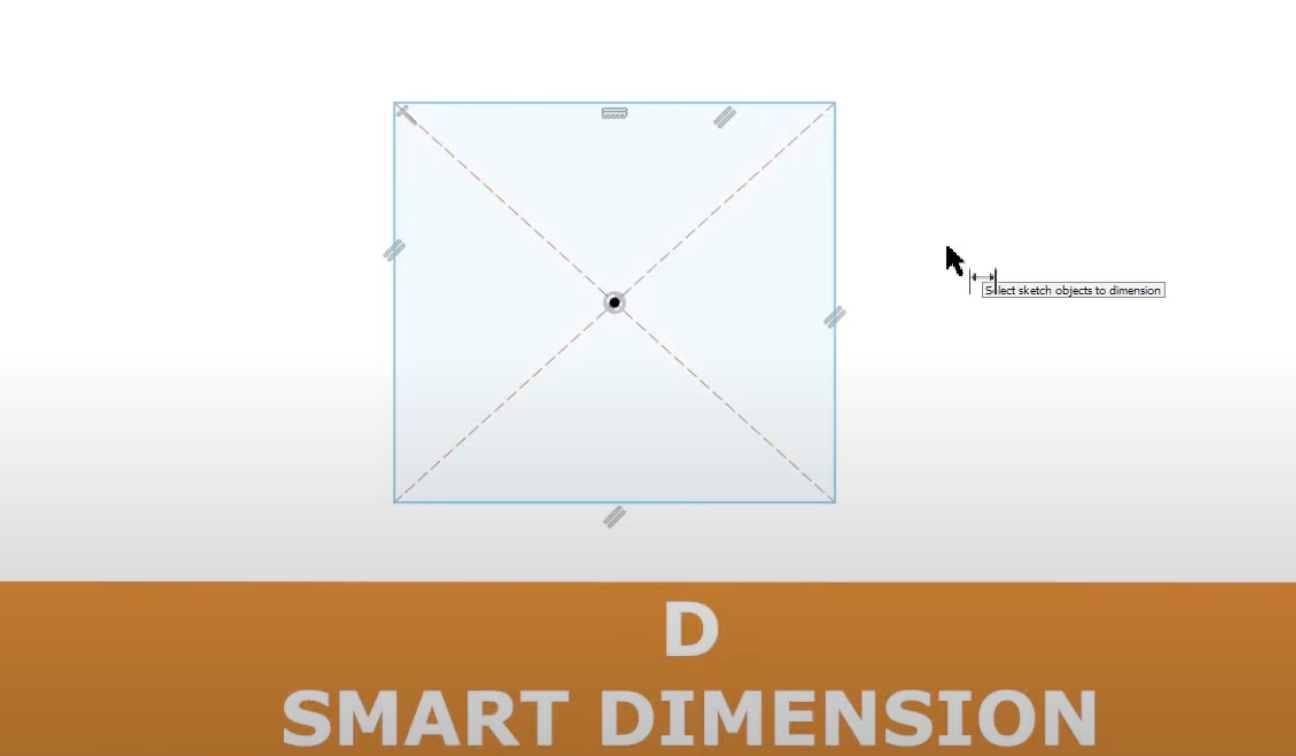
When you press the D key, it will bring up the smart dimension which allows you to place a dimension that you can still edit.
5. “E” Extrude Command
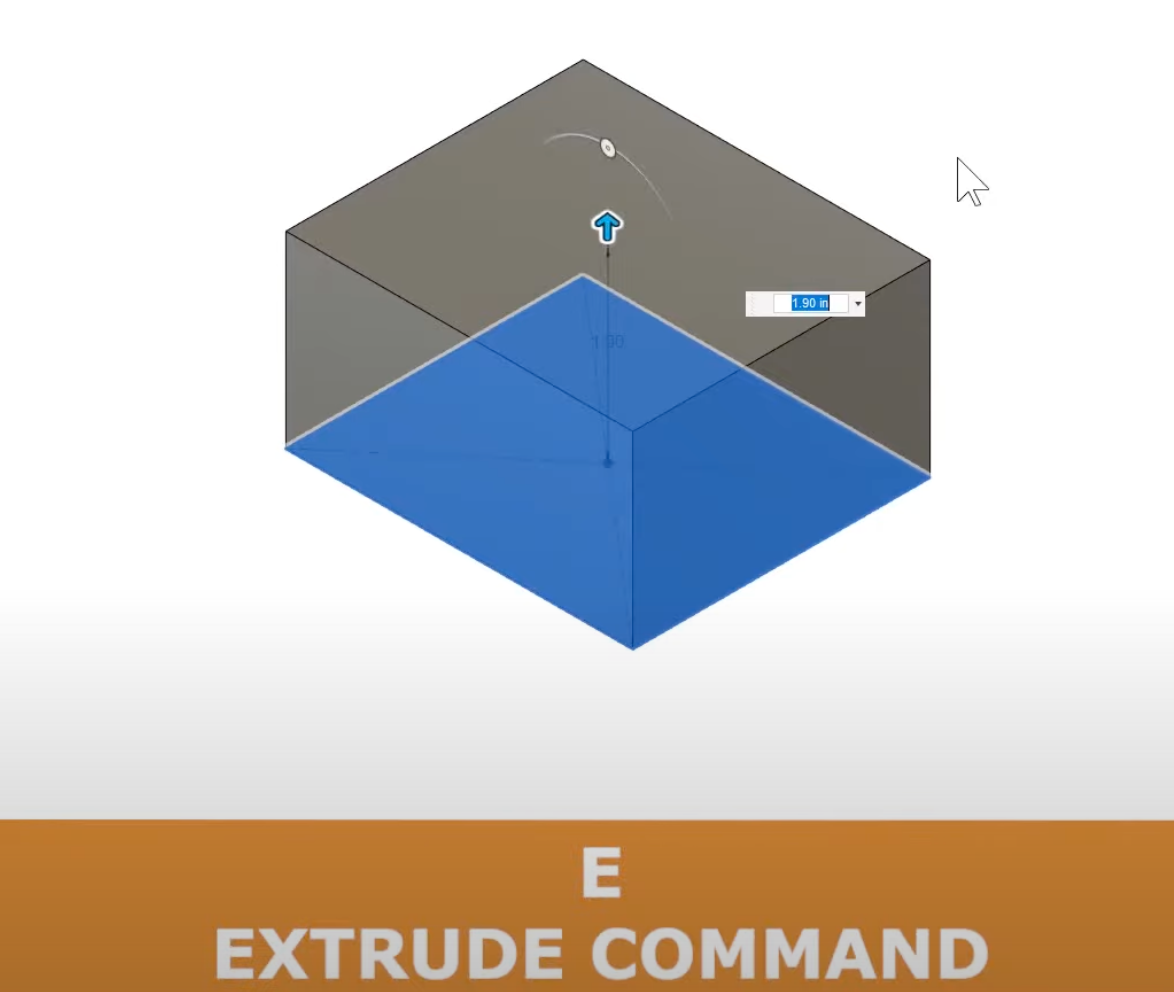
By pressing the E key, you can drag your new dimension up to create a 3D shape.
6. Shell - Create Thin Walls
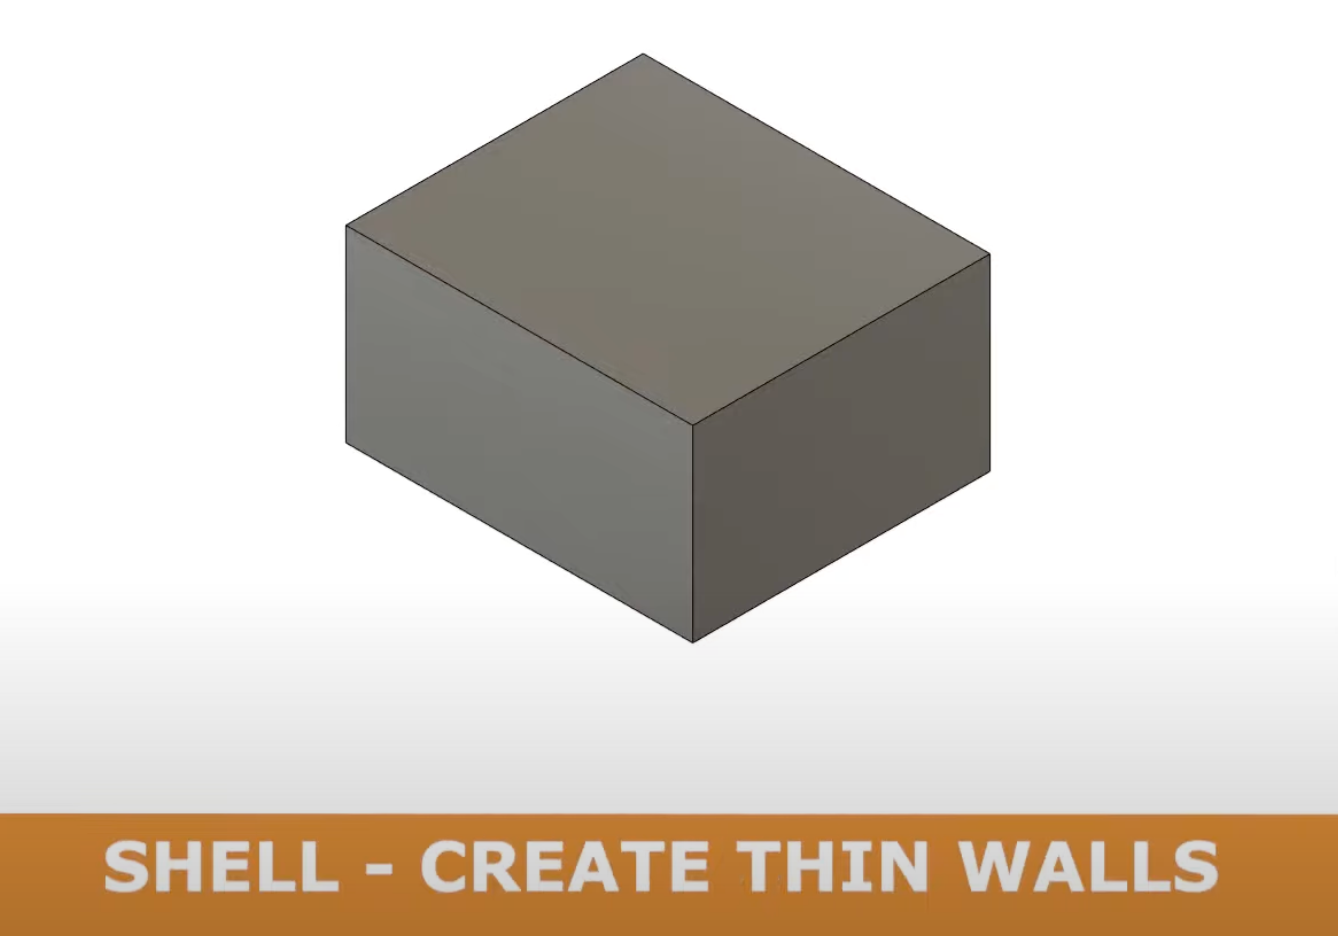
To hollow out a shape that you have made, you can use the shell command. Start by selecting the body from the menu, then go to the right side of the screen and hit okay, select and put in the thickness value of the walls.
7. Section Analysis
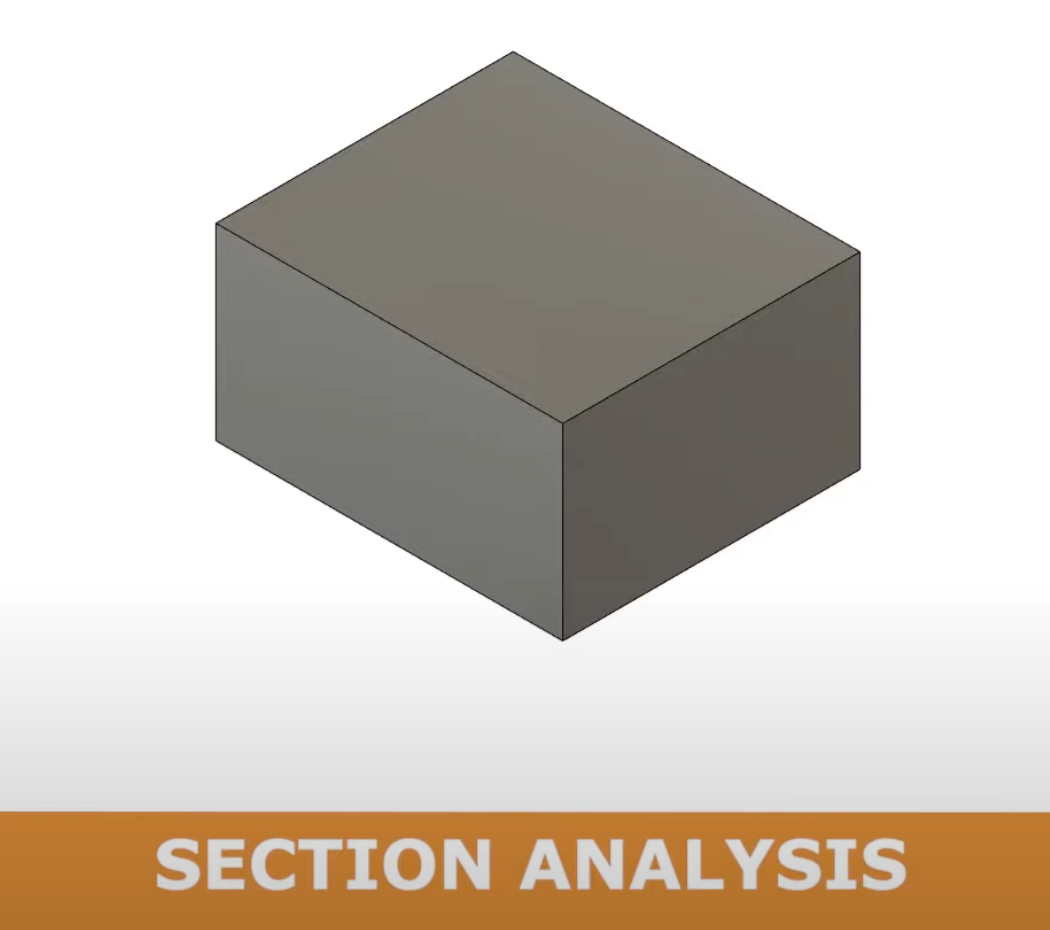
Once you click on a face of the shape, you can drag it forwards and back. What you should notice is that you can see inside of the shape now and it is hollow.
8. Analysis Folder - Hide Section

Here’s how to now turn off the cross-section. It lives in the analysis folder now which you can go in and turn off and on.
If you go back to the shell command, you can play around with removing different faces and still having the inside be hollowed out. For this, let’s remove the top face.
9. “Q” Press Pull Command
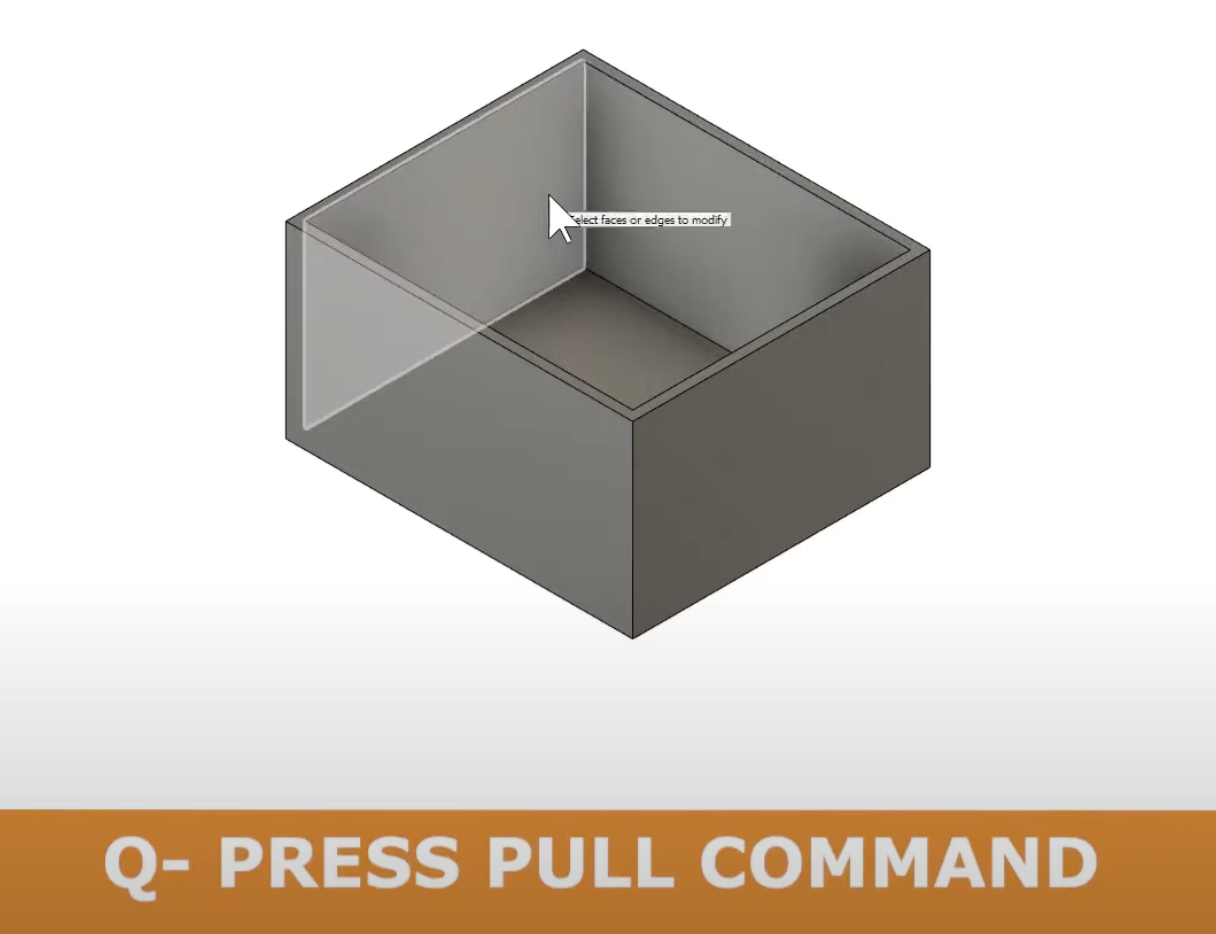
If you want multi-thickness, try using the Q command. If you select a part of the shape and drag it, you’ll notice it does all of it by default since it’s using an automatic offset. Change the offset face from automatic to the new offset. This will create a new feature in the design history, once you select that, you can drag it and it will create multi-thickness.
10. Right Click Drag Up - Repeat Command
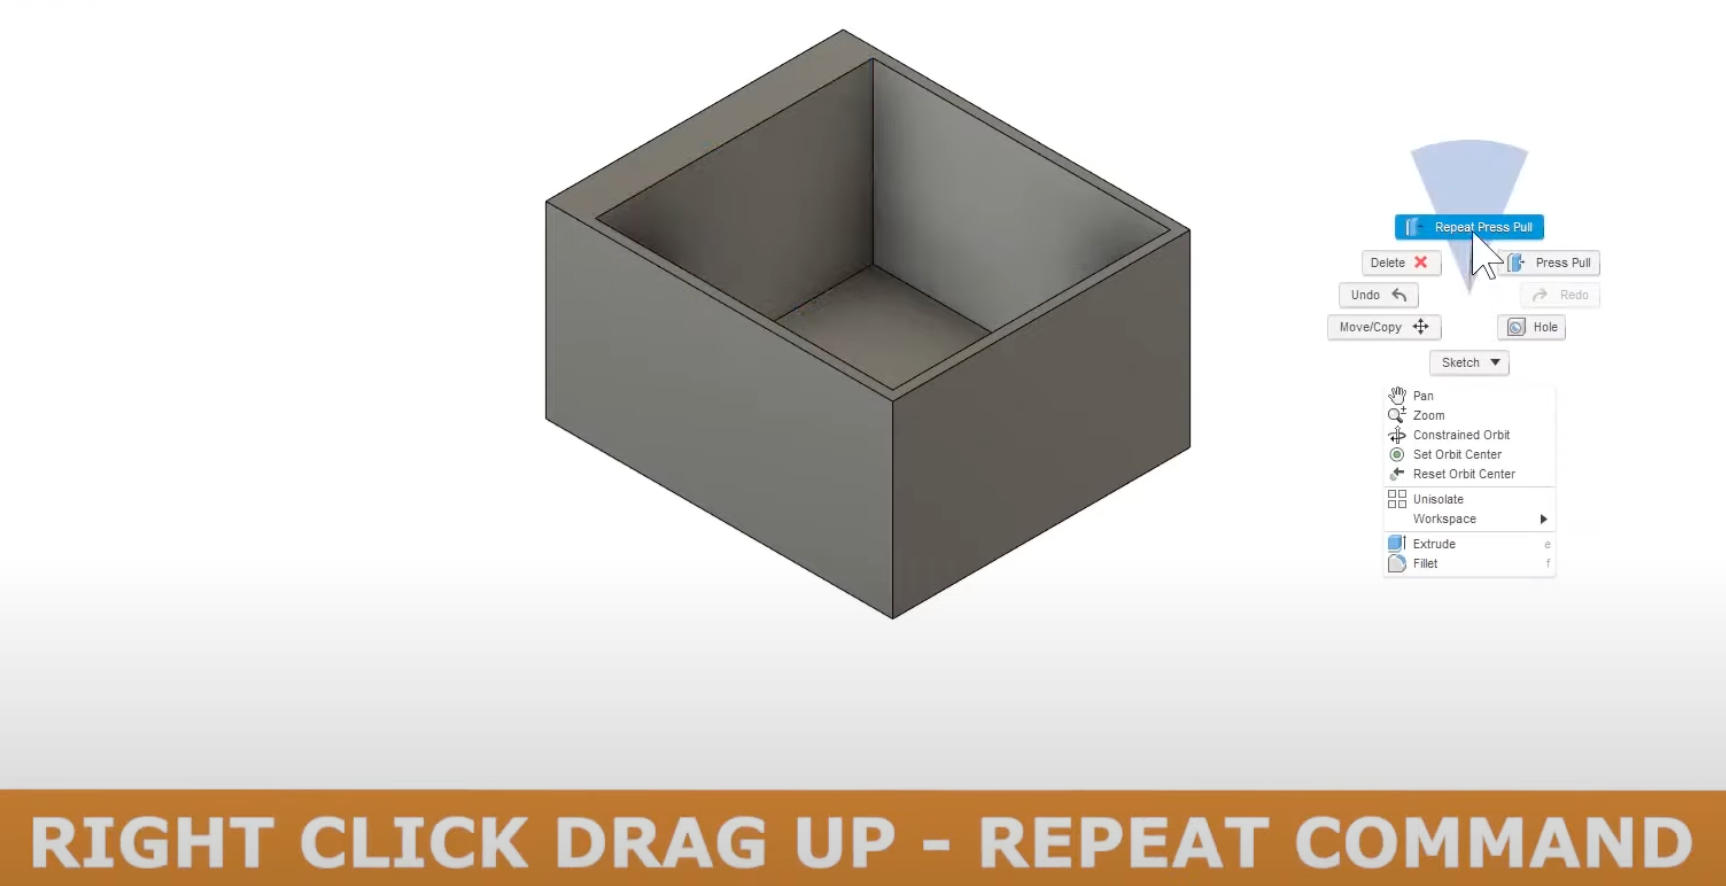
To repeat the last step, right-click and drag up. This will give you an automatic repeat that you can then go in and edit in the design history.
11. Inspect - Measure
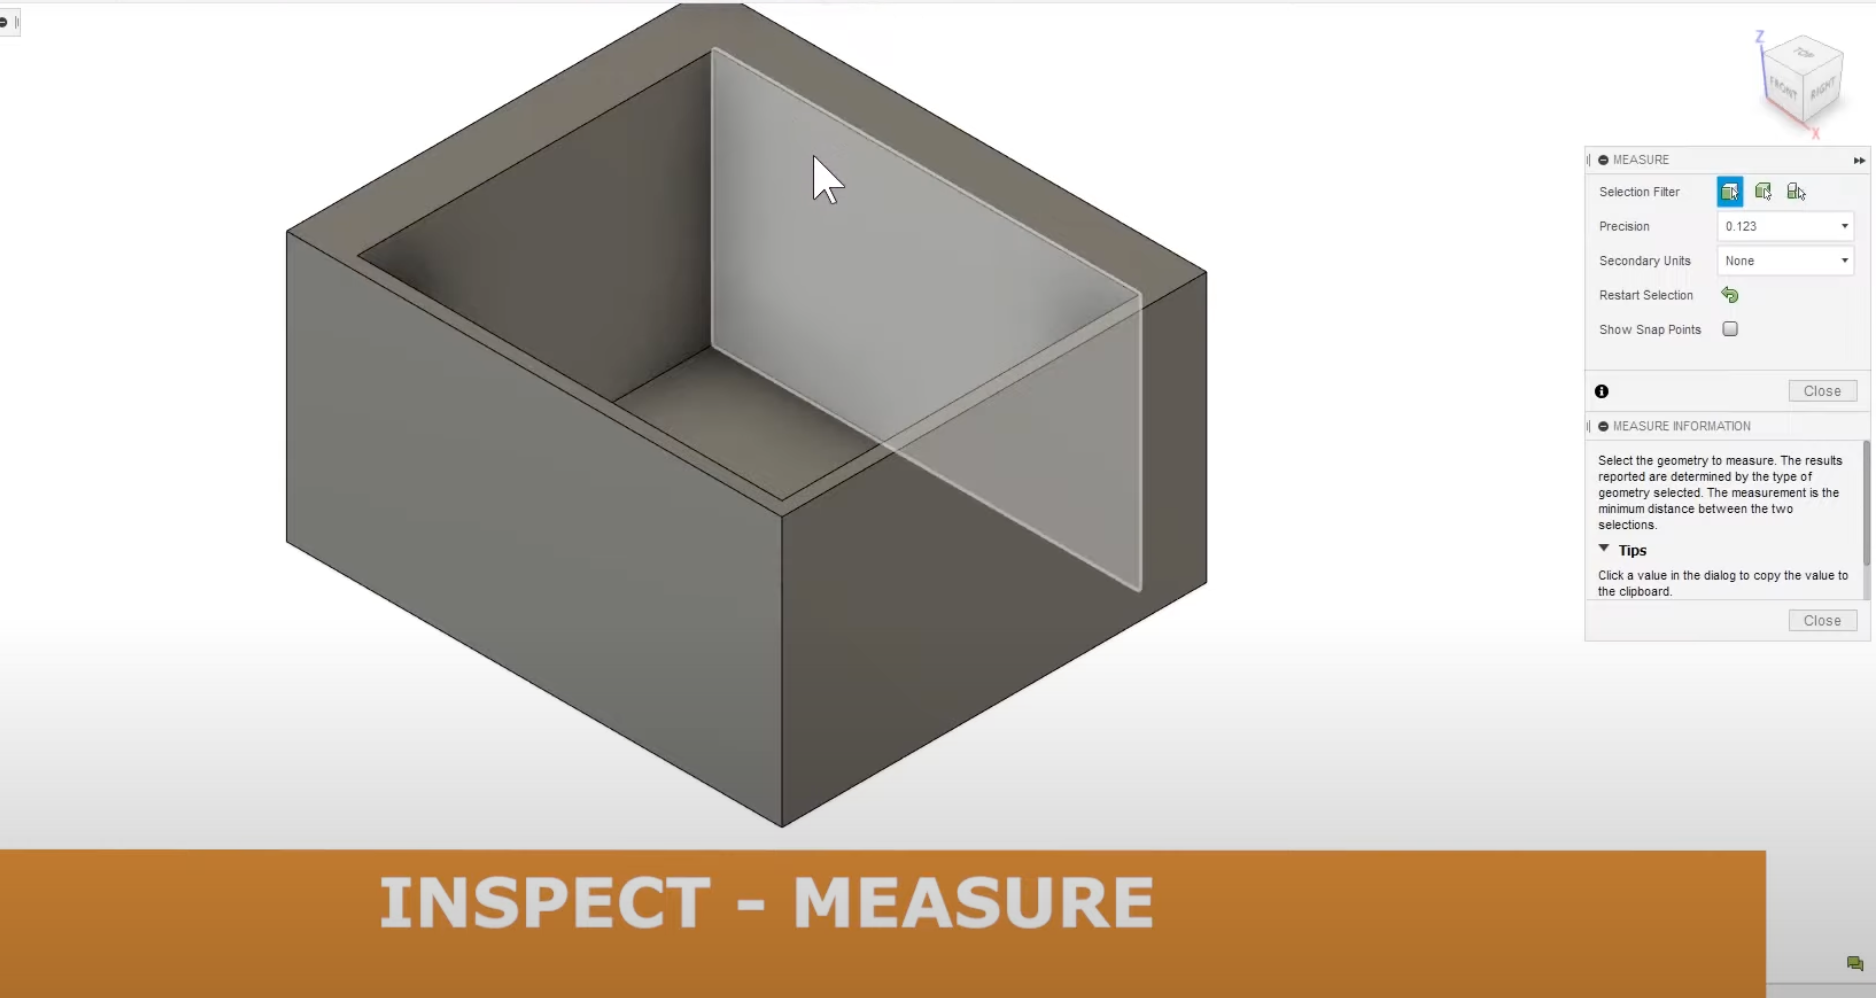
To measure your shape, use the inspect tool, select the inner and outer face and compare them to one another.
12. Dimension to Centerline - For Doubled Value
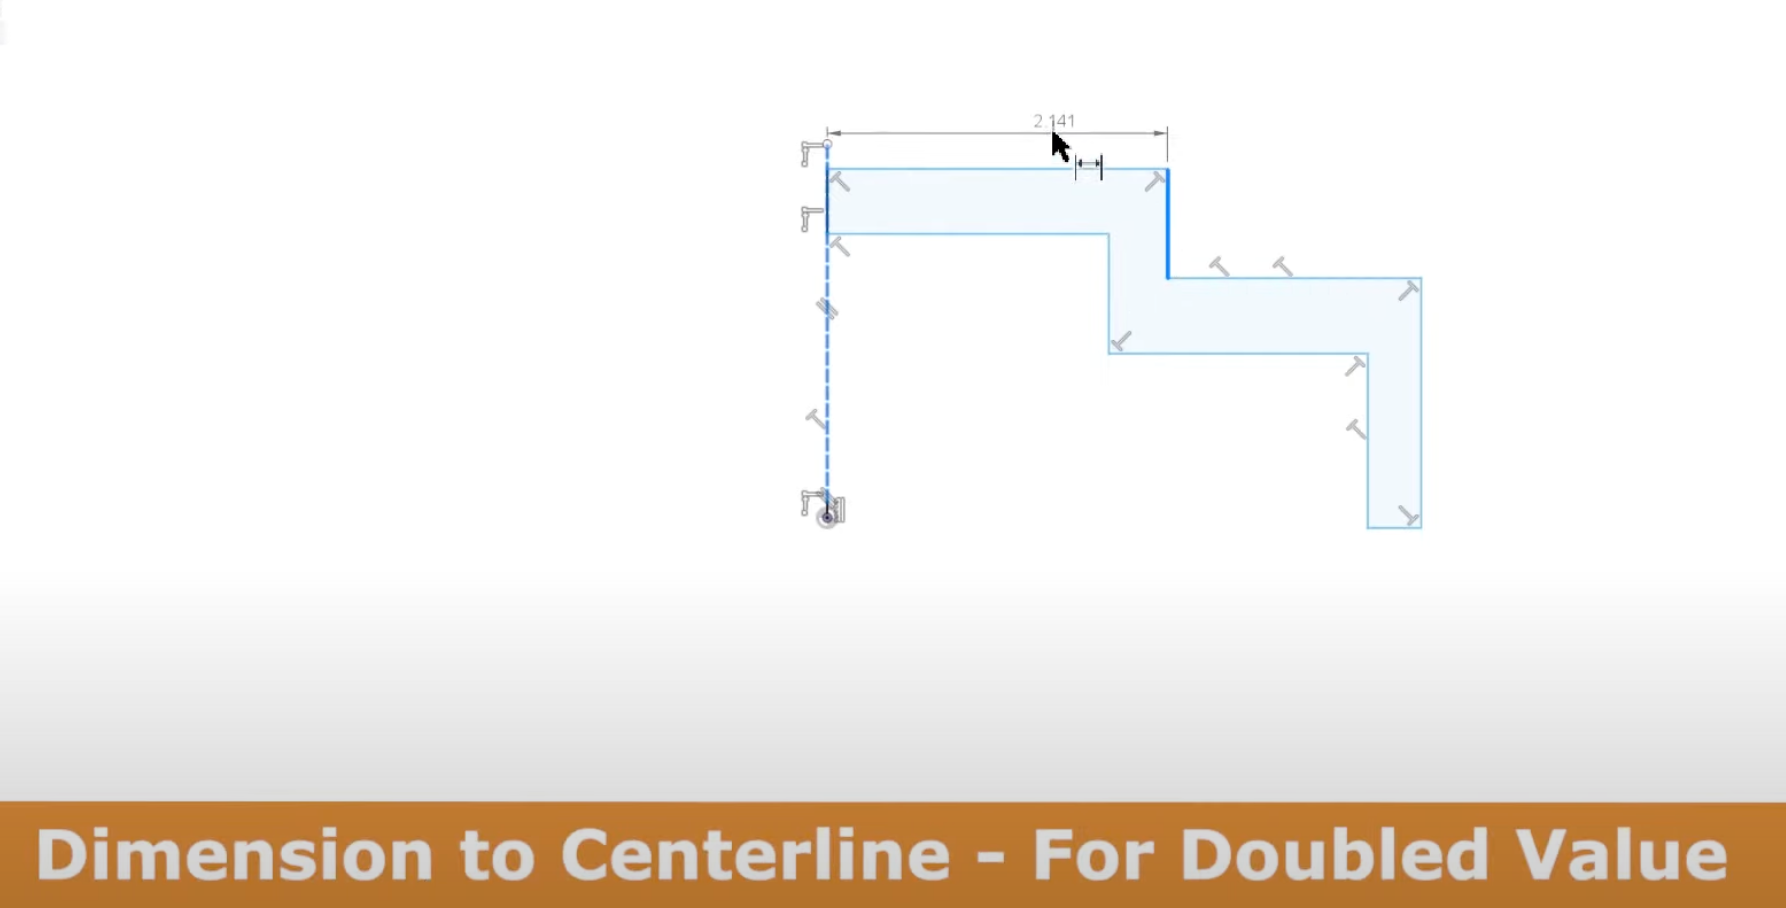
Start from the construction line, go to the entity that you care about, right-click, press diameter dimension, and then it will double the dimension that you had selected.
13. Drag Blue Entities
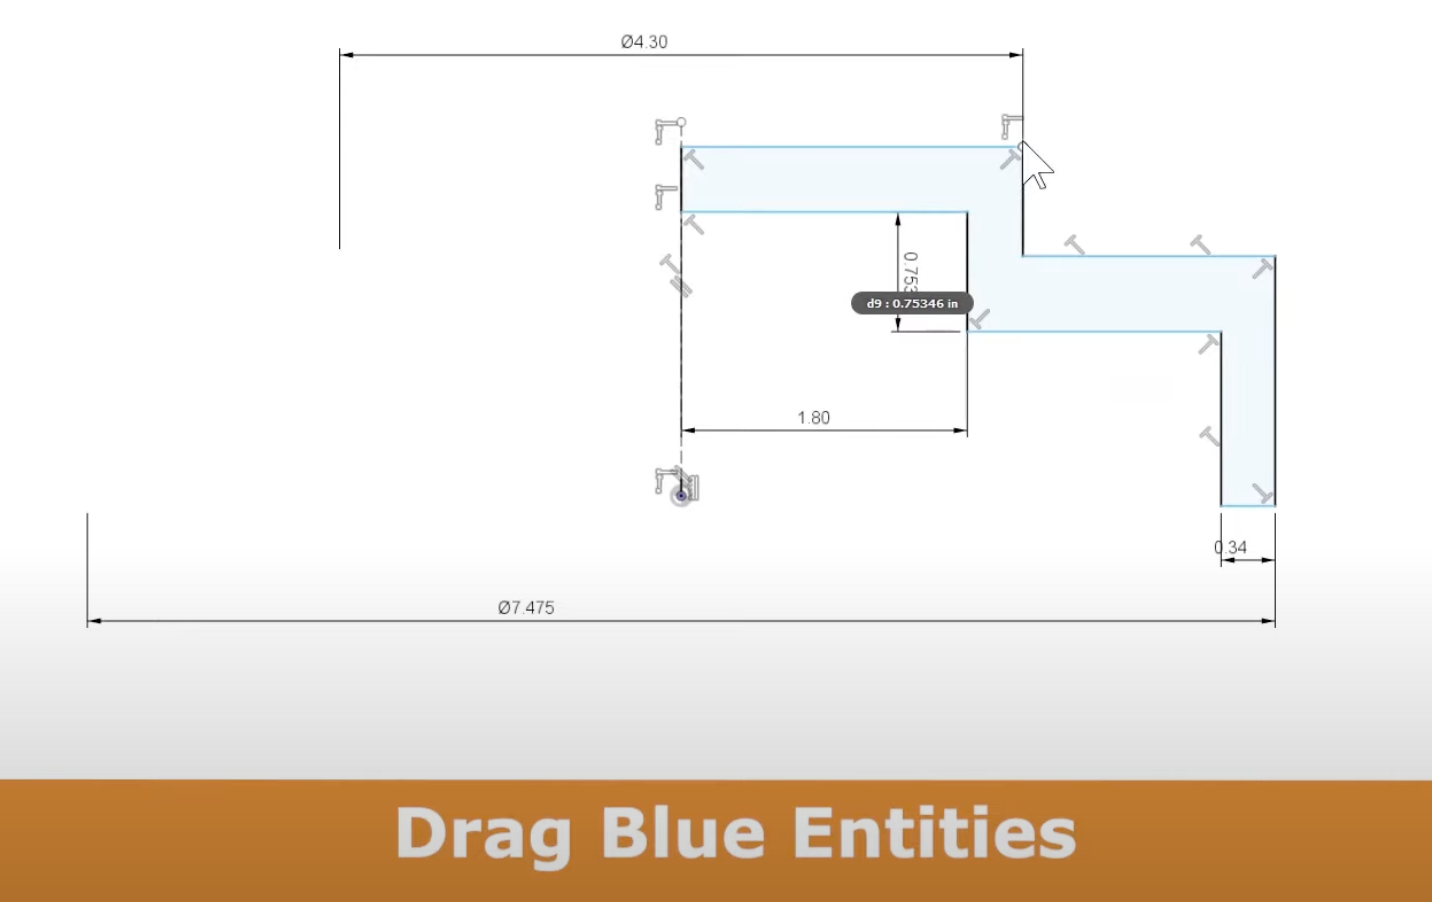
You can tell that your shape is not fully defined since there are the light blue lines, to fix this, you can drag these points along the blue to see what it is that is not defined.
14. Use Constraints Whenever Possible
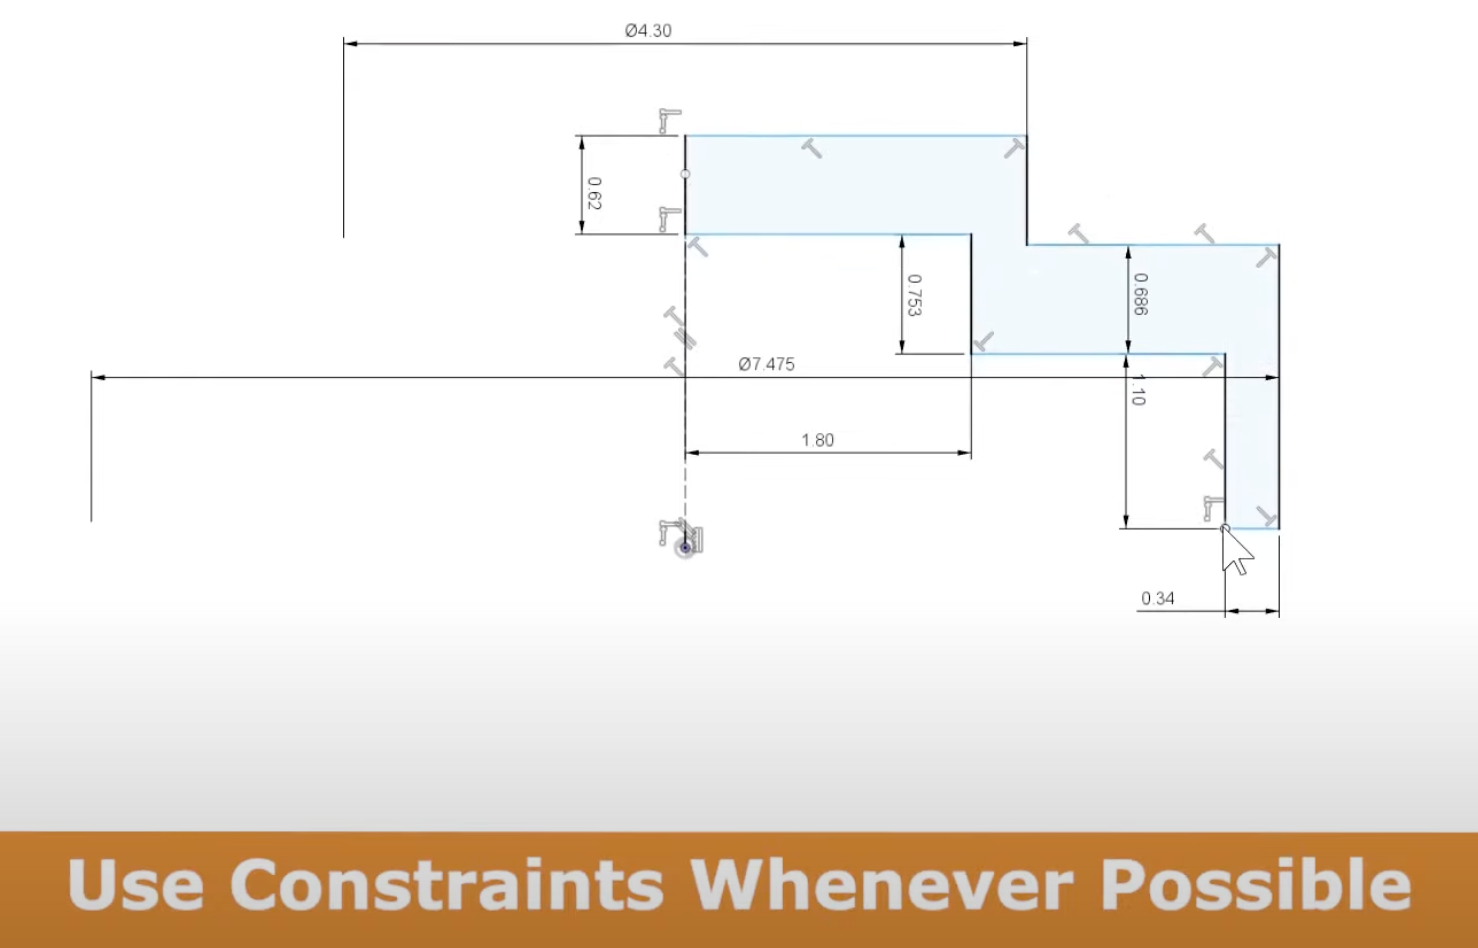
We can use constraints to do things like aligning the bottom point in our shape to the origin so that they are horizontal to each other. Connect them, add a coincidence and now it’s finished. You can see that the sketch icon changes which is one way to tell that your shape is now completed and intact.
15. Mirror Bodies - To Mirror Everything
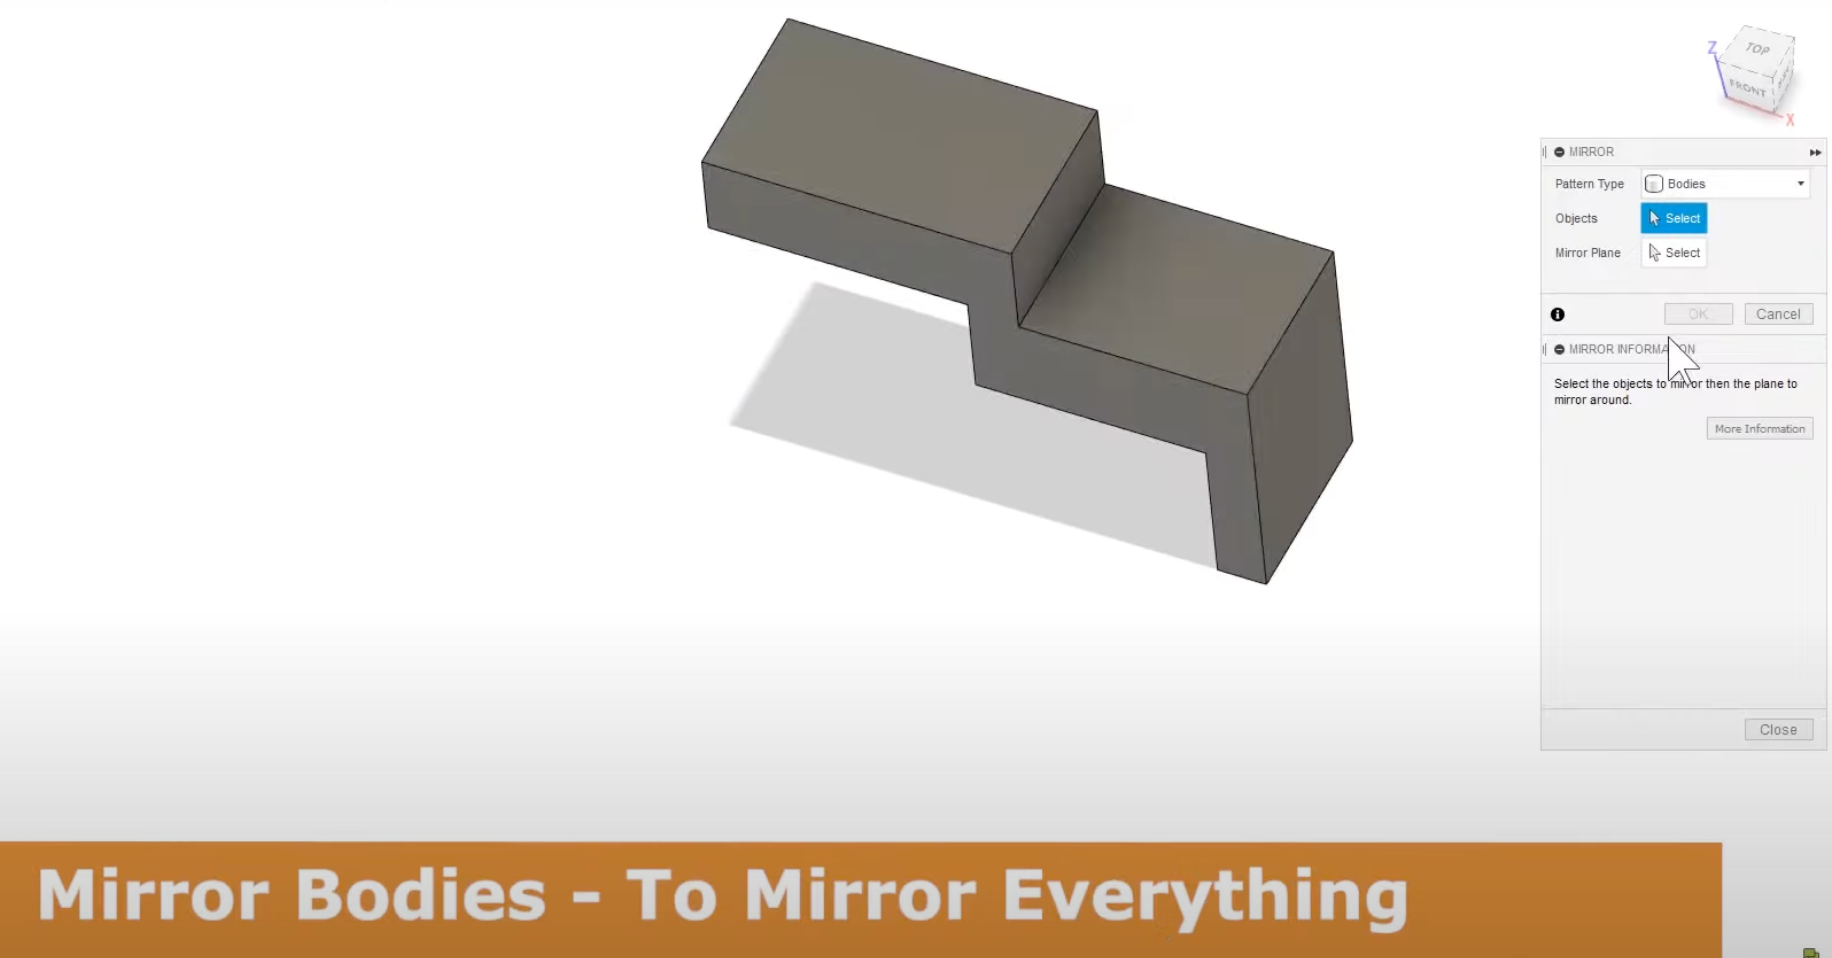
To mirror the entire body, use search to bring up the mirror command, click ‘bodies’ and choose a point for it to be mirrored or choose a face. Once you add this mirror, it is still two separate bodies.
16. Combine Command
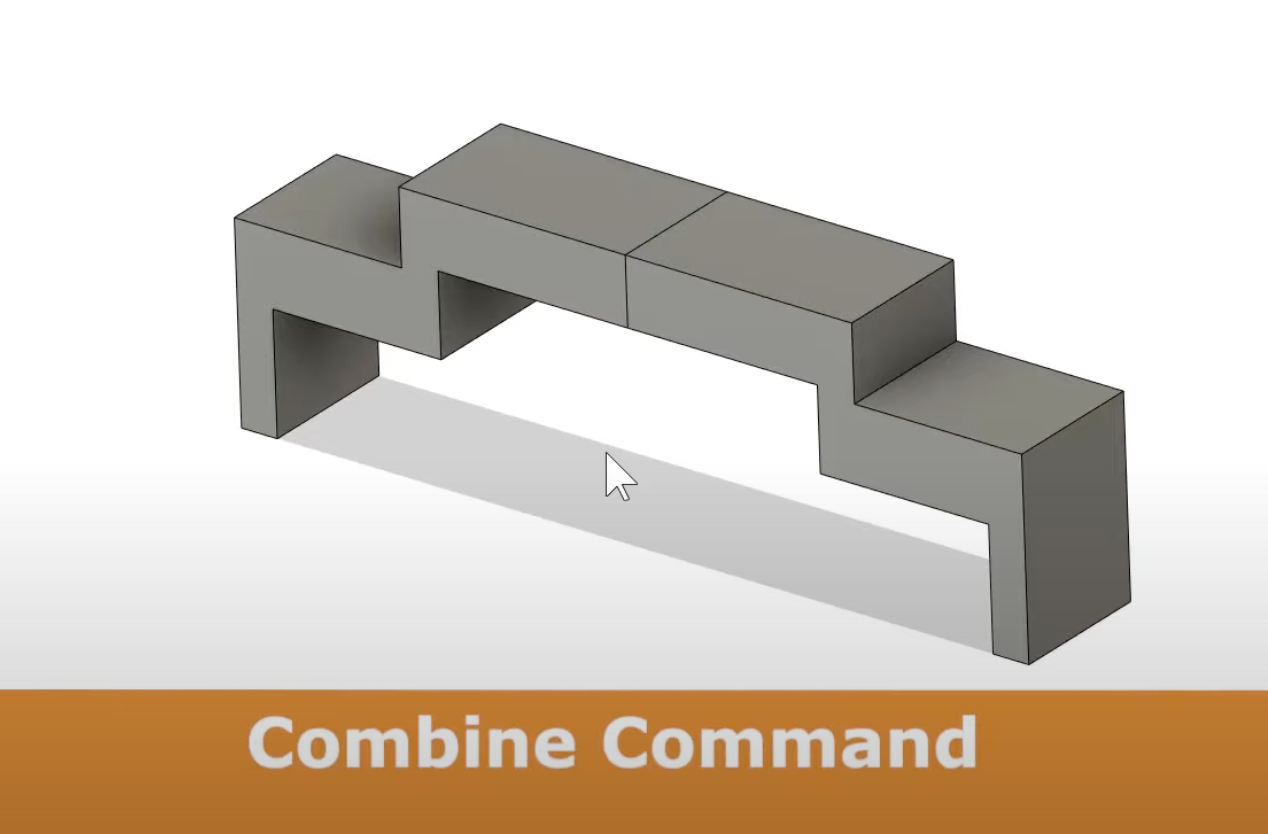
To combine the two mirrored bodies, use your S key to find the combine command. Once you’re here, press join which makes the seam go away and it leaves you with just one body. To edit this, just go back to your original sketch.
17. Cross Section Following Curve - Sweep Command
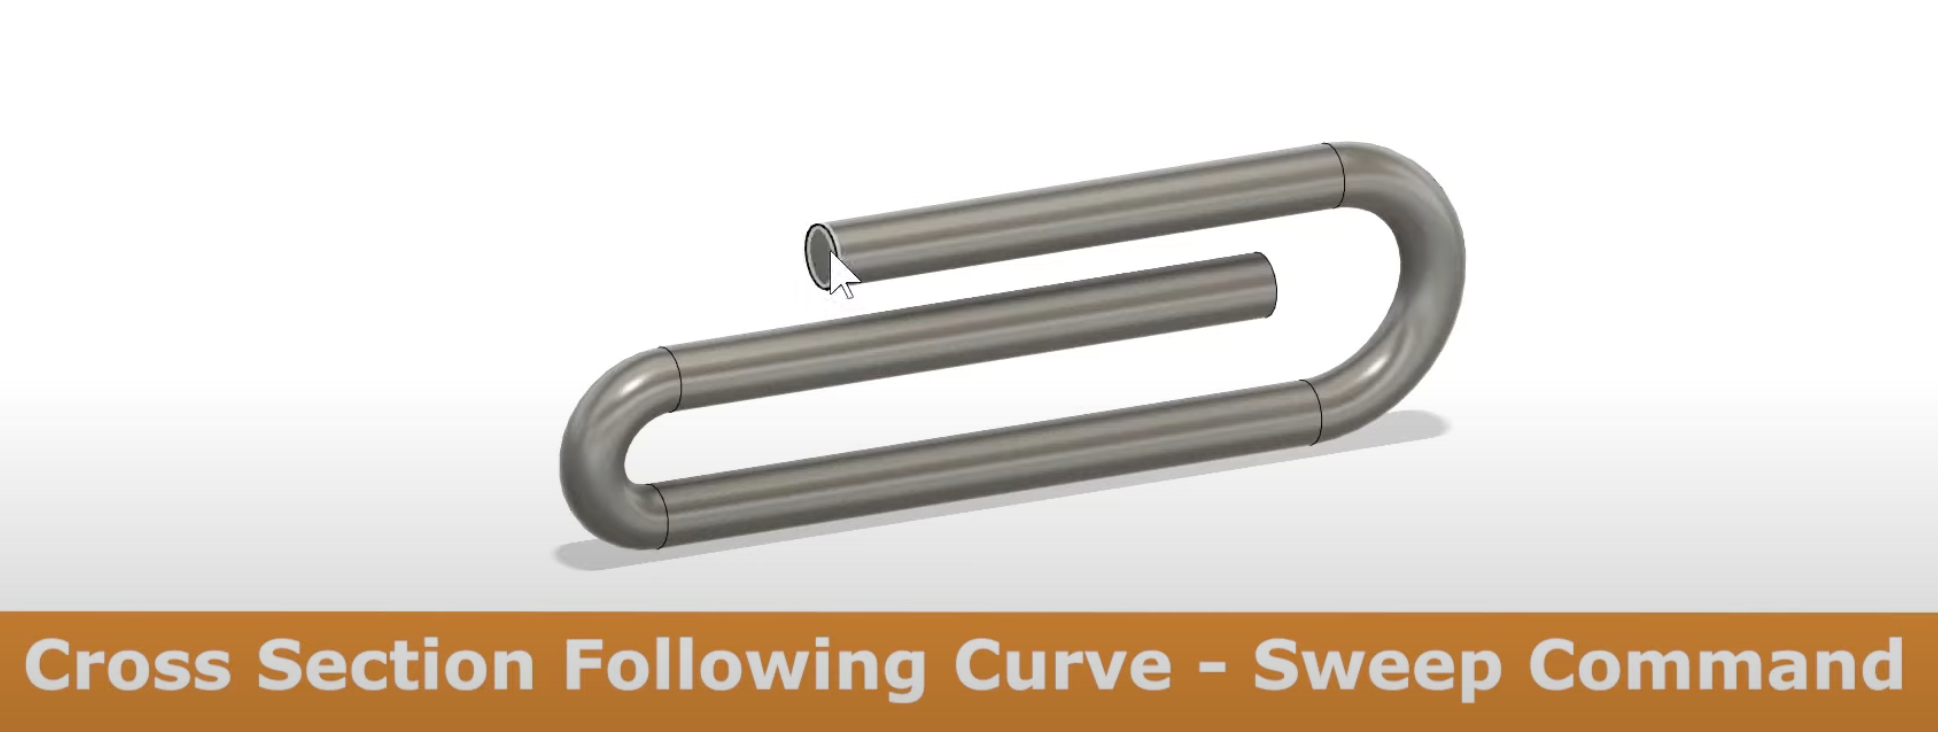
This is how to create a shape that follows a cross-section that is more than just a straight path. For anything other than a straight line, you should think about using a sweep command.
For this, you need to start with either a cross-section or a path, I’ll use a path on the front plane in this case.
18. Start from Origin for Sweep
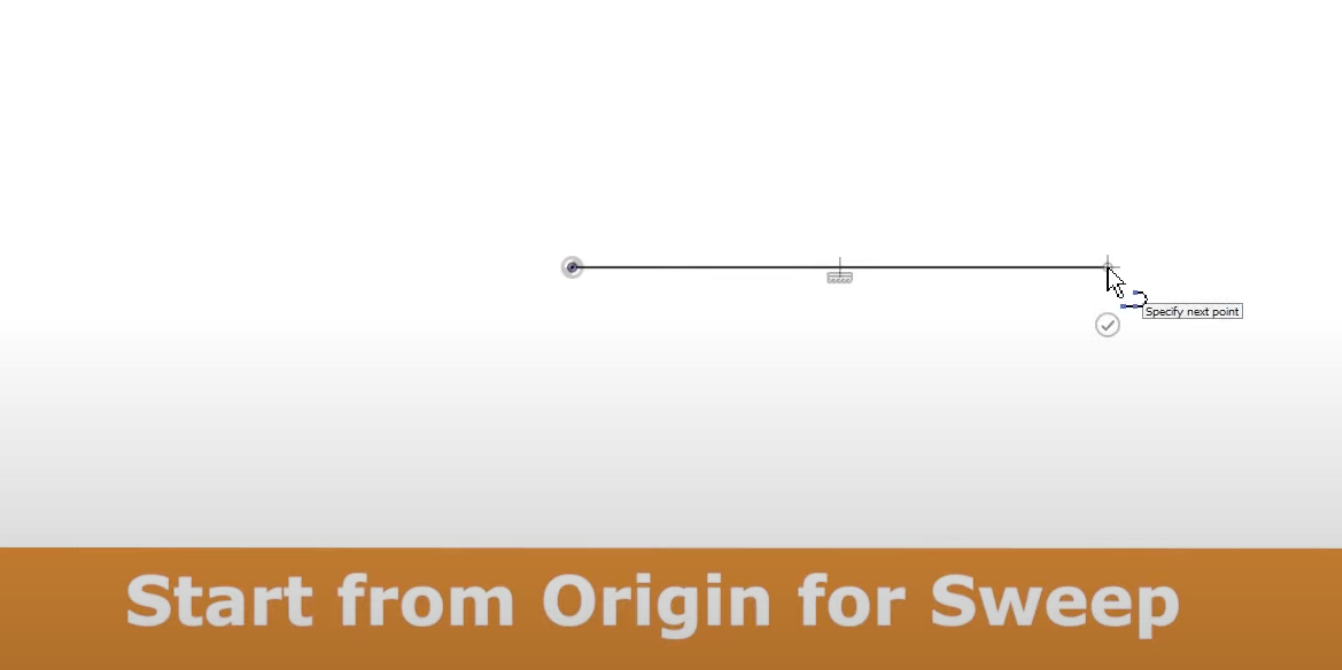
I always start from my origin point out of habit. Then, I’ll go in with the line-arc technique, which is where you drag out a line from the end point and turn it into a tangent arc.
Now let’s throw in a cross-section, go to the plane at the origin and make sure that it is at a 90-degree angle, they cannot be on the same plane so that you have a profile to sweep along. Use your S key to go to sweep and select the profile.
If the spacing isn’t quite right, right-click and go to ‘edit sketch’ to start dimensioning it and make sure that everything is uniform.
19. Start a Sketch with Any Sketch Tool

Now, let’s look at a plate that has four uniform feet and transparent material. To build this in fusion, start your design and start with a rectangle. You don’t even have to hit the sketch command to start a rectangle, you can just grab any kind of sketch object and begin sketching.
You’ll want to create a fully dimensioned sketch. Once you get your shape, you’ll want to go ahead and drop in your feet and connect them to the center lines of the rectangle so as to save time with some of the constraints that you will need to build. I’m going to adjust the diameter of the feet and ensure that the spacing is right by dimensioning the top right corner.
Now, we can use constraints to line up the circles correctly without dimensions. Select the center point of each other circles, hold the top two, right-click, and you can line them up horizontally. The constraints command is in the toolbar if you would rather do it that way.
Be sure to also go in, select each circle, and select equal which will define all of the circles and it will become fully defined.
20. Lock Icon - Fully Defined Sketch
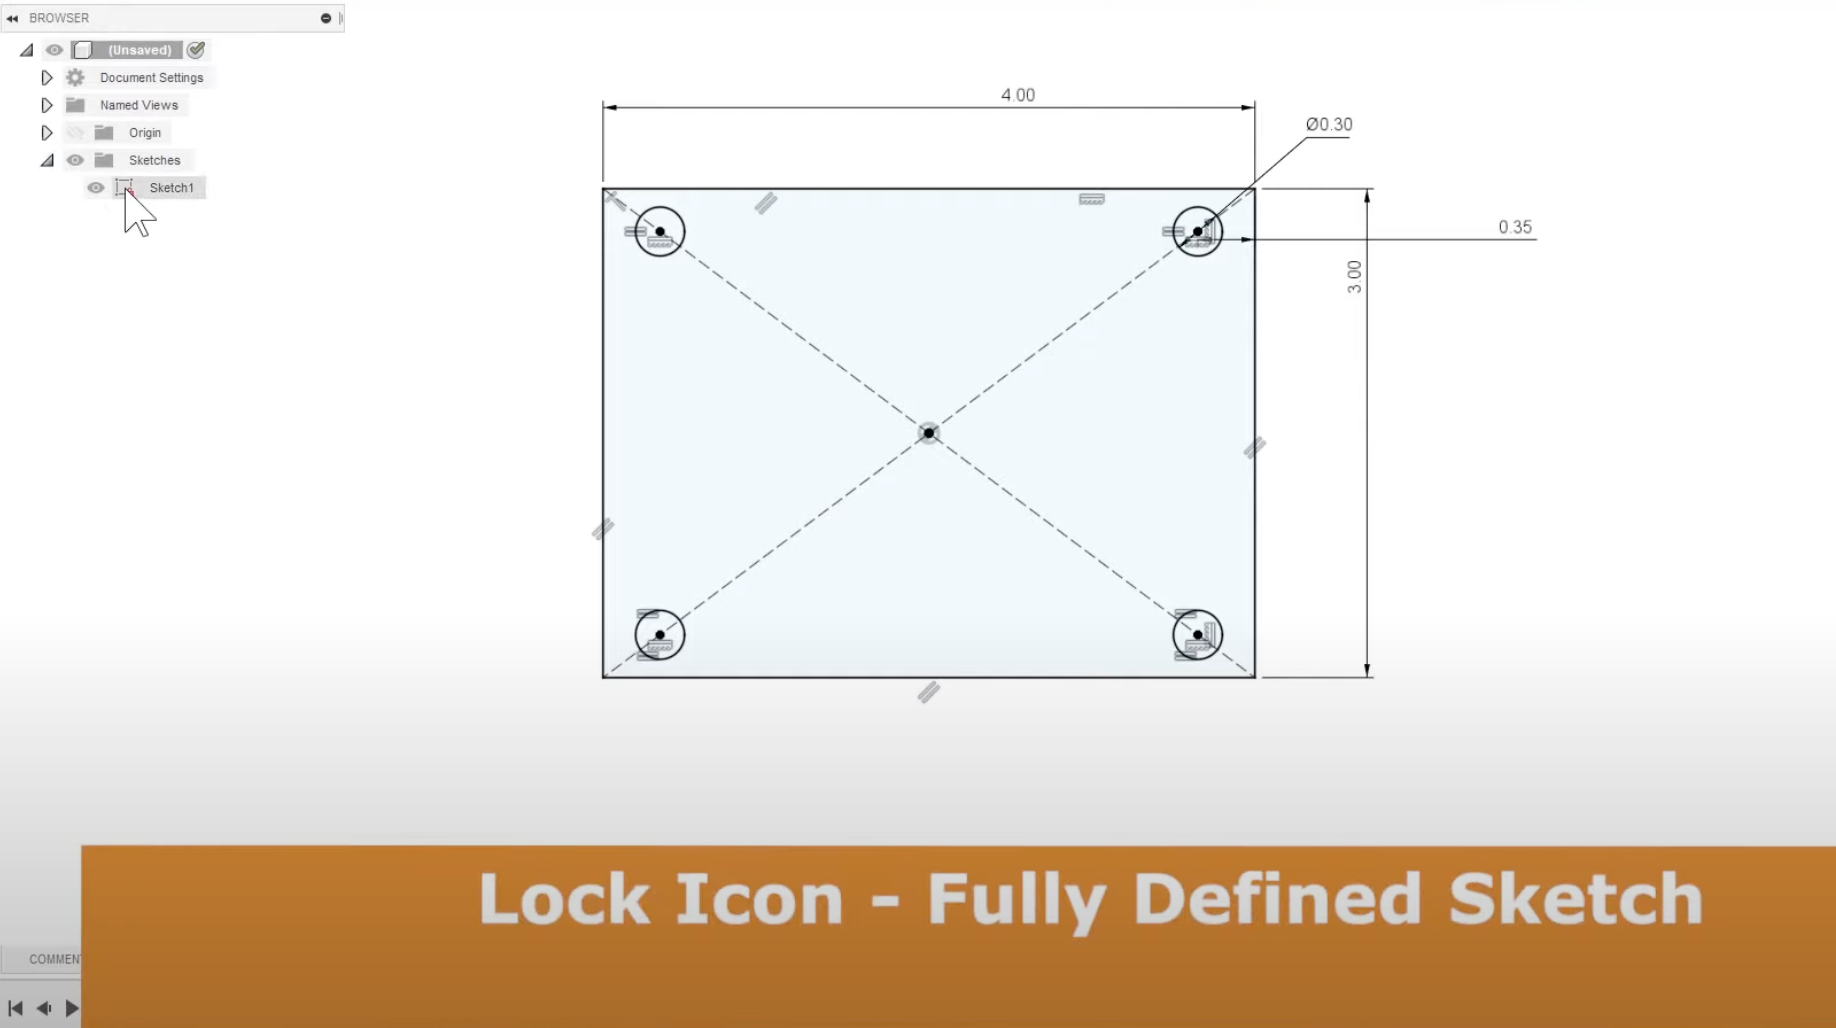
Once your sketch is fully defined, over on the left under ‘sketches’, a lock symbol will appear to let you know that everything is in fact fully defined. Now, the shape should be acting in the way that you want it to be and it will be easier to edit later on.
Next, hit extrude and add a thickness to the plate by selecting all of the objects- I changed mine to a ¼ of an inch. You now need to turn on the visibility of the sketch you’ve already done, select the four circles for the feet, and press extrude using the ‘join’ option so that it adds new material.
21. Start From
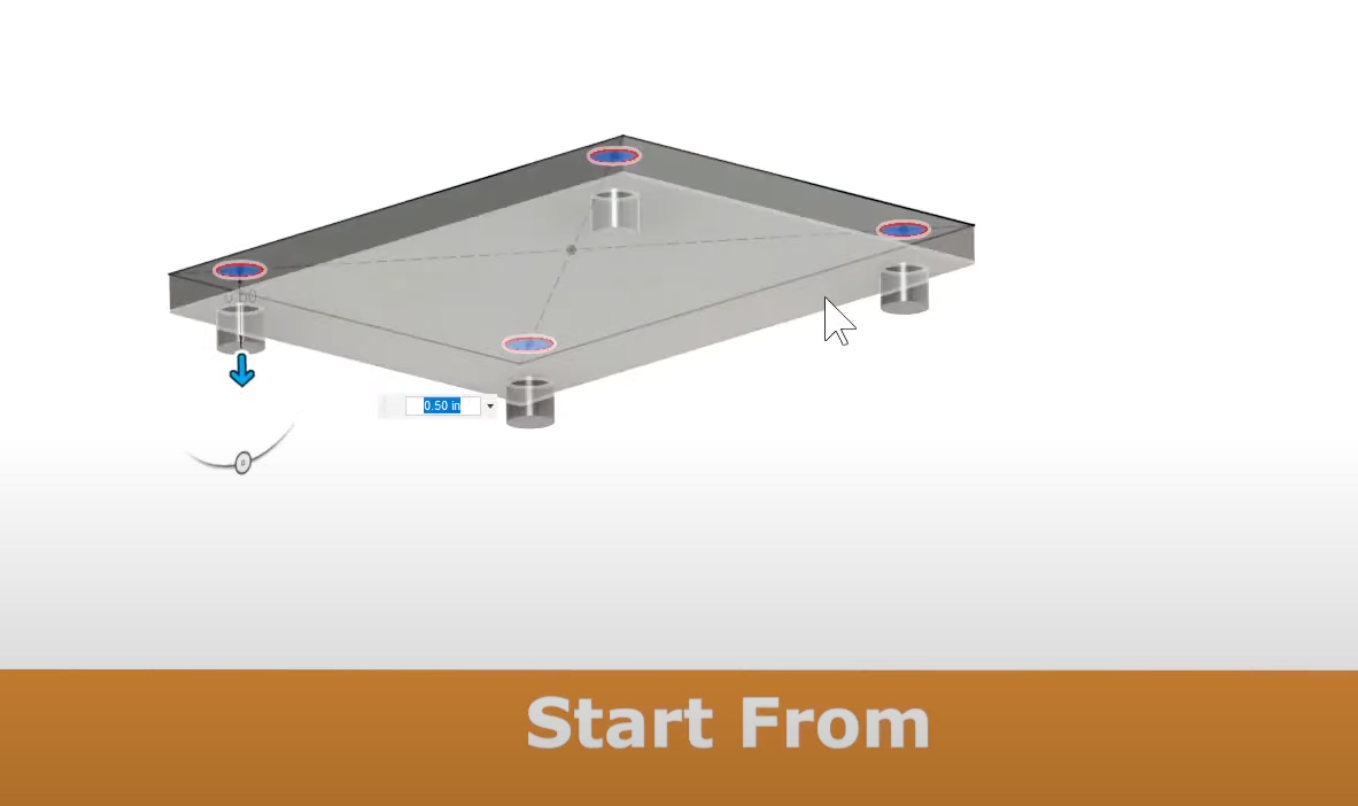
With the four feet selected, you will want to extrude them using the ‘from object’ option. I used a distance of 0.4 inches. Rather than extruding the plate down, we could have also extruded the plate up at 0.25 inches and then extruded the feet down.
22. Visual Style

The display now is muted, if you go down to the display image, there is visual style which is where you can show shaded edges to be able to make out the edges and to show any hidden edges.
23. “A” Appearance Tool
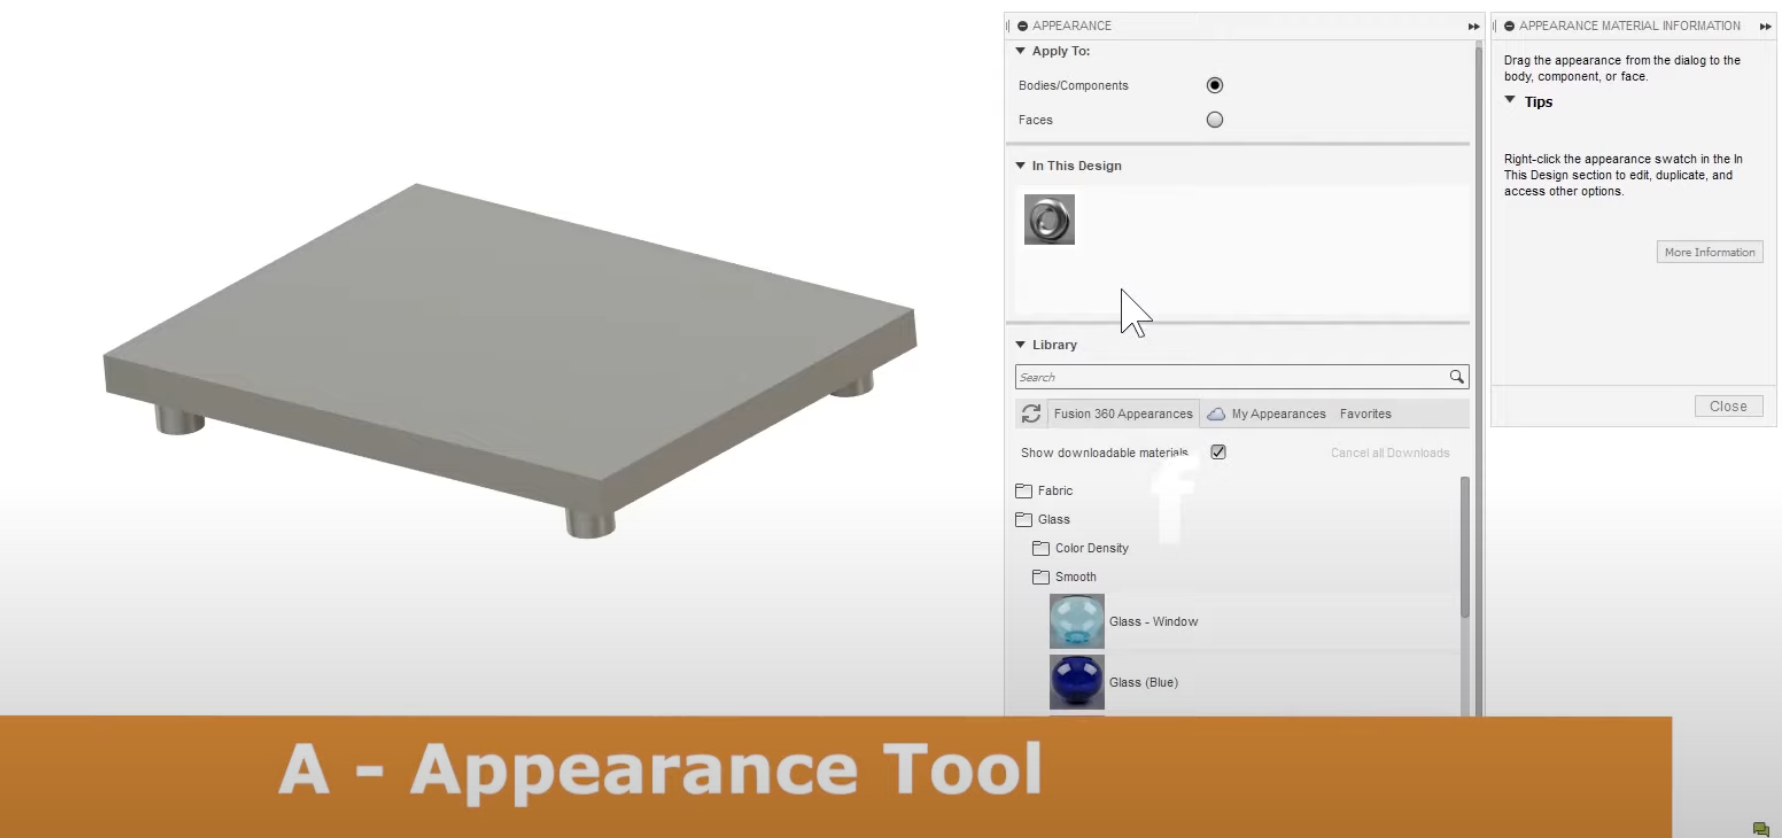
To get the glass material that we had seen earlier, hit “A” on your keyboard which brings up your appearance toolbar. Go to your Fusion 360 appearances, some you have to download, but they are free. Now you can just drag on the glass appearance and you’re all done!
Conclusion
With this article, you have all of the information you need to start not only using Fusion 360 but creating on Fusion 360.
I hope that these 23 tips that all Fusion 360 beginners need to know have been helpful to you and your learning. If you’ve enjoyed this article, check out some of our other blog posts here or watch the Youtube video that accompanies this article.
Thank you for reading and good luck creating!
