
Fusion 360 Create an entire part with one sketch
Jun 18, 2020
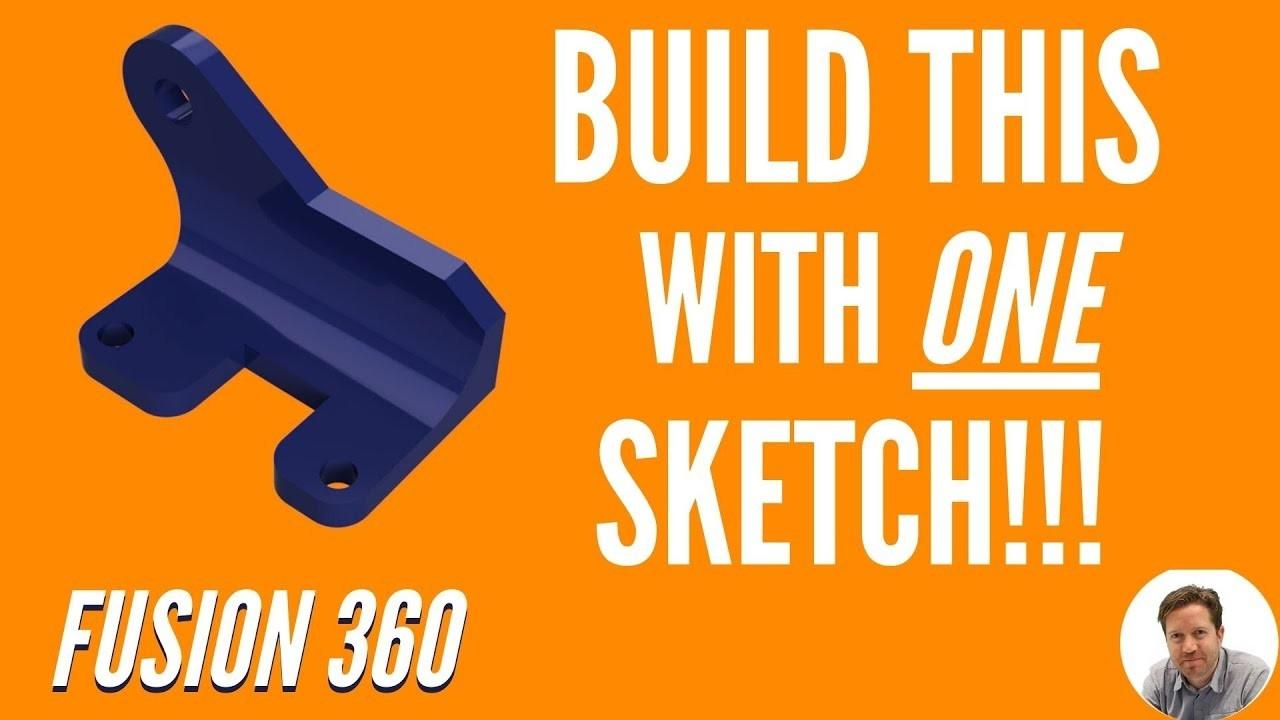
Okay. Here's the challenge. How do you build this model with one sketch coming up?
(00:11):
Okay.
(00:12):
Hey everyone, Tyler Beck with tech and espresso today, we're gonna be covering the challenge of how to do this model with one sketch. You can do as many features as you want, and I'm not getting crazy with sculpt or anything like that, but how do you do one sketch, some features and get this thing finished. Here we go. And Hey, if this video is helpful, hit that like button hit subscribe. And if you don't like it, let me know why. Okay. Starting a new design. What do I do? It's one part. So I'm not going to start a new component. Don't have to, I'm going to start a sketch on the front point. And obviously this is the really important part because we only get one sketch. Okay. So I don't really have some dimensions that I have to follow. So we're going to just kind of sketch this thing out kind of roughly, okay. Now let's start adding some constraints. First thing, this should be horizontal. That definitely should be vertical. Maybe we know this angle, right? So if that's one 45 or one 30 next, we're going to make these tangent, give this a radius.
(01:29):
That'll be an angle of one 45. I want that to be horizontal. This is 15. Okay. We're almost to the important part here. We're going to start adding some other sketch things. So this is going to be the base and then we're going to have the middle tabs, right? So, um, if we want it to be, even can make that 45. We'll delete that and maybe do this one at 45. Good enough. All right. What else are we missing for this to be fully defined? And it'll start to make sense in a second. If we dimension maybe the distance from that center point over. Okay. When I drag the blue points and see what stretches and moves starts to kind of make sense of what's happening. So what's dimension the full dimension. Let me make this 25. Okay. Almost there almost fully defined.
(02:56):
And that angle or that height? Yeah, an angle. Okay. So let's do an angle coming off of this 30. All right. We're finally fully defined now for the fun part. Let's start extruding it. Okay. So I'm going to extrude this and we're going to extrude the entire thing and we'll do about maybe five millimeters. And now we're going to extrude again, this time doing the plate. That's a little tall than maybe what I wanted, but let's do negative 20 and we can come back and edit that sketch. If that just doesn't quite look right. So when I dragged this in it's at 19, let's make it 10. Here we go. I love that. It all updates because it's fully defined. So it's behaving as it should. And again, we're going to do another extruded. Sometimes this gets tricky to get that sketch, to highlight. So you can hide the bodies.
(03:56):
I'm gonna do these two tabs, and then I got to bring them back so we can see it. And we're not doing a new body we're joining and we're coming out, you know, another 10 millimeters or whatever. Okay, great. So there it is. We've got kind of the whole thing. I'll hide the sketch for a minute. That's our one sketch. We almost got the whole thing done with one sketch and a few extrudes. Right? Pretty cool. And it is one body. Now, the feet, the other things that if you look back at my original, I did forget to sketch maybe a circle here.
(04:31):
We could have done that in the original sketch. And then in the first feature, we could have excluded that whole think. We want to do, we're going to fill it this edge since I had that kind of that rounded. Um, if you remember, there's that rounded edge. So let's now add the rounded edge. We'll fill it that. All right. So next, before we do the holes, let's round off these bosses and I can do that with fillets. I think they all can match. So if I pick all four and then bring them in looks pretty good. Okay. So now let's add a whole search for hole. I'm going to drag this in and I'm going to just get it down to 10 millimeter and then I'm going to locate it. And this is pretty sweet. Go to reference, select the round edge. It goes to the center or should, Oh, it snapped to a point. Let's try again. How about if we go to reference around edge, there we go at centers to the center point of that arc. Pretty cool. And then we'll right. Click and do a repeat and just drop it somewhere on the randomly. Right.
(05:55):
And get it to 10 then reference. I don't want it snapping to anything. So I move it away and now it snaps to the center point and I wanted it 10 awesome. One sketch and one, two, three, four, five, six, seven different features to create, you know, a somewhat complex part. Hey, so if you're looking for some more beginner tutorials, check this one out. And if you haven't seen this other video, YouTube says it's probably the best one for you. Let's check that out. Hey, thanks for watching.
