
Beginner Tutorial - Stand Off Bracket
May 07, 2020How can you build this part with mirroring, saving some work, saving some time with all the tricky sketches and slots coming up?
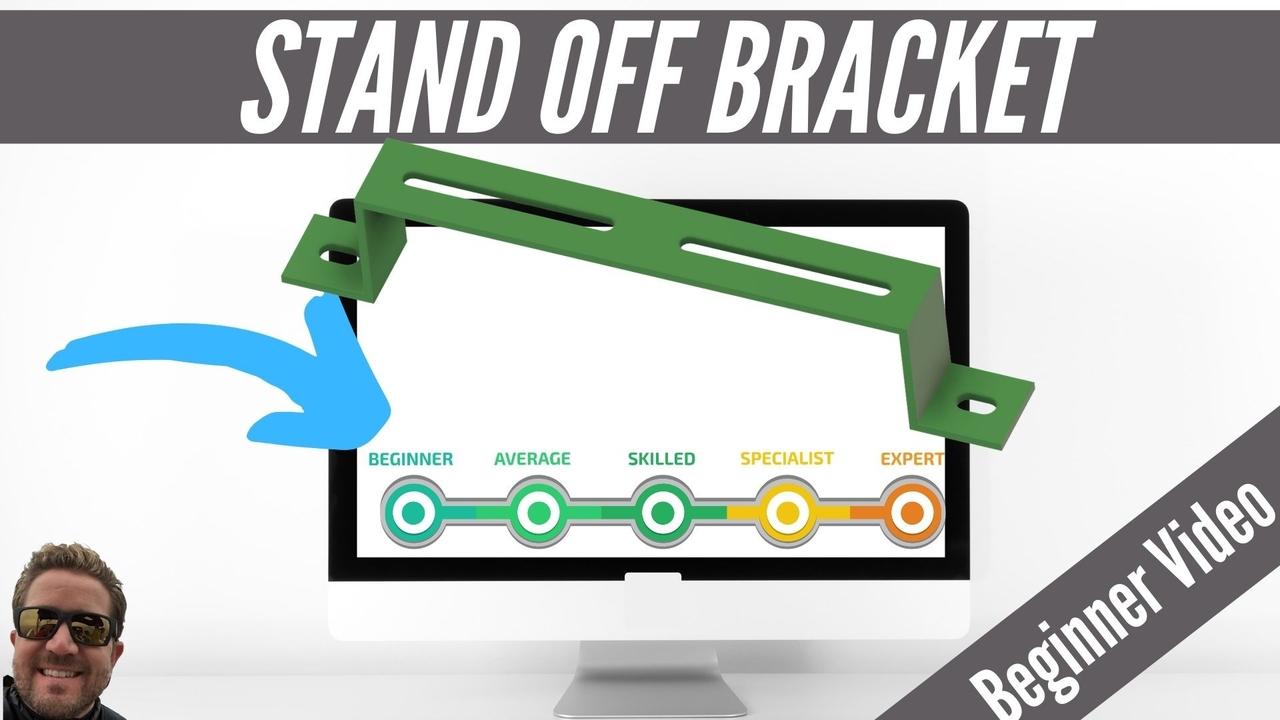
Hey, this is Tyler Beck with tech and espresso. Today's tutorial. We're talking about this standoff bracket. So if it's helpful hit that, like button hit that subscribe button for me. And in the comments below, let me know what kind of tutorial will be helpful for you. Would it be a three D print set up or would it be more sketching love to hear from you? So here's an example of the drawing. We're going to be going through, check out that link. If you want to download the drawing or feel free just to follow along, I'm not going to do a quick run through of the interface. Feel free to skip ahead. If you've already seen this, let's do a very quick run through of the interface of Fusion 360.
(00:56):
You've got your main data panel, and this is where you can see files that have been shared with you, as well as all the files that you're creating. You can start a new project and within a project, this is where we can upload or import files or start a new folder and further manage our designs. On the left. You have a browser, you can see the file name. You can see what's active when it comes to multiple components where you can select each one and make it active. You can expand and look at bodies as well as select this visibility control. This main command bar appears where you can change between the different workspaces. You can do a lot in the design workspace where you're creating solid geometry, as well as doing assemblies, but this is where you can access the cam space, generative design simulation, and the rest.
(01:48):
The timeline down below allows you to track your order of operations, as well as go back and edit and reorder features as needed. Clicking. A new tab allows a new design or new file notifications. The extensions as well as job status will let you know if you're working online or offline, the help menu can be found here where you can search through existing tutorials and helpful topics. The preference has been you. Of course, lets you control your entire experience with Fusion 360. It's worth noting down below these display settings can adjust your visual style, whether it's shaded with edges or wire frame, if needed as well as controlling the different camera views and visibility, the ability to zoom and fit everything to the screen or zoom in on a specific window or to turn on the grid when sketching as well as the ability to control multiple views or a single view.
(02:46):
The first thing is strategy. How do we attack this? The profile is critical. So this profile and the front view is exactly what I would want to sketch in our first sketch. One thing we, I noticed it is symmetrical so we could mirror. So we're going to practice that. There's, there's an argument for both sides, but if you know, it's always going to be symmetrical, meaning these cuts on one side will always match the other side. Then mirror can be a great strategy. Let's do that today. We're going to start a new part or new design. Start to sketch, go to the front plane. Now if it's okay, I'm going to do, I'm going to show you guys something that is a hangup for a few new users. And it's trying to do this almost in pieces where maybe they kind of like extrude. So they'll extrude the like leg leg of it extrude.
(03:52):
Hopefully you're already seeing like, this is a lot of work to do that same design. So this is why giving the profile or that some, you know, your first sketch some thought. So looking at this drawing, this is the profile I want to do and I'm going to do half of it because we plan on mirroring. Okay. Starting a new file again, new sketch front plane. Okay. I'm going to keep the origin in the center and we could do an offset, but I'm going to just sketch this rough shape just for the practice with the constraints. Okay. Okay. So what did I mess up? I'm going to select this line and make that vertical. And I'm going to line up the point to the point. And I'm also going to line up this point to this point and say that they're horizontal now a good rule of thumb in any CAD design is used as the constraints, as much as you can, before you put in your dimensions that you care about, how would you describe it to someone?
(05:01):
Well, I'd say, well, it needs to line up with the origin. That's a vertical line, but also that this edge and this edge, it's the same thickness. So they should be the same. So I'll come up and say those are equal. Great. Alright. Is there any other constraints that I know? Not at the moment. So let's start adding some dimensions. Okay. Before I drop in my dimensions, I'm gonna make sure my units are what I want and I'm going to do inch and let's do a dimension from the height, the top to the bottom here. I know that that is one and 15 sixteenths, so I can actually type it in that way and it's going to convert it. We could show it in fractions as well, but I'm gonna leave them as they are. Okay. So I know a bunch of dimensions doubled. And since we're doing half, I'm going to draw or sketch a line going up and down and make that a construction line.
(06:03):
This is going to be very helpful going forward. Okay. So I know the overall distance is 10 and a quarter. So we'll dimension from the outer. Sorry. The order does matter here. I'm going to do, we didn't dimension the construction line to the outer edge. And before I placed it, am I right quick and shoes, diameter. I know diameter is a little weird and you move it over. It doubles it. But you can think of if this was a revolve or around part, it's a diameter or if it's an extrude, like we're doing the diameter is the way of doubling a dimension. And this can be very helpful so that you don't have to do everything in half. Right? So double click on my mouse and the wheel and it zooms in. All right, so next, how can we get the rest of the dimensions?
(06:54):
Let's do the top. We already know the top. What about the thickness? Let's do the thickness here. So I pick these two edges. There we go. And the thickness is one eight. Now one of my things that I'm always looking for is what's blue and what's black. The blue means that it's been, it's not fully defined. We haven't really locked in where it, how it's supposed to behave or where it sits. Okay. So what are we missing with our dimensions? Well, I do know the thickness is going to be one eighth and I could do an equation, but we'll just leave it in. Don't have to think about the equations just yet. Now one tricky dimension that we have on the sketch is this, this center to center and that's nine and one 16th. So how can we do that? Well, I love construction lines. I'll come in and snap to the midpoint of this edge. Sketch the line, make it construction. I'm going to dimension from here to here, diameter, double it again. And this time it's nine one 16. There we go.
(08:18):
Okay. So it looks like it's fully defined. Okay. Next thing. Let's extrude. This I'll hit E on the keyboard or find my extrude and we're going to extruded a depth of a depth of one and three sixteenths to extruding this profile. We want to preview it. It's one, three sixteens. Great. Okay. So now that we have this shape, let's go ahead and cut out those two slots and then we'll mirror everything. Great. So coming up to the top, I'm going to start a sketch on this face. I'm going to type in S for search slot, do an overall slot and I'm just going to drag it in rough. Okay. I don't know. I could start locating it, but let's go ahead. Drop it in. Right? Okay. So we know immediately this distance from center to center 2.7, five or two and three quarter, we know the thickness or the, you know, the radius.
(09:28):
Whoops. I messed up what's instead do the radius of that arc is one eighth. Okay. So now how do we get it placed it? We just need to figure out where it sits side to side and up and down. Well, I know that it should be centered so I can sketch a line from middle to middle it'll snap into place, select it and make it construction. And we can drag this on and then it's locked in. I try to drag it off. It's stuck. Okay, great. So what's next? Well, I know the center slot, the total distance. Okay. So I'm going to sketch this line going up and I'll do a construction line and we're going to dimension to another construction line. This way we can double it because it's a fraction. And I don't want to deal with doing the math, which I could with Fusion 360, but fractions can be tricky. So I'm going to double this and make my life a little easier and I can just type it in that way. Three 15 sixteens. There we go. Let's extrude cut all the way through. So we don't have to think about it. All done. Let's do this one, start sketching and do a search for slot same program.
(10:53):
Now we could have done both of those sketches since they both could extrude down, could've done them together. But, um, one advantage to not is sometimes heavy sketches or lots of entities can bog down your computer and it can feel slow with Fusion 360. So that's, that's totally a preference thing up to you. It is totally doable for this one, I think, but, but I decided to split them apart. Now I have two different features that I can edit as well. There's the radius and center to center believe is one and a quarter. What else are we missing? Right. So we want to line up with the center or we want to use that dimension. That's provided in the drawing at nine and one 16th. So we can do it either way. So we'll try that. And let's sketch a line going up and down. This is a construction line and let's do a construction line going up and down here. And we can dimension from this to that construction line, right? Click diameter. So you can see, there's definitely a pattern with this part. Wanted to show you guys this method for dimensioning space. One 16. There we go. Hit. Okay. And now we'll extrude this out, which direction down and all the way through.
(12:22):
Great. Okay. So we're pretty much done, right? This is great. Now how do we finish it? I'm going to type in S for search and do mirror. And one trick here for you. New users, a Fusion 360 is you want to select not the faces features, none of that. You want to do the whole body. So it grabs the whole shape, select the body. And then where do you mirror across? What point would you want to double it across, over here? So I'll go to mirror, plane select this face and it doubles preview is, can be misleading. This one looks good and there it is. Looks great. All right. So let's now finish it off. There's a seam. And if you go to your body's folder, two bodies, how do we finish this off? Some other CAD packages. You don't have to do this, but with Fusion 360 for now, you do I guess so search.
(13:16)
Sorry about that. Moving too fast. Search combine, select both bodies join hit. Okay. And it solves it as one body. And there we go, but we've got this model. So in review, um, I sketched just one half of it, but I was careful to do this profile, right? This made my life so much easier as we saw before. And then I extruded and then I did these slot cuts and then mirror the whole thing. Now, could we have sketched this as one shape and then sketch both sides and both that, give us more control and make more to edit down the road, which could be to our advantage. But if it's always symmetrical, then mirroring is a great strategy. I hope this helps. Thanks for watching hit that. Like button hit subscribe. I'll see you in the next video.
Download Drawing
https://www.techandespresso.com/StandOffBracket
