

Fusion 360 Sweep Tutorial - 10 Things You Should Know
Dec 07, 2020Fusion 360 Sweeps:
A Beginners Guide
Today, I’m going to show you the 10 most important things that you should know about using sweeps in Fusion 360.
This is a powerful command that has proven itself to be very useful in Fusion 360. It has many options that can prove to be overwhelming to those just learning how to use the command.
By following the 10 steps that are outlined in this guide, you can learn how to avoid getting errors and how to make more complex shapes.
The Topic Overview
What is a sweep, exactly?
A sweep is a profile that follows a path. You could also think of it as a cross-section that follows a curved path.
With this, let’s jump into the steps so that you can learn how to use sweeps.
Steps
These ten steps will give you the tools that you need in order to use sweeps like a pro.
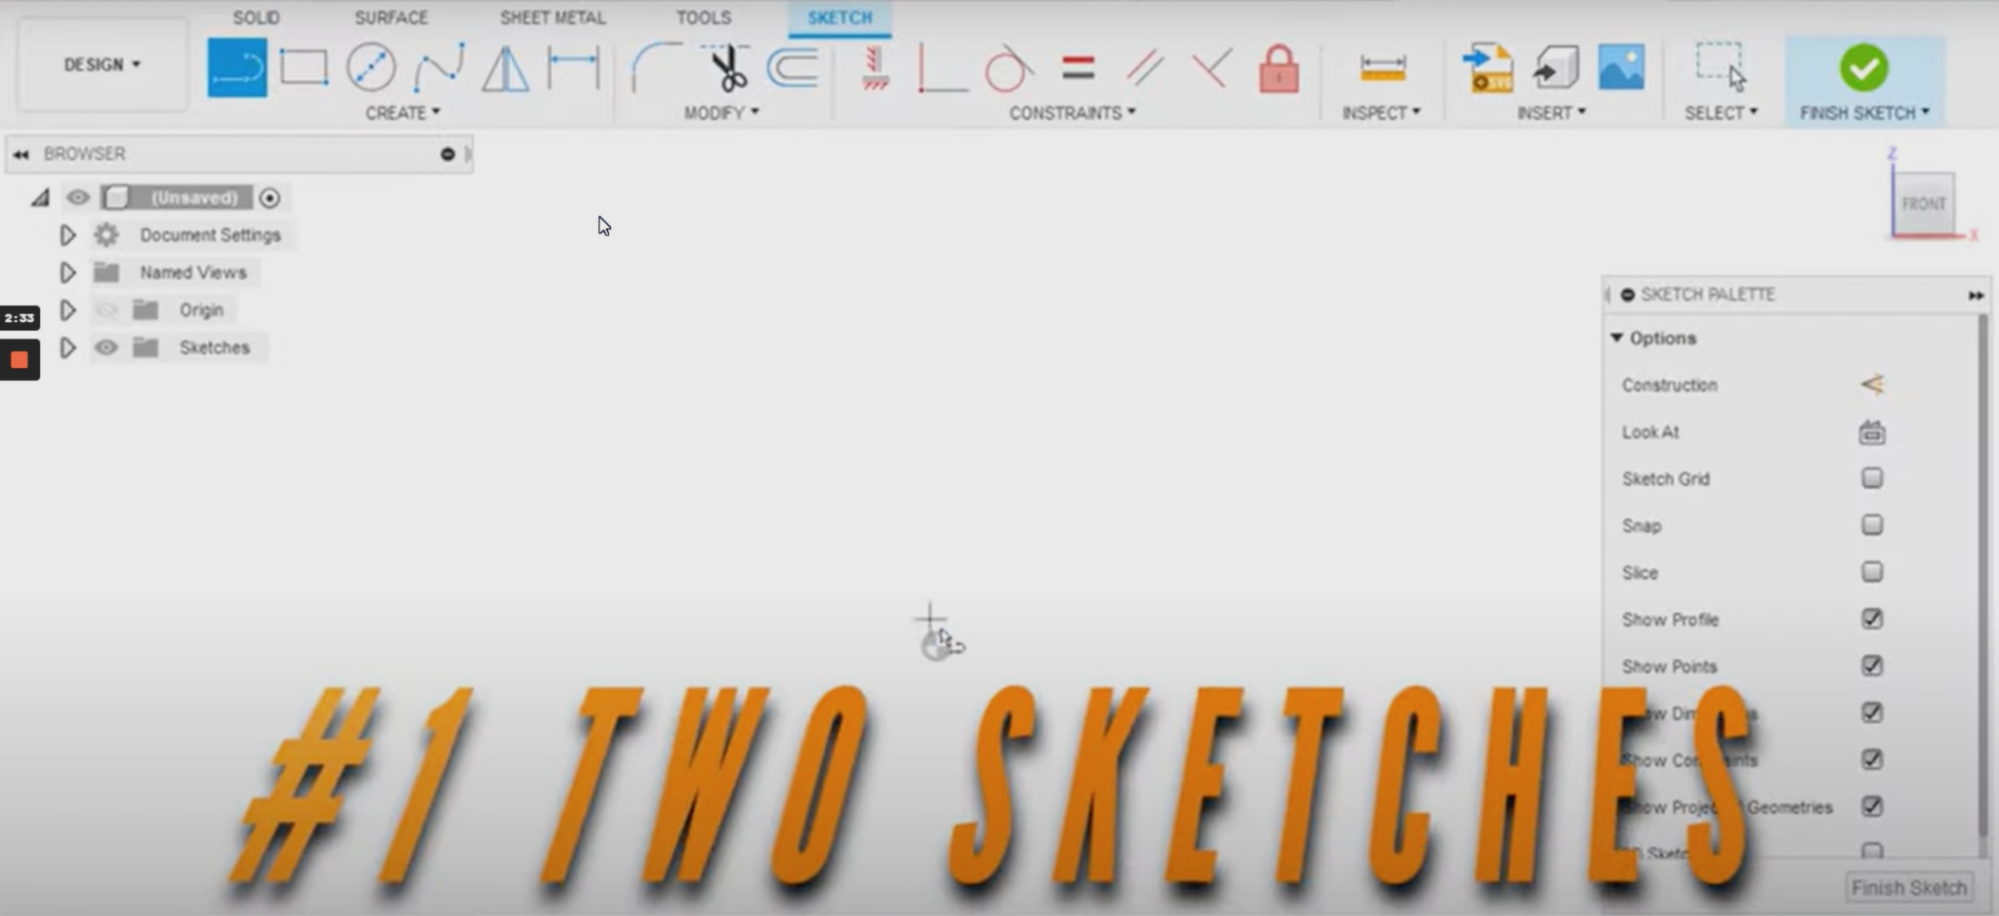
- Two Sketches
Typically, you’ll need two sketches. You can use an existing edge from your model and create a new profile. Keep in mind that you should always have a path and a profile.
First, I’ll be using the first plane to make a sketch which becomes the path that my circle will follow.
A key tip is that the two sketches need to be perpendicular to each other. As the first one was done on the first plane, this means that the second sketch should be done on a new plane. I will use the right plane so that it is 90 degrees, or perpendicular, to the other sketch.
Now, when you try to do a sweep (which is under the create command), select profile, then click path, and there you go! It’s also great practice to have your profile sitting on your path.
This is the thing that I see beginners get stuck on the most, they do their first sketch on the first plane and then do their second sketch on the same plane. Then when you try to drag your circle, it doesn’t know what to solve.
- Surface Sweep

This allows you to create a surface quickly without requiring any thickness from the profile.
If we go to sweeps with our search, you’ll find that “surface sweeps” is the orange one. By clicking this, the surface is going to sweep along the path.
Eventually, to make it real design geometry, you’ll need to add thickness or you’ll need to make it solid. Let’s give it a thickness command on one side which will now give you a solid body.
This started with a surface sweep, but I would encourage you to use a solid sweep when you can.
Perpendicular Versus Parallel
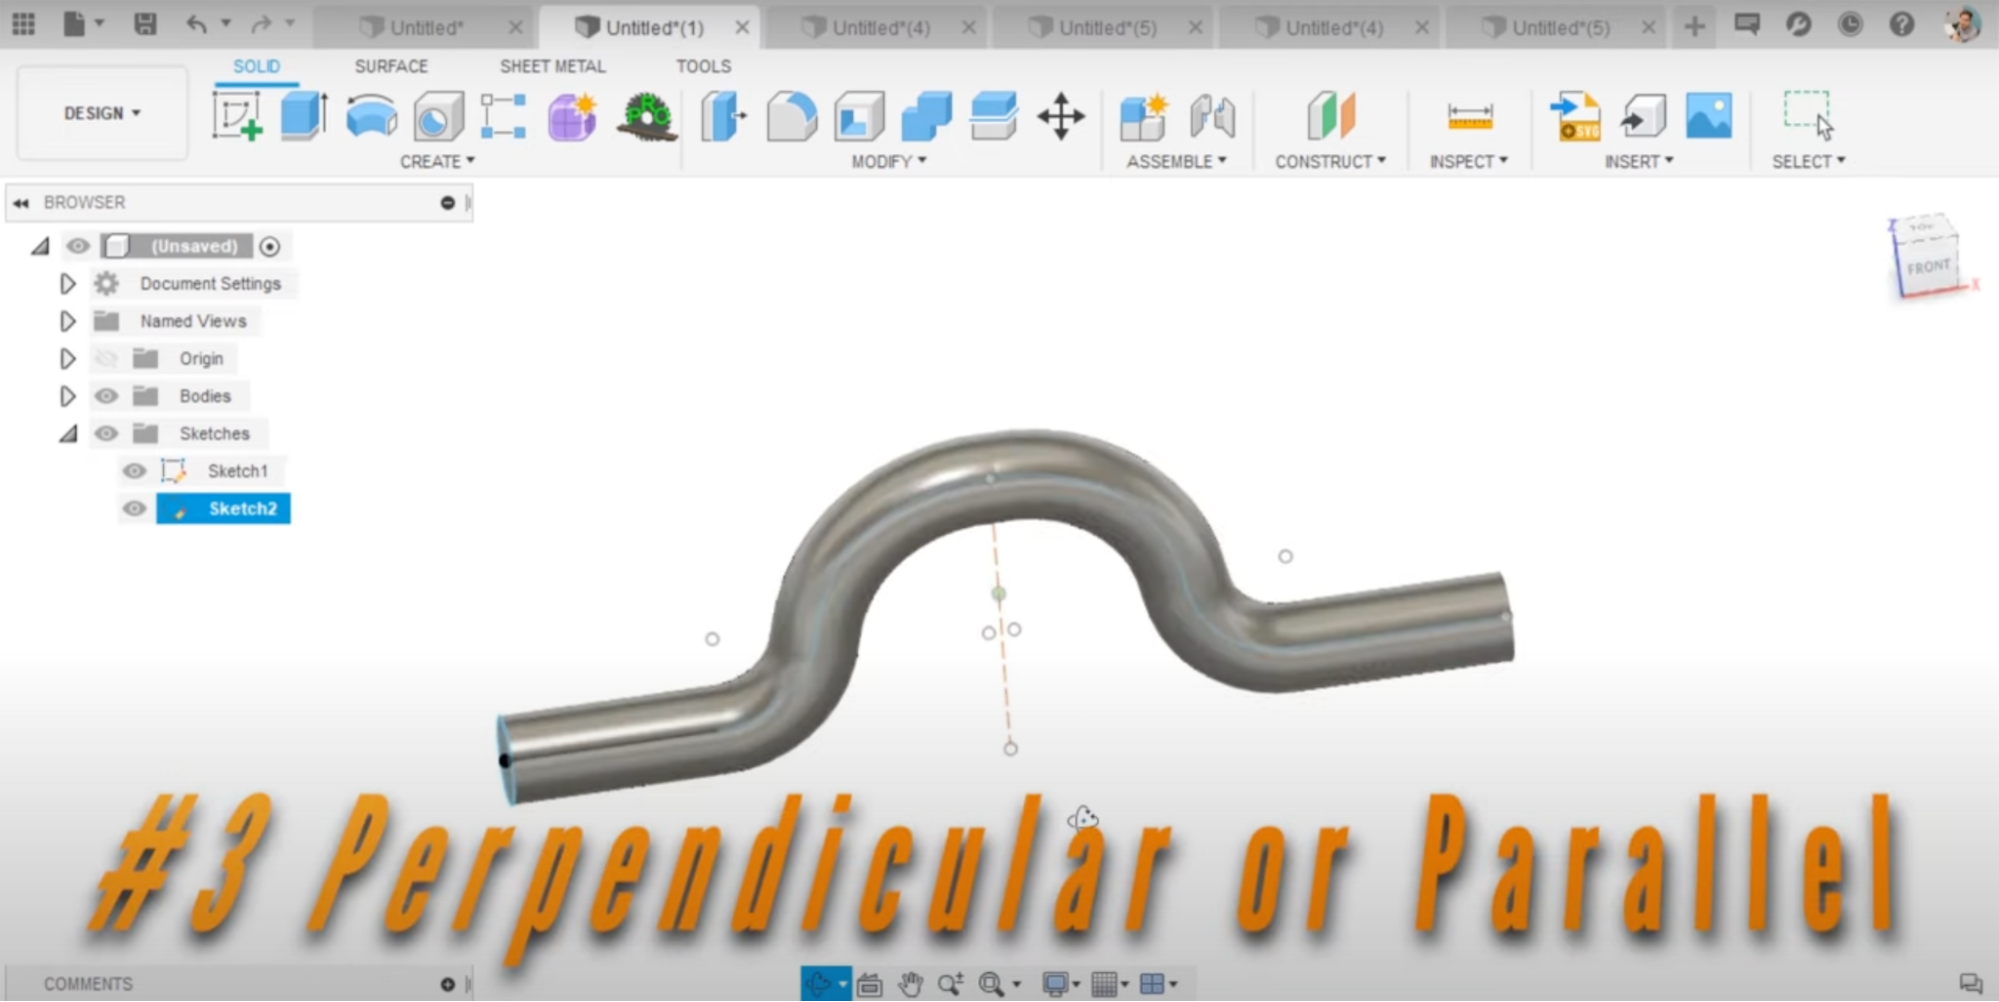
Within this feature, there is the ability to choose how it solves. It can be solved perpendicular or it can be solved in parallel, which can give you varying results.
A: Perpendicular
With perpendicular, it’s going to turn and solve as it goes. It looks more smooth and looks better here.

B: Parallel
With parallel, the circles stay vertical throughout the whole solution which creates a sort of necking to the shape.

-
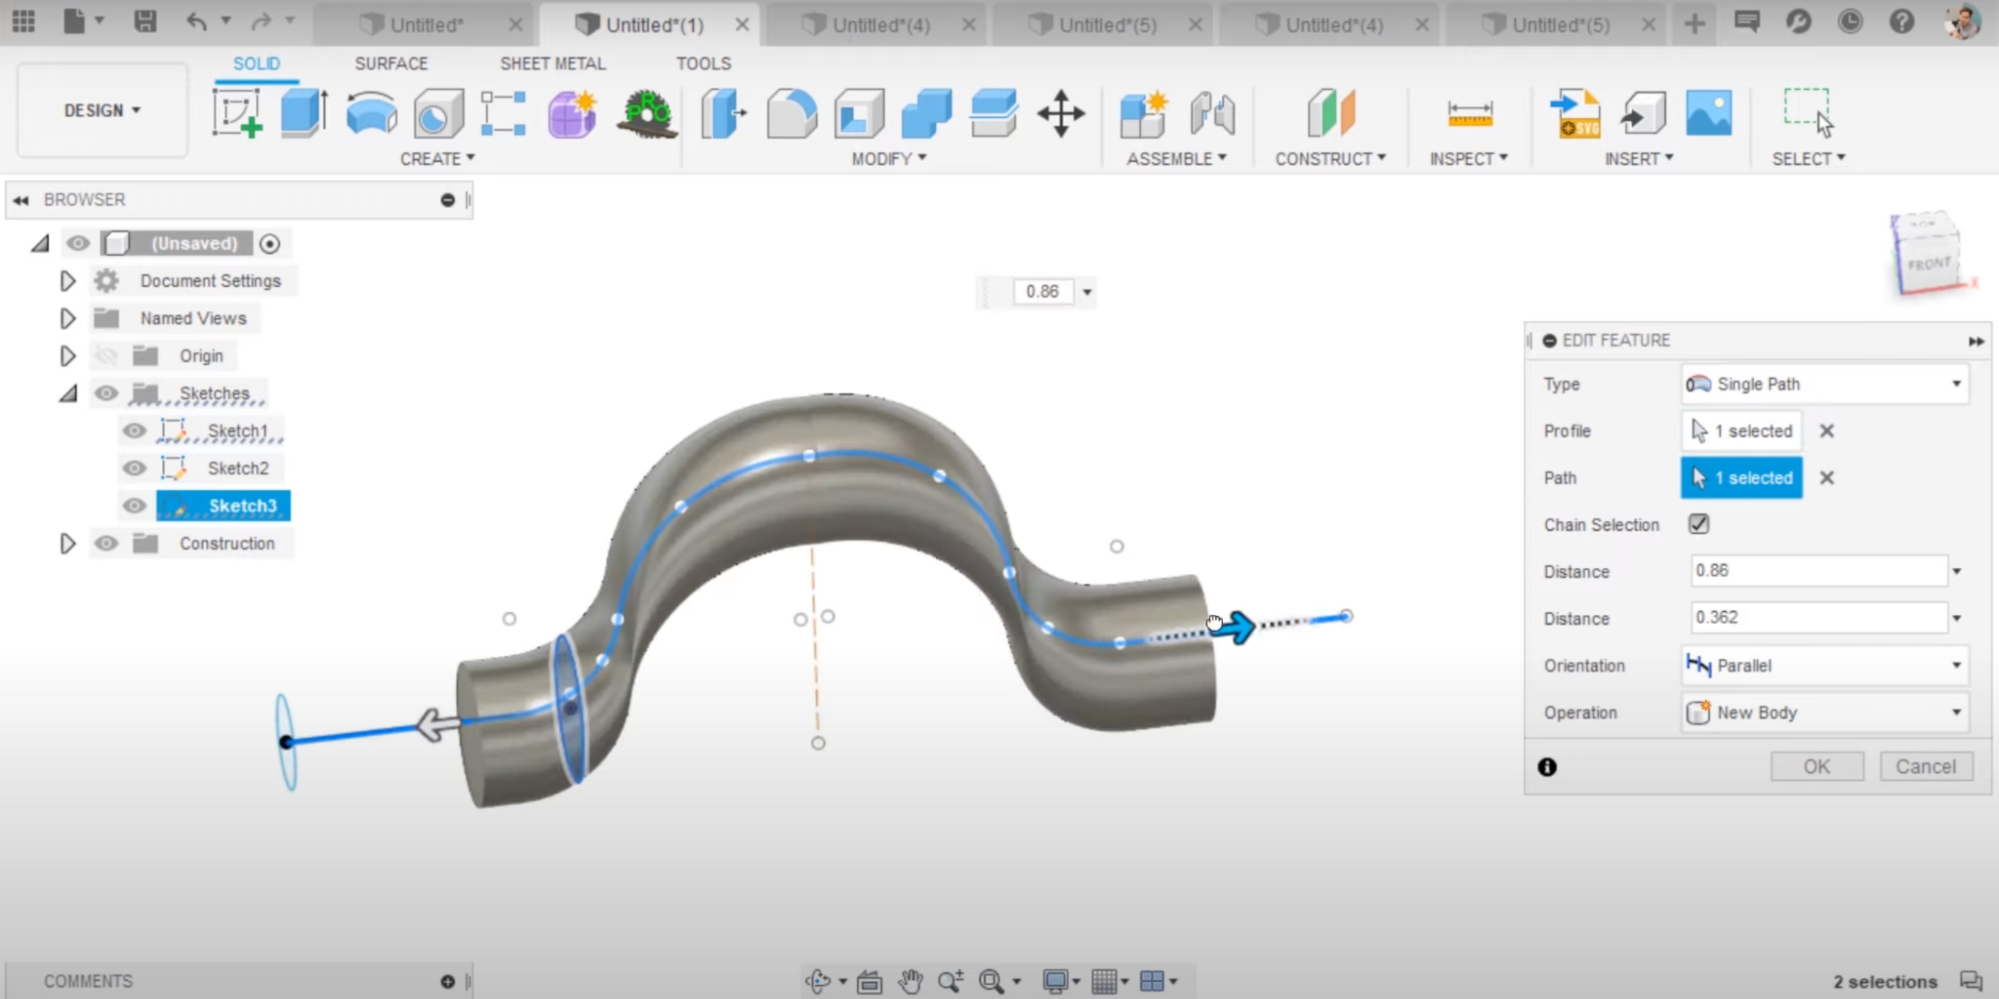
Control Distances
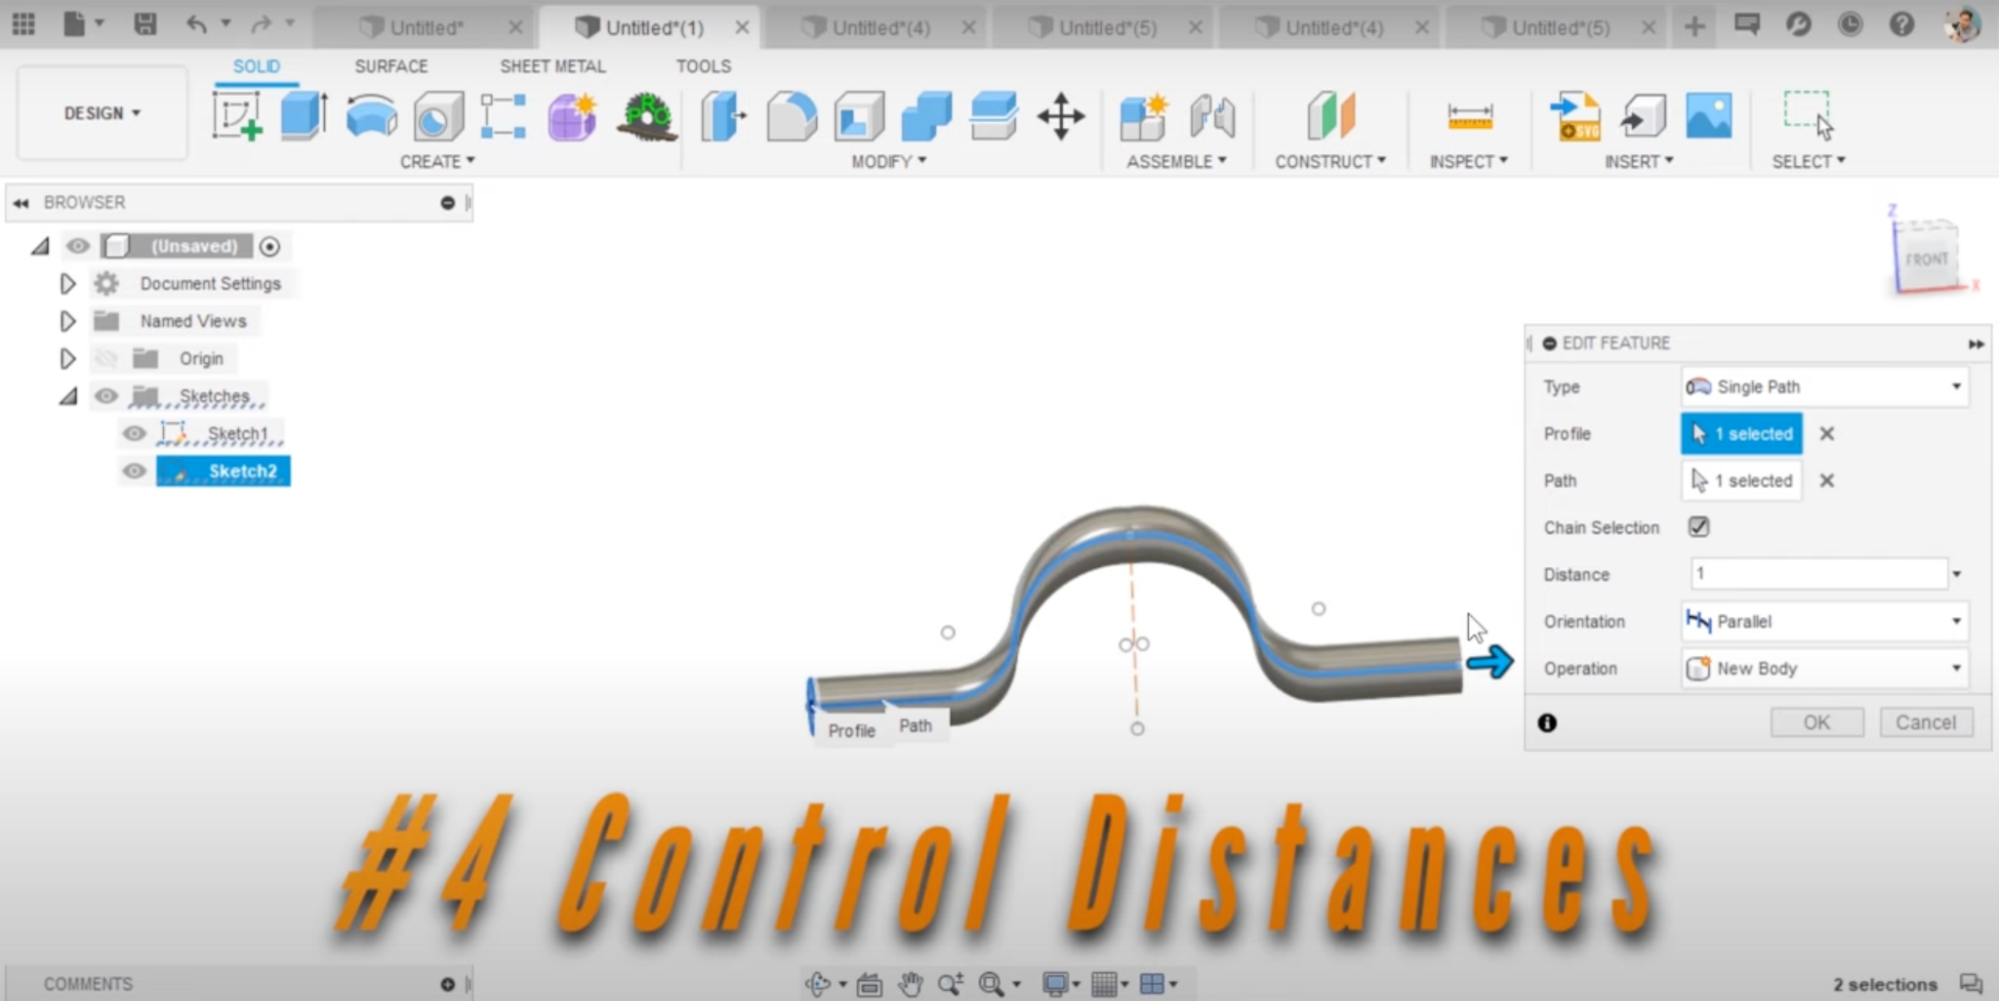
You can control the distance, you can adjust that distance that it solves.
You do not have to solve the entire path. You can specify a distance in dialogue or you drag the arrow to adjust the amount of the path that you would like to solve. You can see this in the photo below.
Let’s start a sketch that is kind of inset and we’ll resolve the sweep. I’ll make it a little bigger and you’ll see that the shape isn’t there as it is further down in the timeline so you’ll have to drag it back. Now, if I edit this and change the profile by clearing it, you can control solving both directions.
-
Sweep Along Edges
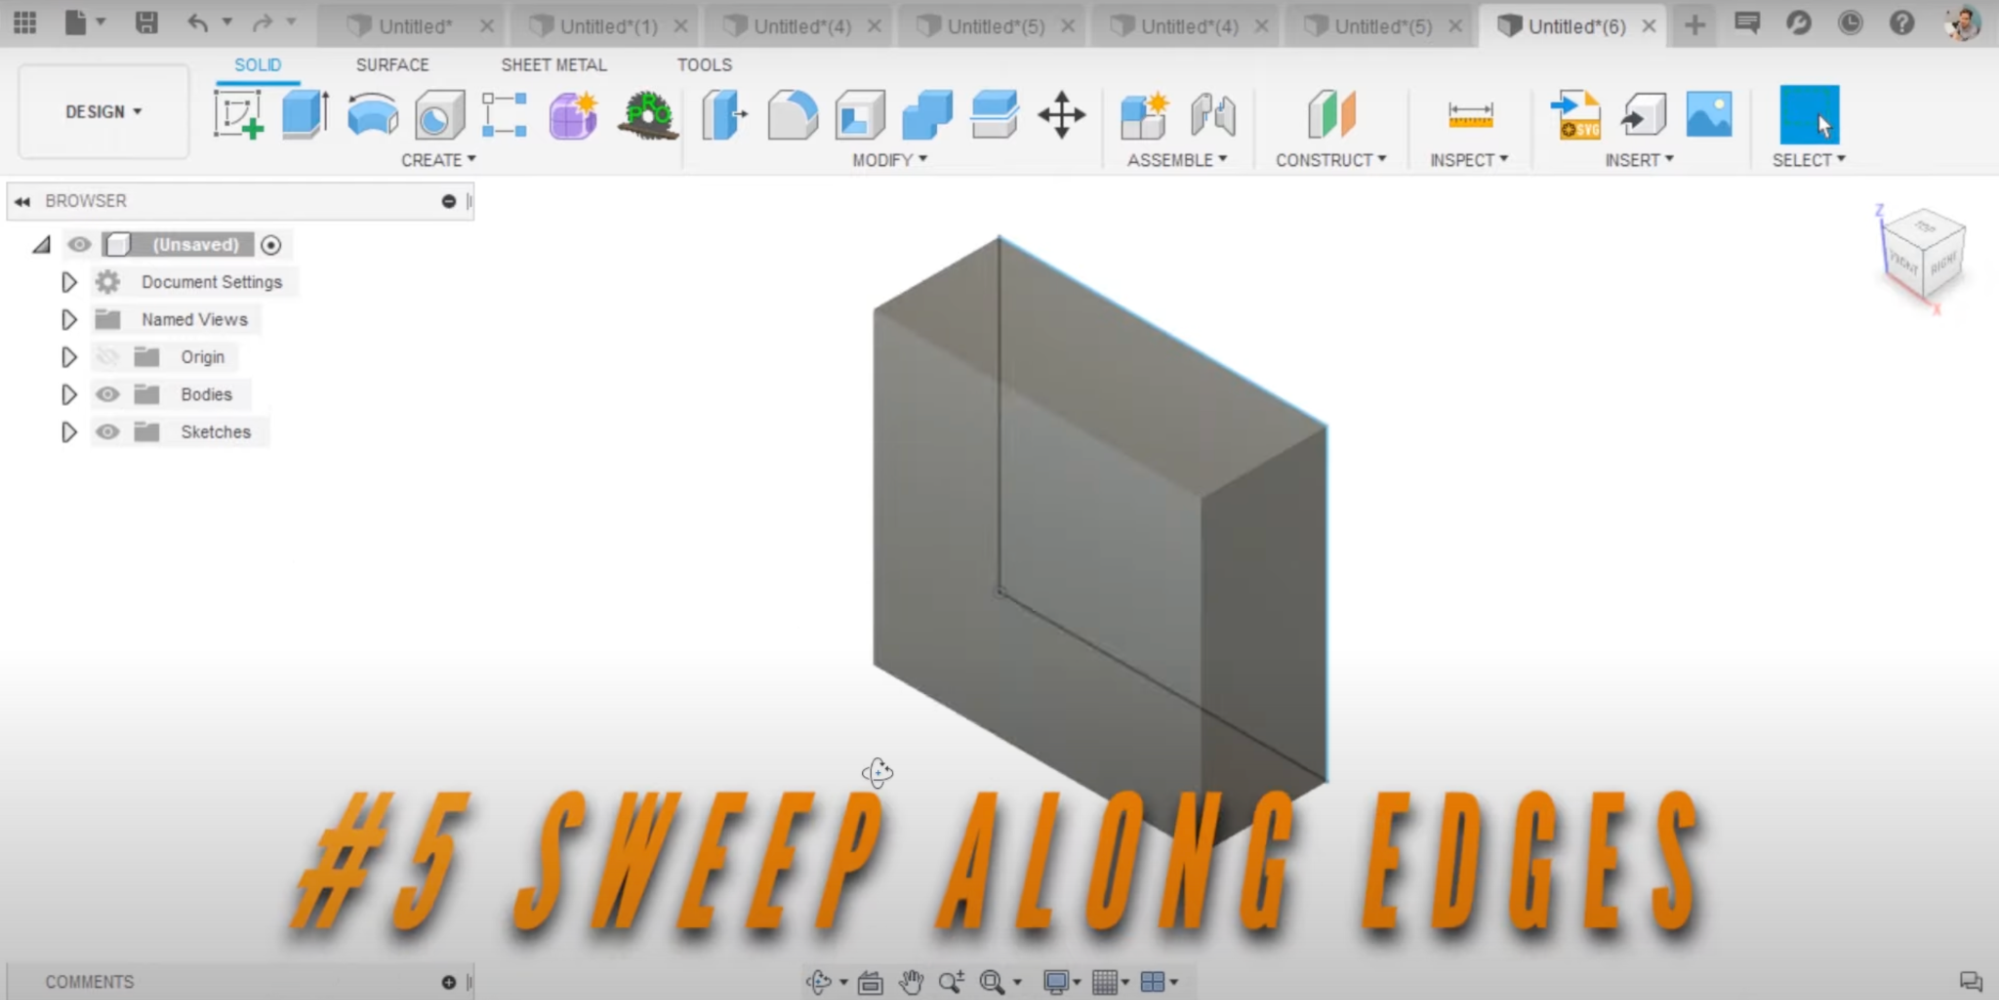
The simple explanation of this is that if you create a profile, you can use existing edges to do a sweep. We’ll also talk about how you can do something like a mitered profile.
Let’s start a sketch on one face, I’ve sketched a simple wood profile. I now have this profile that I want to sweep along the solid which I can now do. I finish the sketch, start the sweep along the profile and on an edge, then you turn off the chain, select the path, hold ctrl and go all the way around and now I am solving a sweep that follows a physical edge.
Mitered Corners
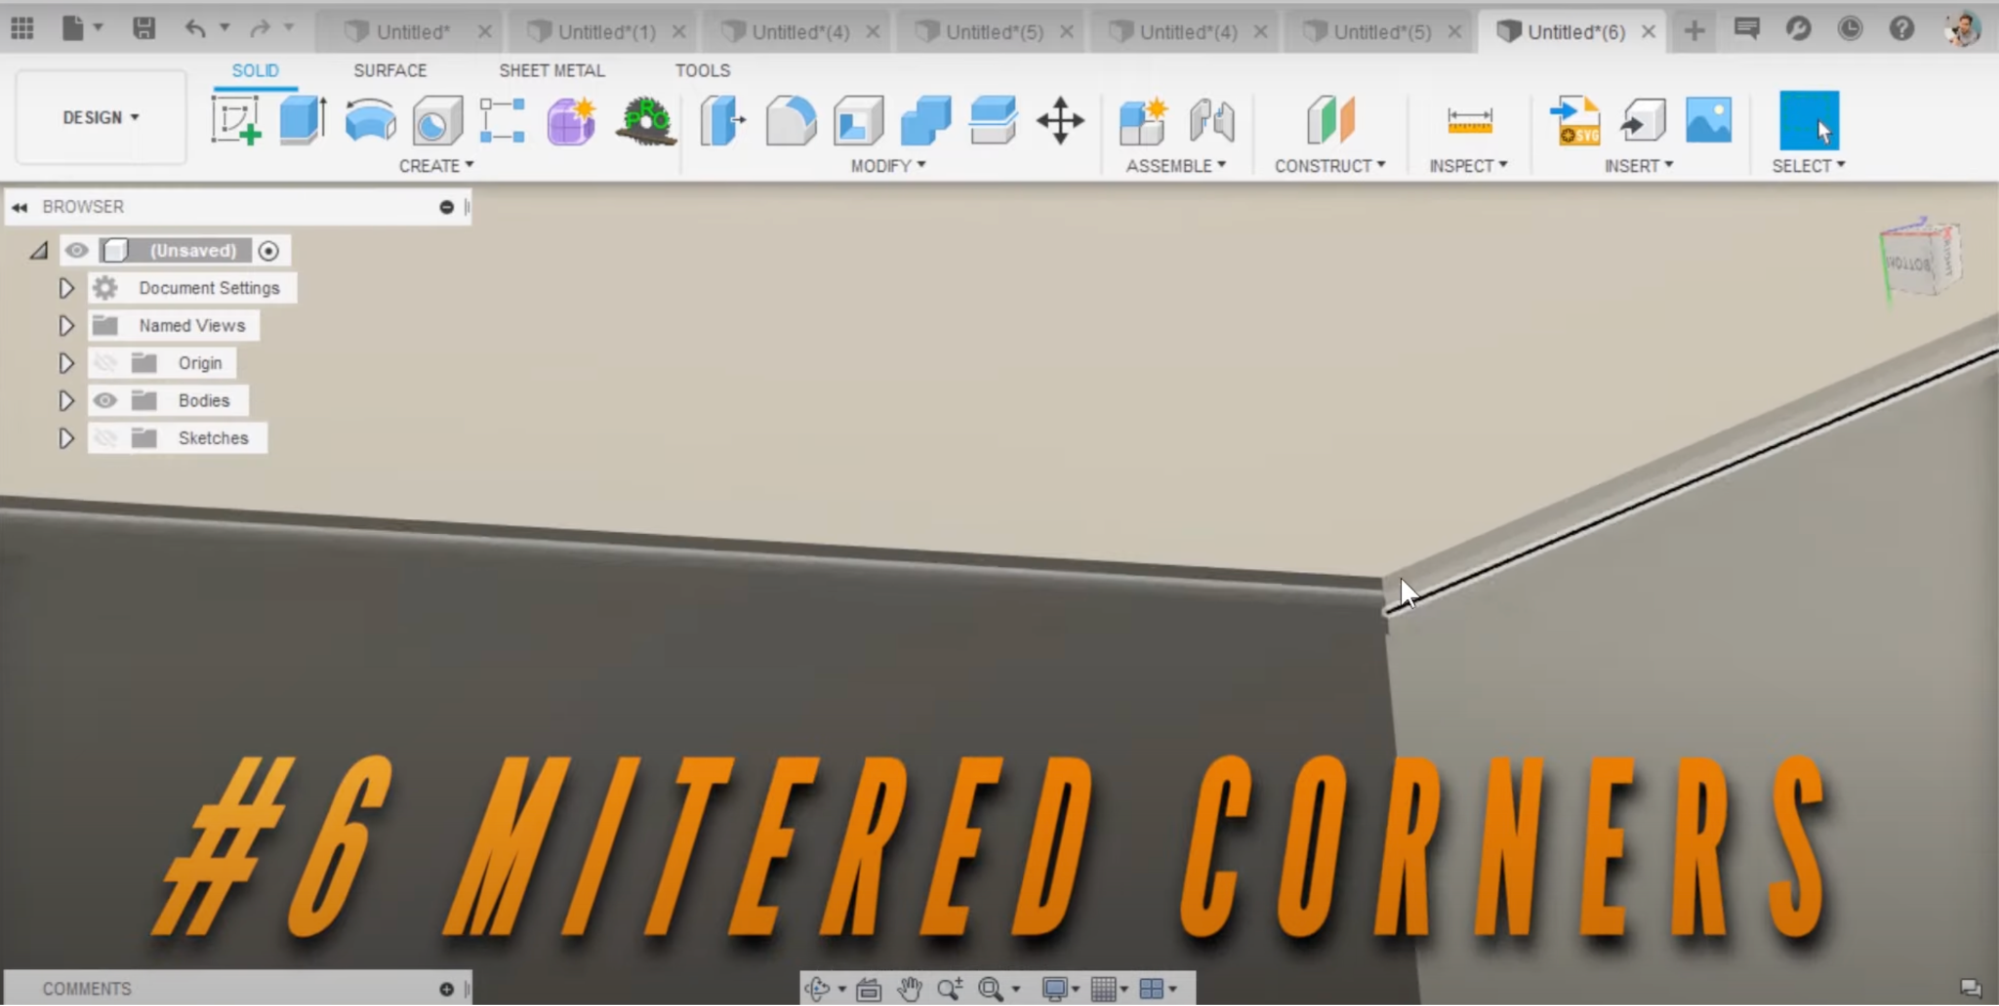
When you're doing a complete profile, you can have it solved to finish those corners or create a mitered experience or mitered look.
When you use sweep, one of the nice things is that it does this for you- it makes each edge of the corner be 45 degrees so that they become a nice 90-degree angle once solved.
-
Guide Rails
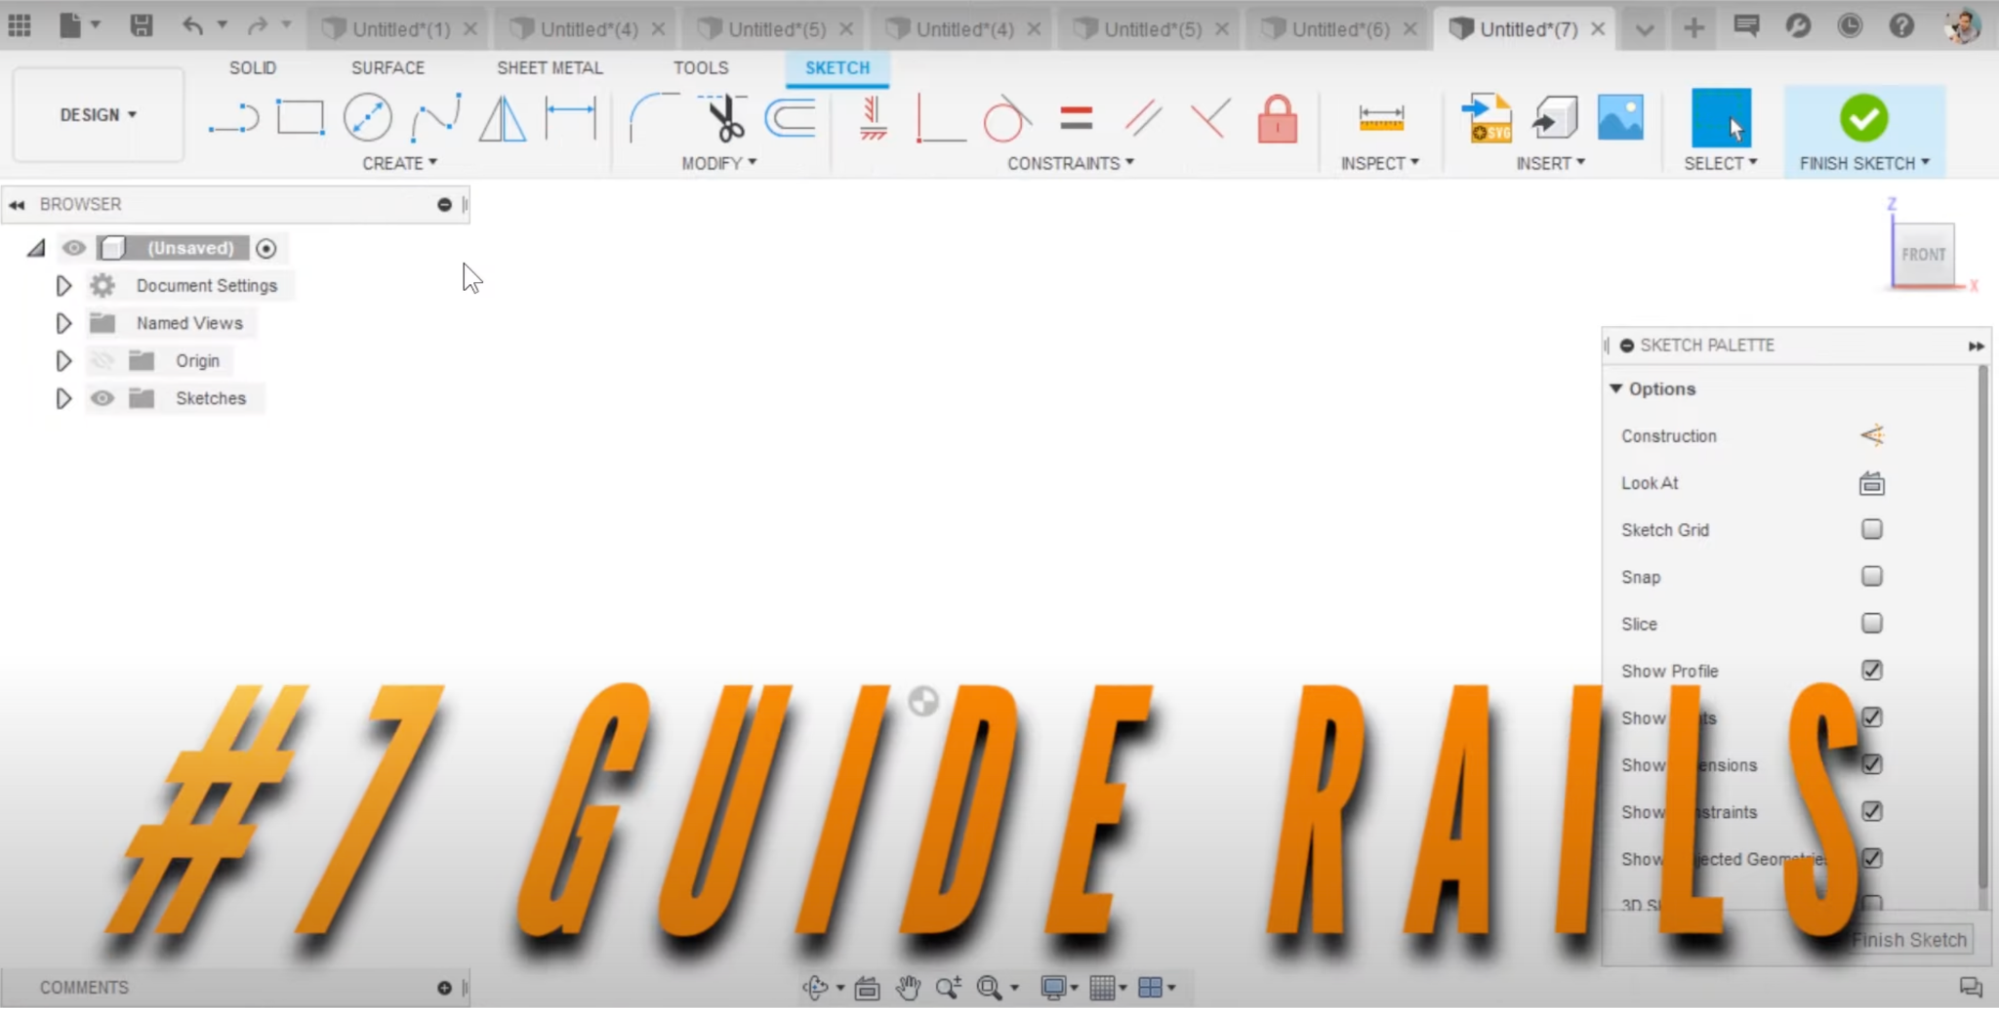
Guide rails are useful in creating complex geometry. Guide rails are a part of the sweep command, you can choose an option that is path plus guide rail.
By adding a guide rail, you're adding another constraint by which it solves. So it allows you to better control how the profile solves along a path, but then it still has to solve within the constraints of the guide rail.
So, if I have a left and a right side to this shape that I’ve made, and I want to solve this along a path but I also want to control the right side, we need to create a grip here and now we can do a sweep that solves both. We still do the profile and path, but we also add the guide rail.
Rope
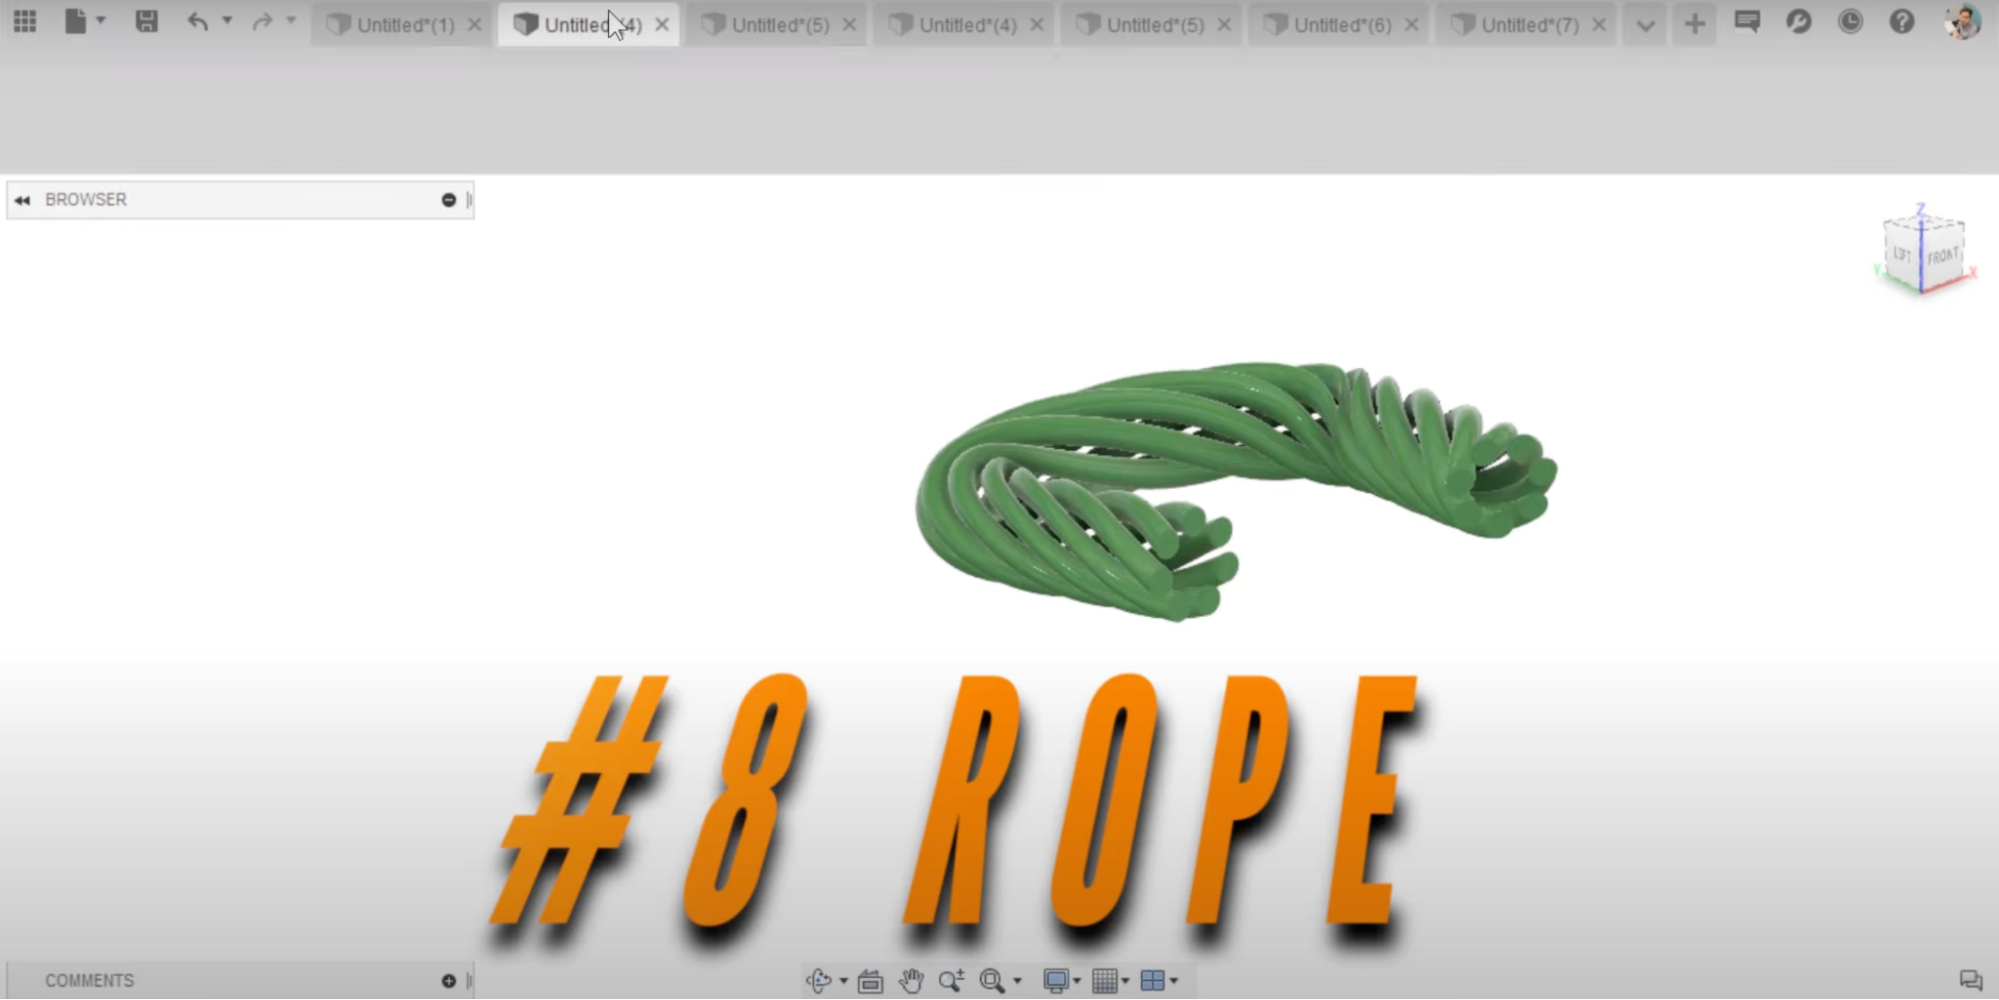
With this tool, you can create a sweep that changes its location and space or it turns automatically. This uses the option in the sweep command called taper angle and twist angle which you can see in the photo below.
Note: If you do not see this option, your orientation is likely set to parallel and it needs to be set to perpendicular.
Angle/Taper
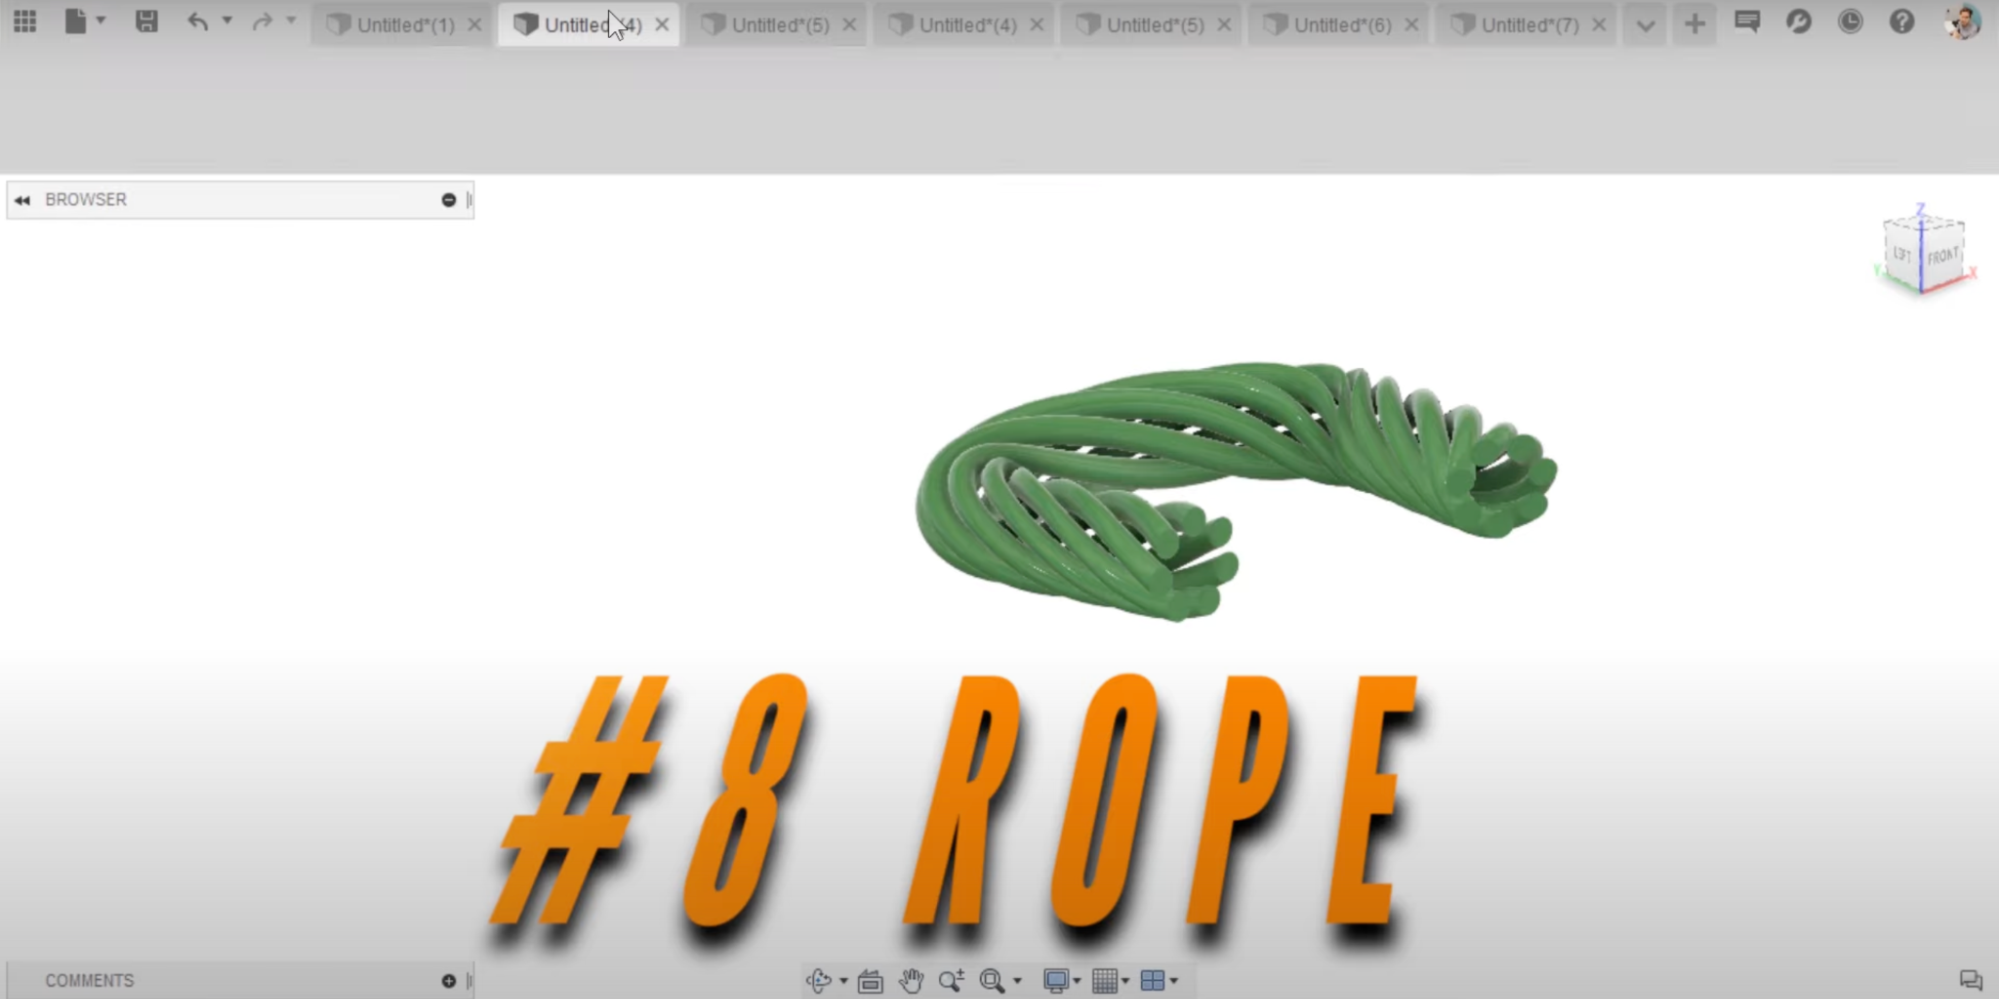
With this tool, you can adjust your sweep with the twist angle where you can choose how much it revolves around the path.
All I have is a circle following a path which is set off to the side.
If we introduce a twist, I’ll use 180 degrees, throughout the path, it will go around in a 360-degree arc. If we say 360, it will make a full 360-degree turn around the path line. This is how we can solve something like a rope.
The first thing we’ll do is come to sketch our profile, and I’m going to do some circles. They will all need to be in the same sketch, I will be using a circular sketch pattern. Add your object and center point, I’ll be doing six of these.
Now I’ll come to the other plane and we’ll start a sketch to do our rope. Hit the green check for the spline to finish- you could also use lines and curves too. What we want to do now is to sweep along this path. Go to the sweep command, and what makes this different is that you want to select multiple profiles, so I’m holding the CTRL key and selecting these.
Now, you have the rope that it’s solving, but not the twist. We’ll add the twist and go to 40 degrees (which may take a minute as it’s solving multiple profiles)
Custom Plane
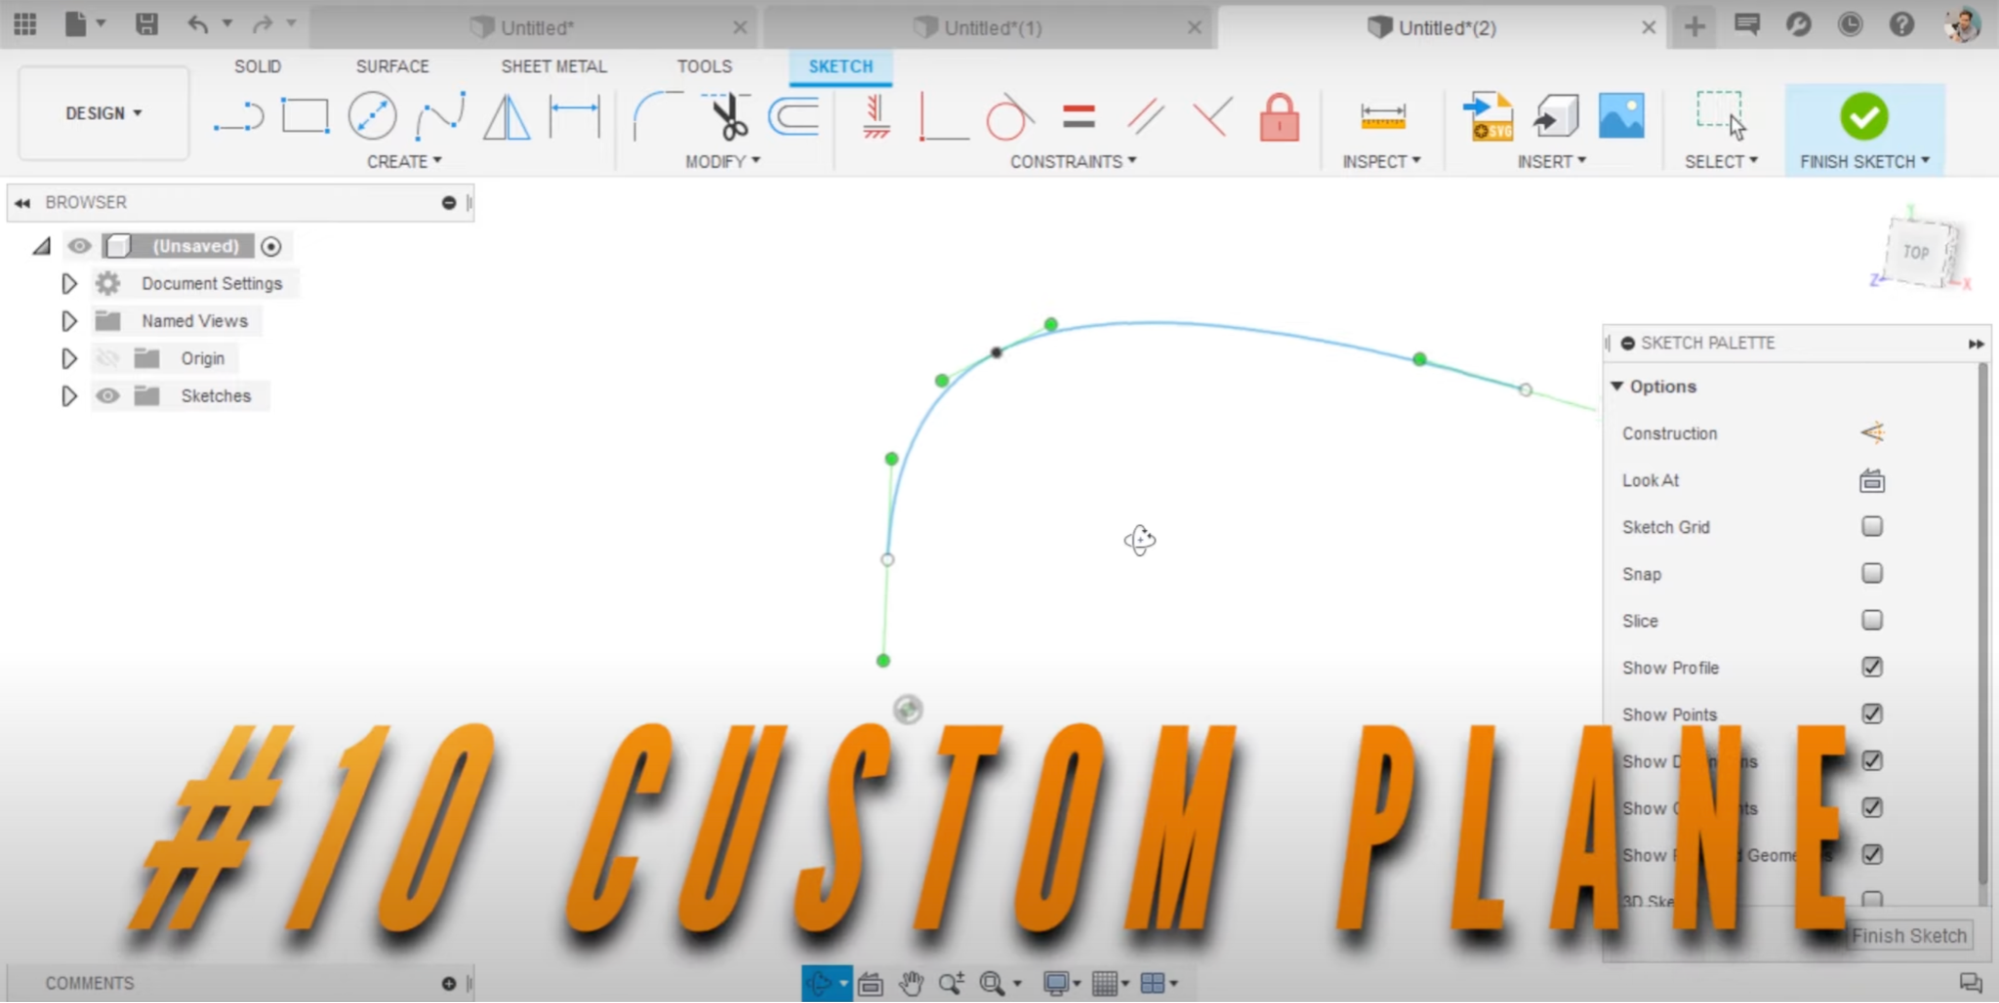
You can create a plane along the path and place the plane wherever you would like, um, on a path and then use the sweep accordingly.
If you have a path out in space without any normal reference planes, it’s easy to create one. Go to construction planes and find ‘point along the path’, select the endpoint and drag or place it there. Now we start a sketch of the profile on this plane and now we can sweep this profile along that path.
Conclusion
I hope that these top ten tips on how to use sweeps in Fusion 360 have been helpful.
