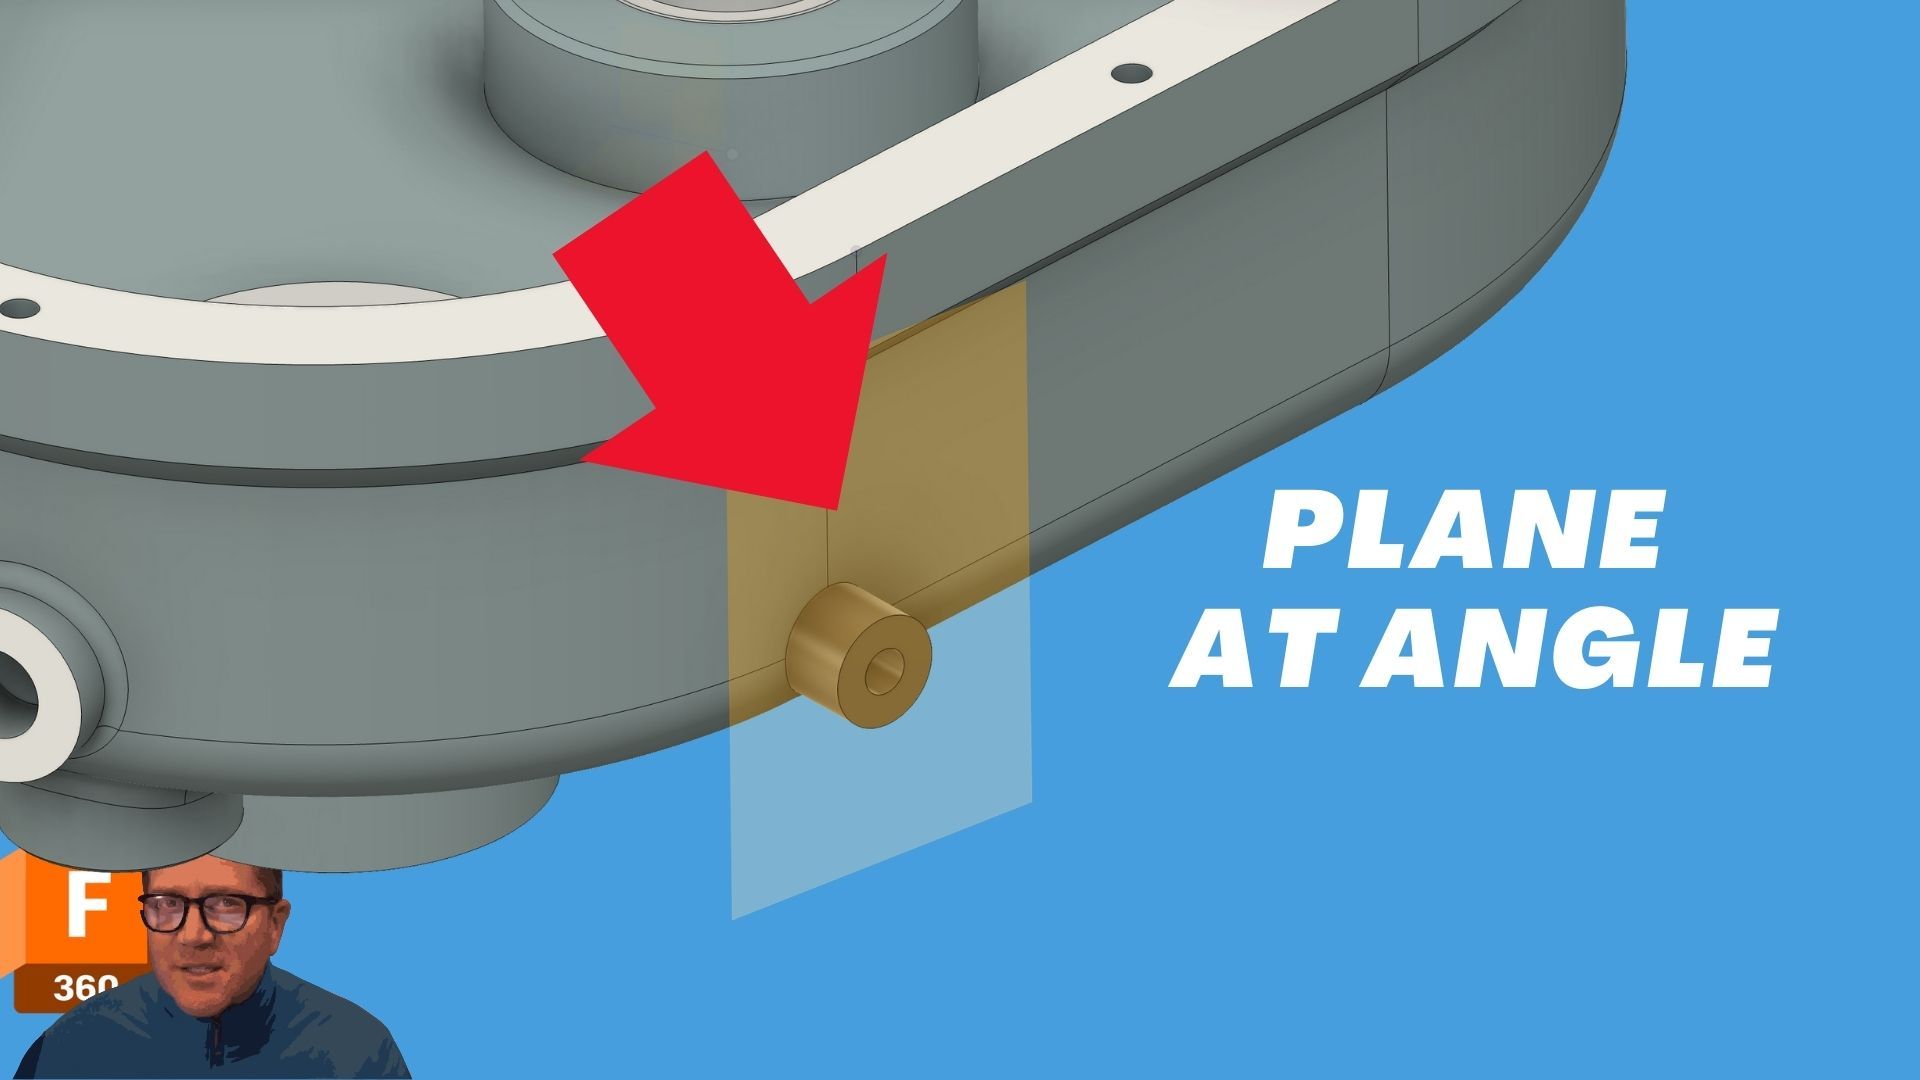
How to Create an Angled Plane in Fusion 360: Step-by-Step Guide
Apr 28, 2025Table of Contents
- Introduction: Why Create Angled Planes?
- Using Plane at Angle Tool
- Creating an Angled Plane Off an Edge
- Sketching and Rotating for Custom Angles
- Extruding to Uneven Surfaces
- Pro Tips for Working with Planes
- Conclusion: Build Smarter with Angled Planes
- Key Takeaways
Introduction: Why Create Angled Planes?
When working in Fusion 360, sometimes the standard XY, YZ, or XZ planes just won't cut it. You may need a custom plane at an angle to create precise cuts, extrusions, or designs on tilted surfaces.
In this guide, you'll learn how to quickly create angled planes based on existing geometry, rotate planes for custom positioning, and extend your models intelligently to complex surfaces.
Using Plane at Angle Tool
The Plane at Angle tool lets you create an angled construction plane based on an existing edge, axis, or line.
- Find it under: Construct > Plane at Angle
- How it works: Select an axis or edge, then use a slider or type an exact angle value.
- Perfect for: Sketching features that need to align with a slanted or rotated part of your design.
💡 Pro Tip: You can create multiple angled planes in a series if you need more complex setups.
Creating an Angled Plane Off an Edge
You’re not limited to axes—you can also create an angled plane off any existing model edge.
- Step 1: Select an edge of a part.
- Step 2: Choose Plane at Angle, rotate it to the needed degree, and place it.
- Reminder: Planes are infinite, even if they look small—drag the edges bigger if needed for easier sketching.
💡 Tip: New planes are automatically saved in the Construction Geometry folder, keeping your design organized.
Sketching and Rotating for Custom Angles
Need more control? You can build a custom angled plane in steps:
- Create a plane off a standard face (e.g., XY plane) and move it out into space.
- Start a sketch and draw a vertical line where you want the rotation to happen.
- Use Plane at Angle again, using the new sketched line as your rotation axis.
💡 Pro Tip: Use the V key to quickly toggle visibility on and off for construction geometry and sketches.
Extruding to Uneven Surfaces
When you're ready to create 3D features from your new plane:
- Sketch a shape (like a circle) on your angled plane.
- Extrude using “To Object” under the extent options.
- Select uneven faces and turn on Extend Faces if needed—Fusion will solve the extrusion around complex bends.
💡 Pro Tip: This approach is powerful when you’re designing parts that must wrap or fit onto existing geometry.
Pro Tips for Working with Planes
- Use sliders for quick angles but type exact values for precision work.
- Sketch vertical lines when you need custom rotation points.
- Organize construction geometry to keep your model clean and editable.
- Use V shortcut to show/hide planes, sketches, and bodies instantly.
Conclusion: Build Smarter with Angled Planes
Learning how to create angled planes gives you more flexibility and control in Fusion 360. Whether you're designing complex mechanical parts, architectural components, or artistic surfaces, angled planes help you build smarter, faster, and with more precision.
With just a few clicks, you can create custom sketches, rotate geometry, and extrude features onto any surface, no matter how complex!
Key Takeaways
- ✔ Plane at Angle lets you sketch anywhere you need.
- ✔ Use edges and model lines to create custom angles.
- ✔ Sketch and rotate for precision placement.
- ✔ Extrude to uneven surfaces using the To Object option.
- ✔ Stay organized with construction geometry folders.
Want more Fusion 360 tips? Check out my Fusion 360 Sketch Guide for even faster, cleaner designs! 🚀

