
Fusion 360 Revolve, Shell, Project and Pattern
Jun 18, 2020
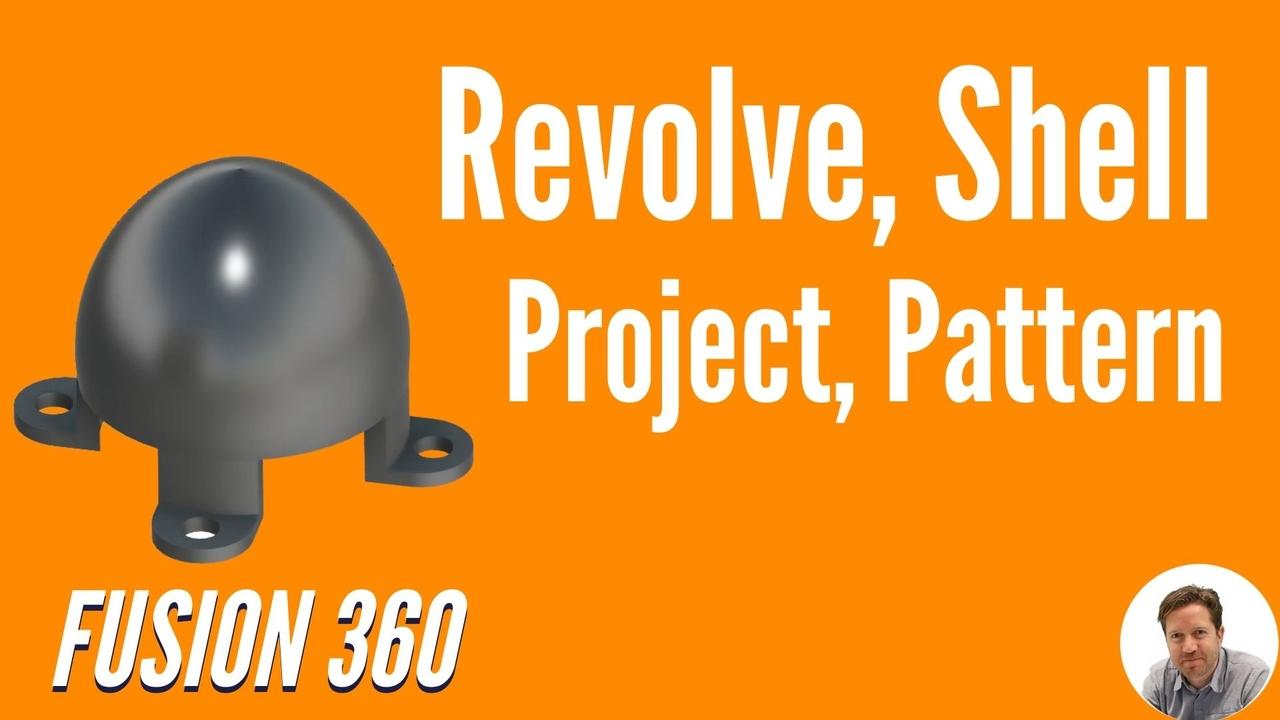
At the end of this tutorial, you're going to be able to create this revolved part, these extensions, these lugs holes, patterning shelling, all of that's covered coming up.
Hey, Tyler Beck with tech and espresso today, we're going to be building this part. So let's get started. Okay. Starting a new brand new part by hitting this, I'm going to hit the plus sign and start a brand new file.
(00:29):
First thing I'm going to do is make sure my units are set to what I want to work in. Whether it's inches or millimeters, I'm working in millimeters for this part, I actually don't have the dimensions. I'm going to kind of build this one from scratch. So good practice for that. We're going to go to the front plane and start a sketch, and we'll be working in the design toolbar. Ms. Start by sketching. A line. First thing we want to do is sketch a rough shape that we're going to spend 360 degrees. So I do align in a line connecting to the origin because that's where everything needs to relate to in order to be defined as well as my planes, my three points will stay in the middle here. If I, if I use my origin correctly, type in S for search and look for the arc command three point arc.
(01:18):
It's like that point and that point, the dragon, and just a rough shape. If you want to do the same dimensions, we'll do 40 by 70, a radius of one 25. Great. And so we can adjust these by double clicking, changing them, no cooking. Awesome. Okay. So now what we want to do is make around part a tip in S for search revolve. I'm going to evolve that this profile, and I'm going to revolve around this axis. It's going to go around 360 degrees it, okay. Now, if I don't like this at any time, come down to the timeline, find the sketch, find the evolve, right? Click on either one to edit, right, click on the sketch and choose edit, sketch, come back in, make any necessary changes. I want to go down to a hundred just because we're here. Okay. So we've got the revolve done. Now, how do we hollow this out?
(02:22):
That's called the shell command type S for search shell. I'm going to shell this entire body, and I'm also going to remove this face. Let's go to the bodies, select body from the browser type in the thickness. One millimeter hit, okay, what's going to happen. It's actually been hollowed out on the inside. So let's edit that shell. And what I want to do is select the bottom face. Okay? So we're doing this body, but I'm gonna do this face. It removes that face and hollows the rest, and we can adjust the thickness. I'm gonna do a five millimeter thickness. There we go. This, uh, sketch is still showing up. I'm going to come over to my browser, find the sketch at the visual eyeball and that hides. It can also hit V on the keyboard.
(03:15):
Okay. So the next thing let's do those lugs. We're only gonna do one, and then we're going to pattern it. We'll look at the bottom view, start a sketch on this face. And this is where it gets kind of interesting. You actually don't have to sketch everything. So if I come in and I just do a rough rectangle, go to line, sketch a line from the center, going up, it's connected, make sure the lines going vertical, select it, hit vertical on the constraint, and I'm going to select this and hit X on the keyboard. So it goes to construction. So it's just more of a reference. And I'd like to I'll select the line, hold control or command. It's like the other line, select the construction line. Those three things, symmetric is highlighted, hit that, and it's going to move it over. Yay. Okay. So what's happening here.
(04:08):
It is sensitive to the order in which you pick. Okay. So how do we do it? These two lines about this construction line. There we go. So we'll do that construction line last, and you can see it stays symmetric about that shape. Awesome. So I'm going to do a width for this rectangle of 20, and the height is not as important as long as it's bigger and stretches over this face. That's really what I'm concerned about for now, because we're going to use that as a reference. Okay. It's fully defined, locked in, but notice how it now highlights this profile that I can use. So I'm going to do is just select it, hit extrude on the keyboard or E bring this down 15 and hit join. Okay. So it, it just extruded that lug that's awesome. And same thing. I'm now going to extend the foot on that sketch on that face, sketch a line out, do go to an arc.
(05:12):
This is a tangent arc. And how do you do that? If you haven't seen that before? In my other videos, you can do line. And then as you're about to sketch the second line drag out from the corner and it places a tangent arc, it's a nice little shortcut, or you can of course just find it right on the search tool search for arc tangent arc. Nice. Okay. So I didn't even complete that, but we can still use it. It's pretty awesome. So we'll hit extrude and select all three shapes, extrude down. Let's do about a five millimeter little foot and join it. And there we go. We've got our lug pretty cool with the foot. Now we also maybe want to do a whole, so we'll start a sketch that face drop in a circle. I'm gonna do a dimension diameter of 10. I'm gonna extrude it all the way through. Okay. That wasn't intelligent on my, I just dragged it so we could make sure it always goes all the way through and do this through all selection. Now it's more intelligent. We'll always update on a hide. These sketches, great. Hit the own home key. And now we can see this a little better.
(06:30):
I like to pattern this. So I'm going to type in search S for search pattern. It's a circular pattern. We're patterning some features in this case, we're going to pattern the lug extrude and the hole and the foot. So it's three different features around what axis you could select this axis in the middle or this round edge, both work. How many do we want? We want for total feet, including the original hit. Okay. Does adjust solve? It looks like a solves. Great. Terrific. So if you're looking for other tutorials as a beginner to get started, or you'd like to check out my 23 things that beginners should learn, check these out, I'll see you in the next video.
