
How to Use the Silhouette Split Tool in Fusion 360
Apr 16, 2025Intro: A Smarter Way to Split Your Design
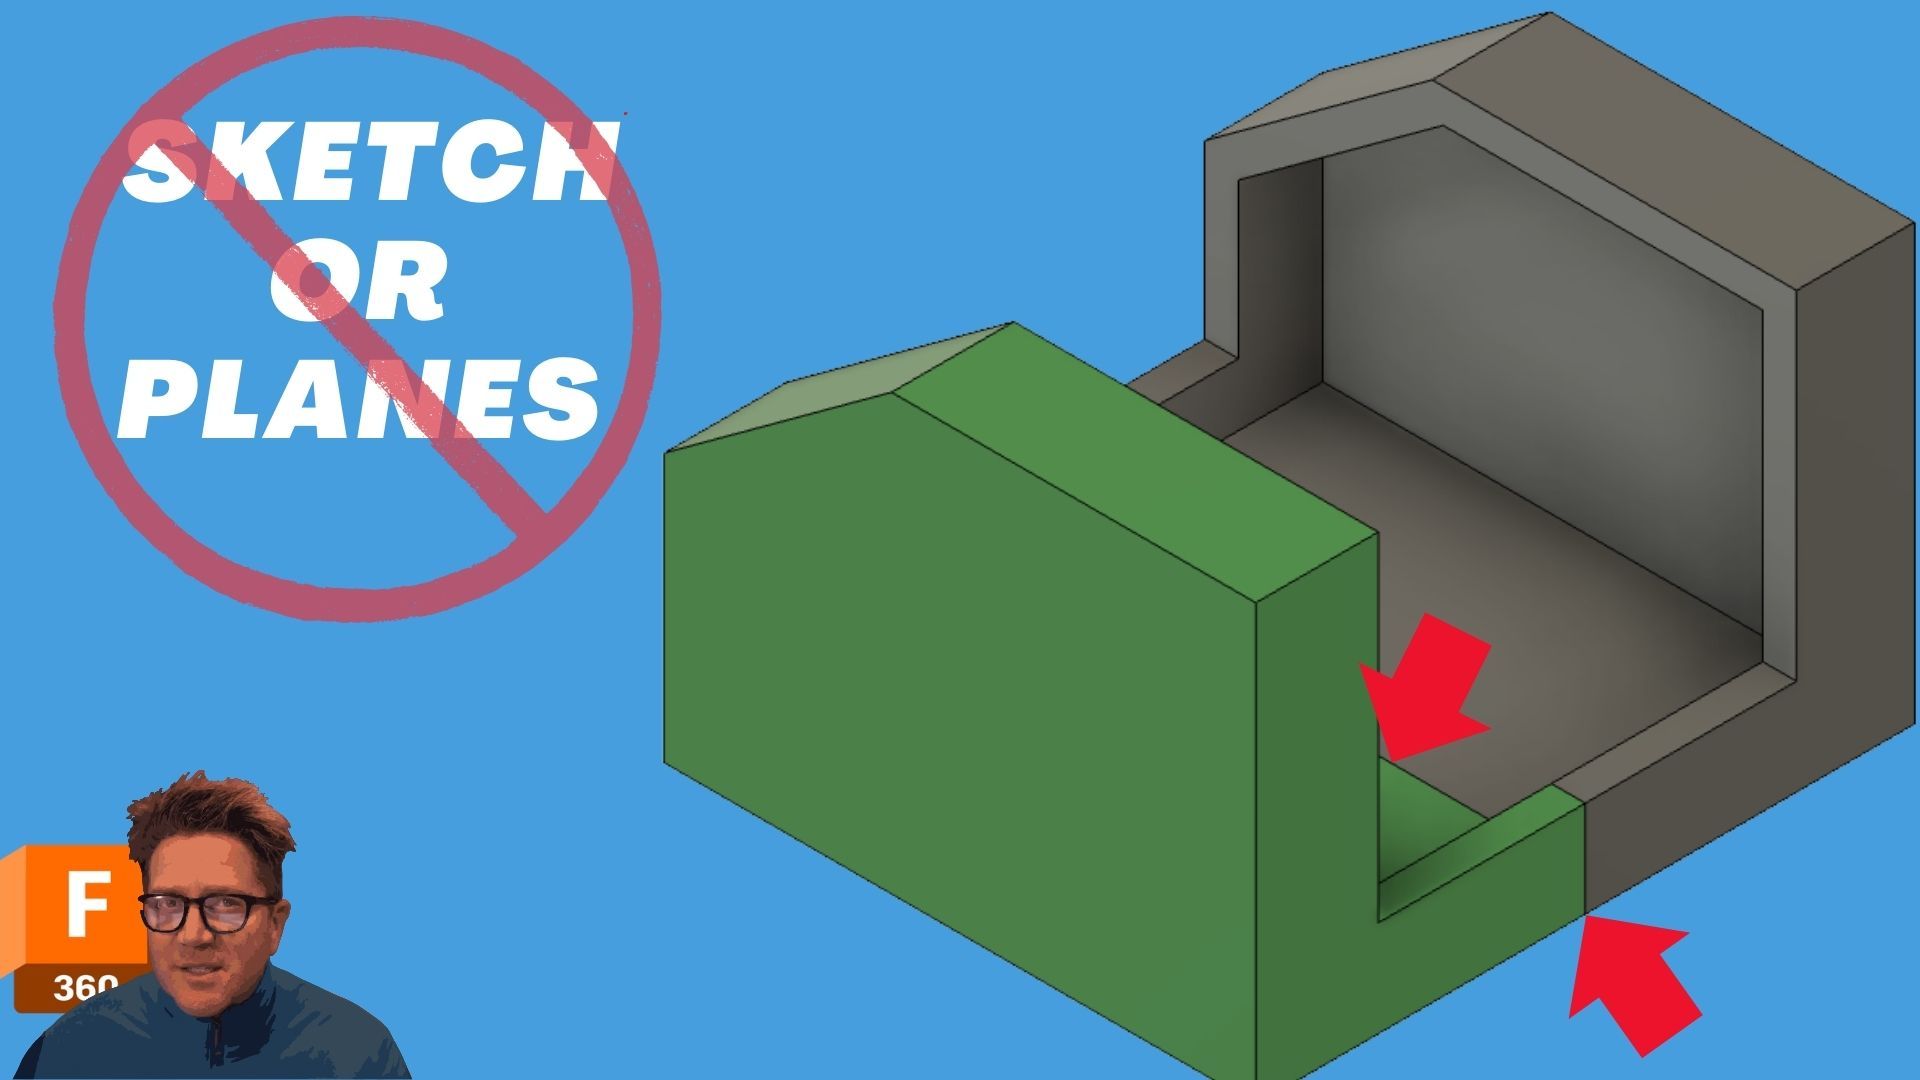
Ever needed to split a body or face without the hassle of creating a new plane or sketch? The Silhouette Split tool in Fusion 360 can help you do just that. This tool automatically identifies the widest locations of your geometry based on a view direction and inserts parting lines — ideal for mold design, CAM, or simulation setups.
In this lesson, you’ll learn:
- What the Silhouette Split tool is
- How it compares to Split Body and Split Face
- How to choose the correct view direction
- Why it sometimes fails to solve
- Key limitations and when to use alternatives
Table of Contents
- What is Silhouette Split?
- Understanding How It Works
- View Direction and Widest Points
- Real-World Examples
- Split Body vs Split Face vs Silhouette Split
- Tool Limitations
- When to Use Split Face Instead
- Final Thoughts
- Watch the Full Video
What is Silhouette Split?
Silhouette Split is an automated tool in the Modify dropdown in Fusion 360. Unlike traditional split tools, it doesn’t require manually positioned planes or sketches. Instead, it analyzes your model from a selected view direction and places a split at the widest silhouette curves it can detect.
Understanding How It Works
Once you open the Silhouette Split command:
- Select a View Direction – This could be a face, axis, or plane.
- Select the Target Body – The model you want to split.
- Choose Split Body or Split Face – Based on whether you want to create separate parts or just visual regions.
Fusion will calculate the silhouette by looking at the outermost profiles from your chosen direction and split accordingly.
View Direction and Widest Points
To understand what Fusion is calculating, it helps to run a Section Analysis. This lets you preview where the silhouette curves will be generated — usually at the widest points as seen from your selected view.
Real-World Examples
- A simple cylinder viewed from the top will split down its diameter.
- A tapered shape may only have one wide side — Fusion won’t split it unless it finds a second side to balance.
- A curved model with co-planar faces can split successfully.
- A complex body with non-planar faces will cause the tool to fail when trying to split bodies, but it may still work using Split Face.
Split Body vs Split Face vs Silhouette Split
| Feature | Split Body | Split Face | Silhouette Split |
|---|---|---|---|
| Creates separate bodies | ✅ | ❌ | ✅ (if Split Body selected) |
| Keeps model intact | ❌ | ✅ | ✅ (if Split Face selected) |
| Requires sketch or plane | ✅ | ✅ | ❌ |
| Best for | Cutting parts | Selections, aesthetics | Automated splits |
| Handles curved surfaces | ✅ | ✅ | ⚠️ Limited |
Tool Limitations
- The tool struggles with non-coplanar surfaces when splitting bodies.
- Works best with simpler geometry or when using Split Face.
- Doesn’t allow you to place the parting line exactly — it’s automated only.
When to Use Split Face Instead
If Silhouette Split fails or doesn’t give the desired results:
- Try using Split Face with the same view direction.
- It allows you to split a surface visually without dividing the model into multiple bodies.
- Perfect for creating selectable zones</strong
Watch the full video here:
🔗 Suggested External Links (Fusion 360 Help)
📌 Core Tools and Concepts
Transcript is here: https://www.techandespresso.com/blog/fusion-360-silhouette-split-transcript
