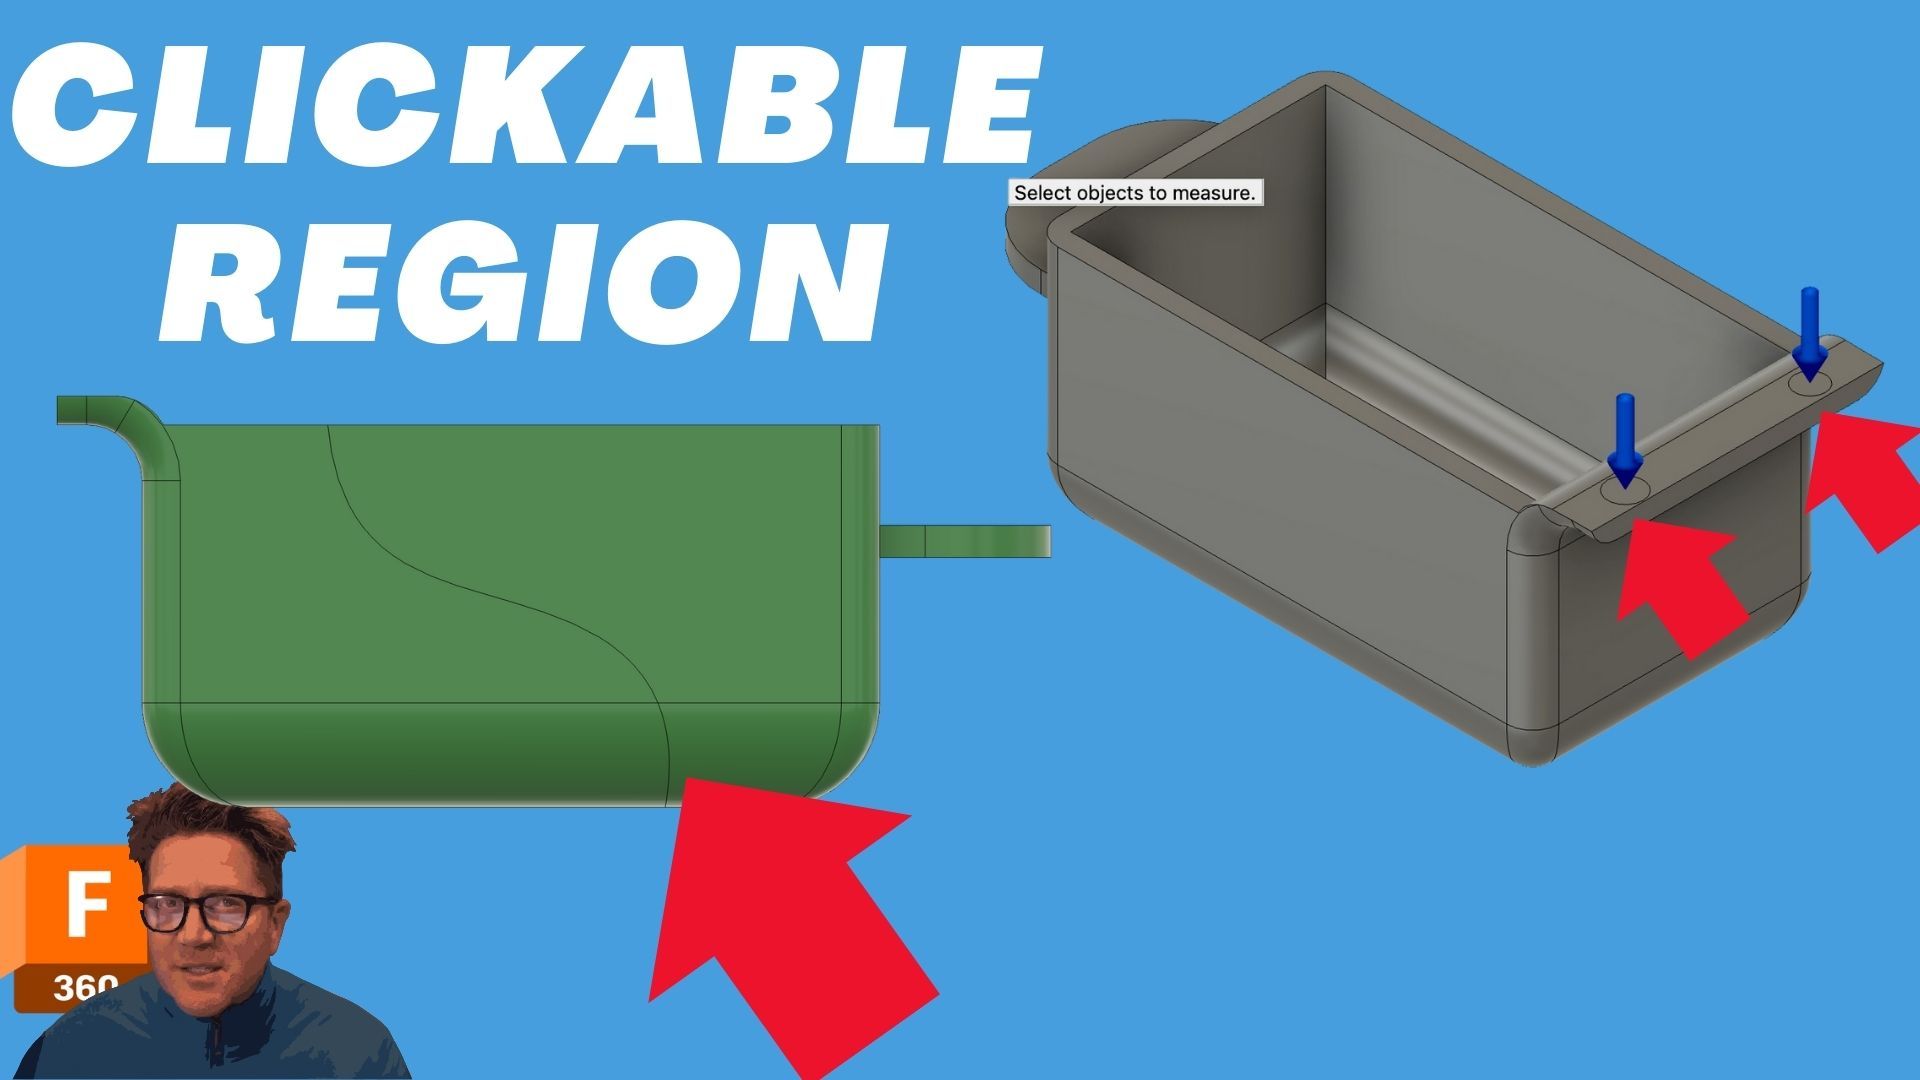
How to Use the Split Face Tool in Fusion 360
Apr 15, 2025The Split Face tool in Fusion 360 allows you to divide a face into separate regions without altering the underlying solid body. This can be incredibly useful for surface modeling, simulation studies, and precise feature control. In this lesson, we’ll walk through what it does, how to use it, and the differences between its key options.
Why Use Split Face?
Split Face is great for localizing specific areas of a model without breaking it into separate bodies. Unlike the Split Body tool—which is more destructive and separates your model into distinct entities—Split Face is more aesthetic in nature. It adds selection boundaries that can be used later for operations like extrude, cut, or simulation setup.
Split Body vs. Split Face
To clarify the difference:
-
Split Body physically divides a solid body into multiple pieces. You can move, modify, or assign features to each part independently.
-
Split Face does not divide the body. Instead, it creates segmented faces that can be selected independently, which is helpful for targeted modifications or simulation loads.
Example: When you use Split Body with a midplane, the result is two distinct bodies that can be moved separately. But if your goal is just to apply a fillet, load, or visual variation to a specific area, Split Face is often the better tool.
Getting Started with Split Face
To access the Split Face tool:
-
Press S and type "Split Face" in the search bar, or
-
Go to Modify > Split Face in the toolbar.
Method 1: Splitting with a Sketch
-
Start by creating a sketch with any shape (e.g., a circle).
-
Finish the sketch.
-
Open the Split Face tool.
-
Select the face to split.
-
Select the sketch as the splitting tool.
-
(Optional) Enable Extend Splitting Tool—though it's not always necessary.
Once applied, the original face will now have multiple selectable regions. If you inspect the model with Section Analysis, you’ll notice that the body remains intact.
Using Split Face on Surface Bodies
The Split Face tool behaves similarly on surface bodies. You still have a single surface body, but the face is divided into separate regions. These can be used to:
-
Apply local operations
-
Trim outer surfaces using the Delete key
-
Prepare surfaces for complex modeling or simulation
Application in Simulation
In simulation studies, Split Face is extremely useful for applying forces or constraints to precise areas.
For example, if you split a face into two circular regions, you can apply different loads or boundary conditions to each region independently. This improves accuracy and control over your study setup.
Visualizing Split Surfaces
When using a sketch to split a face, think of the sketch as being extruded into a surface. That surface is then used as the splitting tool. You can even test this by:
-
Extruding the sketch as a Surface.
-
Using the extruded surface as the splitting tool.
-
Hiding the surface body to see the clean result.
Advanced Option: Split Face Along Vector
The Along Vector split type isn’t very intuitive and is lightly documented, but it can be powerful.
How it Works:
-
Select the face to split.
-
Choose the splitting sketch (e.g., a circle).
-
Use an axis, edge, or plane to define the vector direction.
This changes how the split intersects the selected face, which might differ from what you expect at first glance. Adjusting your view orientation can help you better visualize where and how the split will occur.
Advanced Option: Split Face Using Closest Point
Another split type is Closest Point, which behaves differently from a standard projection:
-
Instead of projecting from the sketch’s plane direction, it finds the nearest intersection between the sketch and the target face.
-
This can result in a lower or more vertical split region compared to an extruded sketch surface.
By comparing the outcomes of extruded vs. closest point, you can better choose which one suits your modeling needs.
Final Thoughts
Split Face is a powerful and non-destructive tool for detailed modeling, preparation for simulation, and aesthetic design adjustments. It complements the Split Body tool and offers more control in many scenarios.
If you haven’t already, check out the accompanying video on Split Body to better understand the differences and use cases. Mastering both tools will significantly improve your ability to create precise and complex models—especially useful in workflows like 3D printing and advanced design.

