
How to Create a Tangent Plane in Fusion 360 (Step-by-Step Tutorial)
Apr 29, 2025Table of Contents
- Introduction: Why Use a Tangent Plane?
- How to Create a Tangent Plane
- Controlling the Angle and Orientation
- Using Reference Planes for More Precision
- Pro Tips for Tangent Planes
- Conclusion: Simplify Complex Geometry
- Key Takeaways
- Expandable Easy-to-Read Transcript
Introduction: Why Use a Tangent Plane?
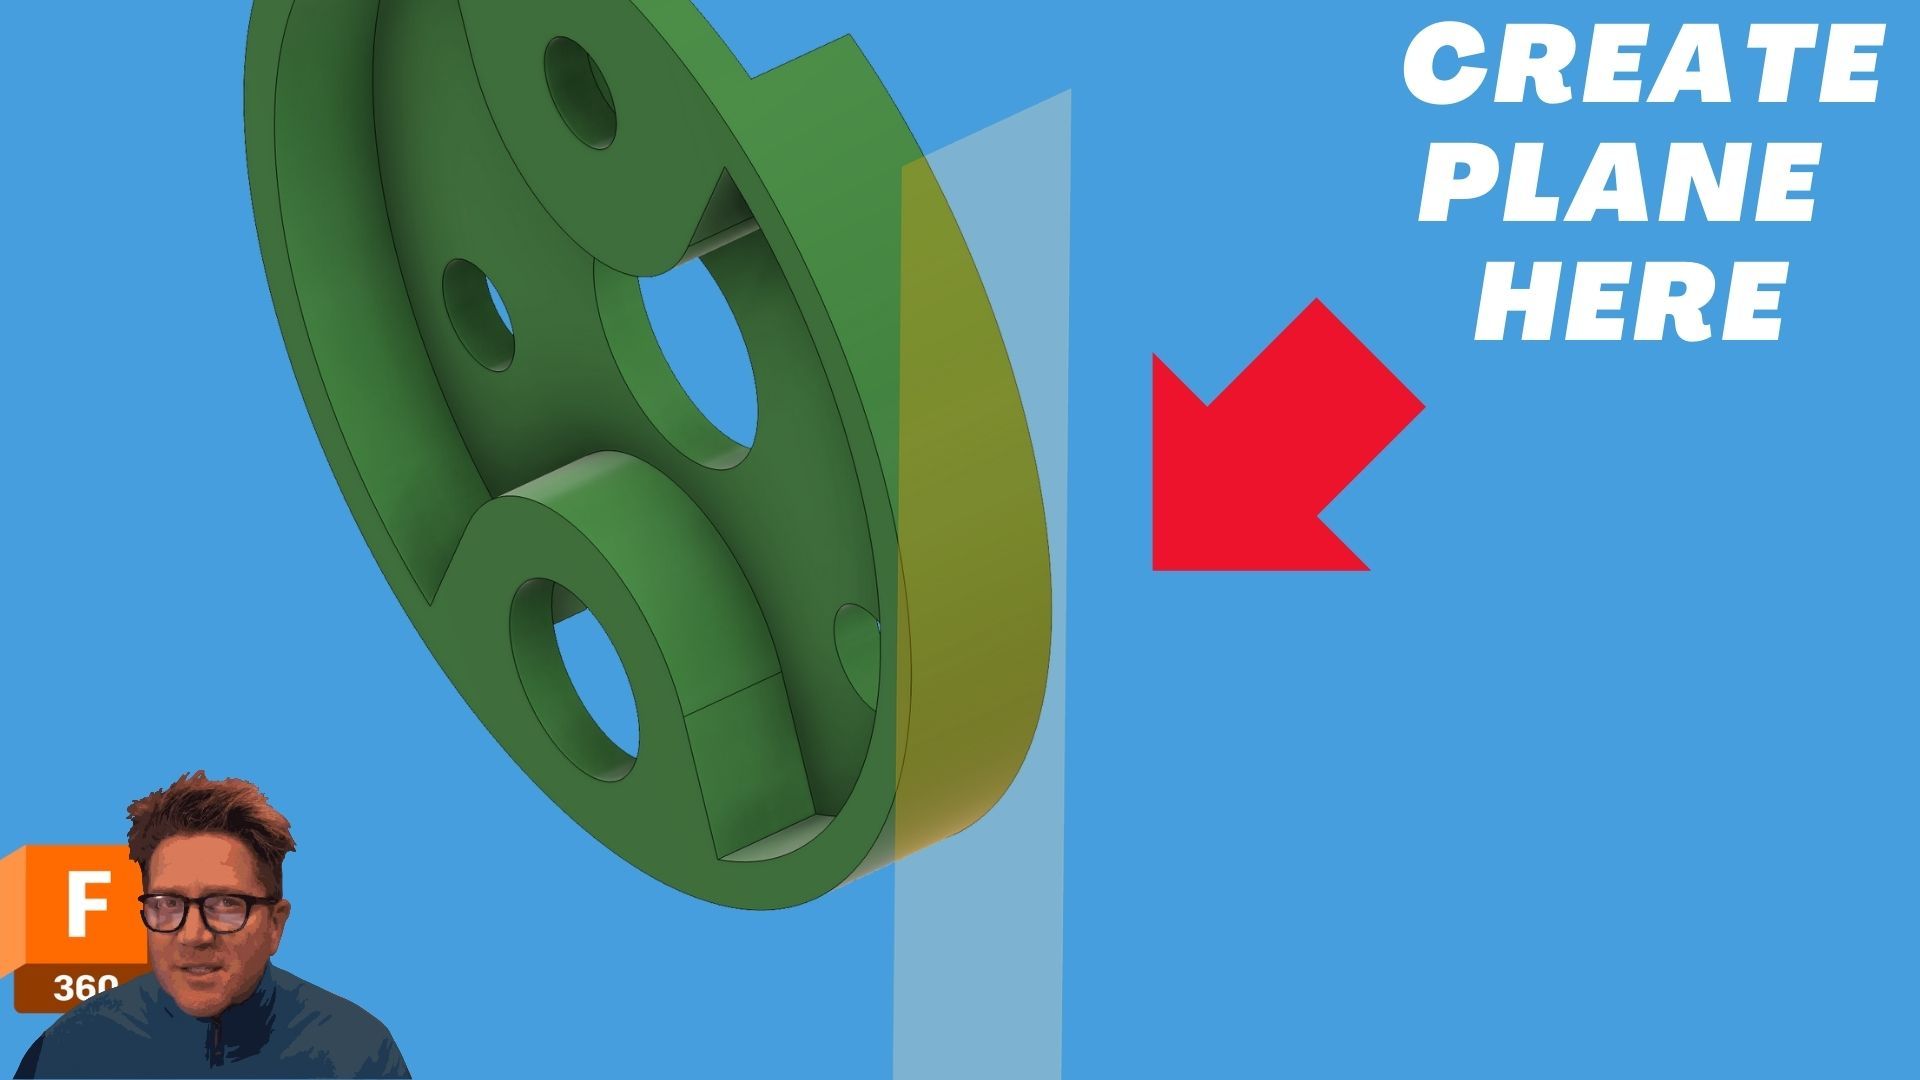
When designing in Fusion 360, you’ll often need to create a sketch plane right at the edge of a rounded or curved surface. That’s where the Tangent Plane tool becomes incredibly useful.
In this guide, you’ll learn how to set up a tangent plane, control its angle, and combine it with reference planes for even greater design precision.
How to Create a Tangent Plane
The Tangent Plane tool lets you create a plane that touches a cylindrical or conical face perfectly.
- Start a new sketch or edit an existing one.
- Go to Construct > Tangent Plane.
- Select a cylindrical or conical face to create a plane at the point where it touches the curve.
- Drag the plane using the slider to move it along the curve.
💡 Note: This tool won't work on shapes like a torus (ring design) — it must be cylindrical or conical.
Controlling the Angle and Orientation
You’re not locked into just one position!
- After selecting a face, you can slide to adjust the plane's position along the fillet or surface.
- Use a reference face to control the angle relative to another flat surface.
- Adjust the angle manually by typing values — use negative angles (like
-15°) to invert the plane orientation easily.
Using Reference Planes for More Precision
Sometimes you need a little more control:
- Step 1: Create a new plane at an angle using Construct > Plane at Angle based on an axis.
- Step 2: Use this new angled plane as a reference for your tangent plane.
- Result: The tangent plane now follows the direction and control of your custom angled plane, giving you more precision!
💡 Tip: Planes are infinite — you can drag their size larger anytime you need better visual control.
Pro Tips for Tangent Planes
- Planes are infinite — drag them larger for easier sketching.
- Use negative angles to quickly flip orientation.
- Stack reference planes if you need complex control over plane creation.
- Organize your planes — new planes appear in the Construction Folder automatically.
Conclusion: Simplify Complex Geometry
Tangent planes in Fusion 360 make it simple to sketch precisely on rounded or sloped surfaces.
By combining tangent planes with reference planes and smart angle adjustments, you’ll be able to create complex parts more easily — without having to guess or manually align everything.
Experiment with these tools and unlock faster, smarter designs!
Key Takeaways
- ✔ Tangent Planes work only with cylindrical or conical shapes.
- ✔ Use sliders and reference faces for better control.
- ✔ Negative angles invert plane orientation easily.
- ✔ Combine with angled planes for advanced precision.
- ✔ Drag and resize planes to make sketching easier.
Expandable Easy-to-Read Transcript
0:03 - Tangent plane in Fusion 360 is super handy. You can create a plane right at the end of a round object — basically at the point where it would touch this curve. 0:14 - Let's talk about some of the cool options and the limitations. What it cannot solve is something like this ring design. It must be cylindrical or conical. 0:25 - This cylinder is going to work great. Select it, then move the slider to place the angled plane where you want it. 0:32 - Working with a fillet? By default, the plane starts in the middle — slide it to move up or down along the fillet. 0:46 - Adding a reference plane: Select the top face as a reference and adjust the angle. Negative angles (like 1:14 - More control options: Select a cylindrical face. You can set the tangent plane at an angle relative to this surface. 1:28 - Using another reference plane: 1:55 - Reminder: Planes are infinite. You can always drag them larger for visualization. New planes appear under the Construction folder. 2:06 - Thanks for watching — see you in the next video!Click to expand the full video transcript (with timestamps)
-15°) flip the plane orientation.
Want even faster design tips? Check out my Fusion 360 Sketch Guide for even more time-saving tricks! 🚀
