
Fusion 360 Thin Wall Tool (New Thin Extrude)
Mar 10, 2022 
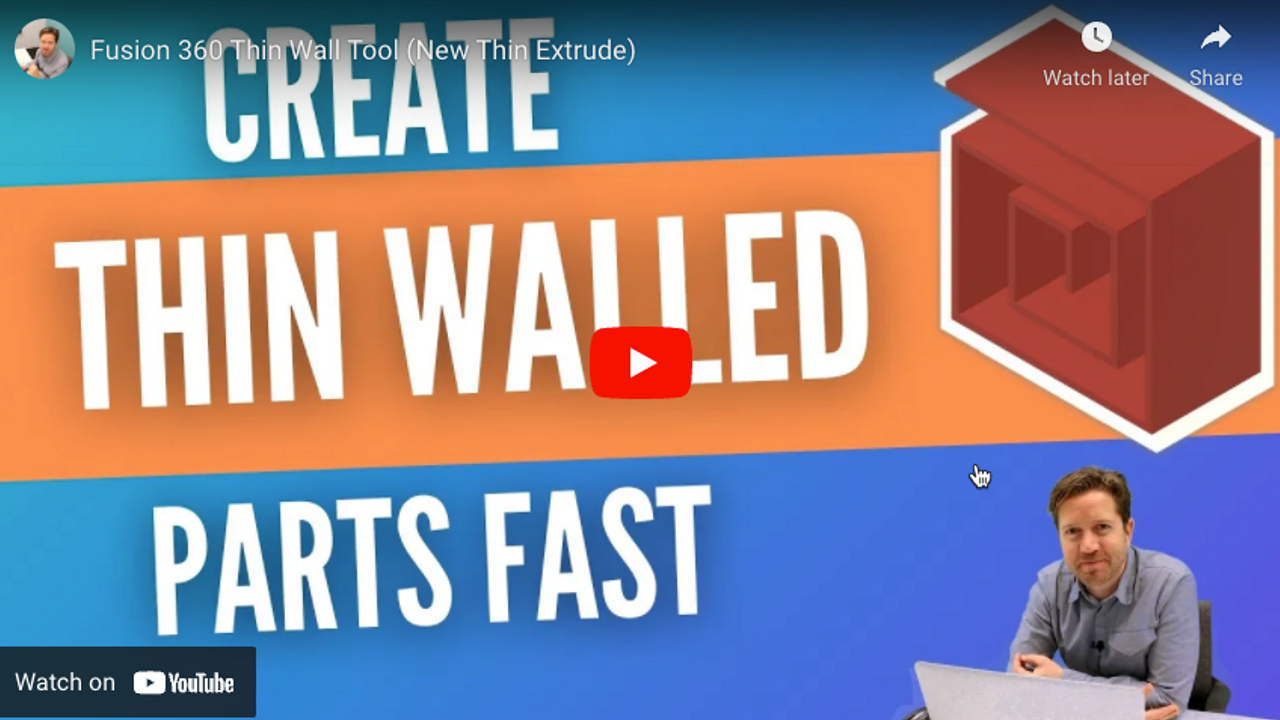
THIN EXTRUDE – FEATURE FOUND IN THE EXTRUDE COMMAND
This is helpful to create thin walled parts.
See the video transcript below and check out the video.
Transcript
Speaker 1 (00:00):
Hey, so how in fusion 360 with one feature, can you create these thin walled parts really quick? How could you create a drafted shelled object again, one feature coming up. Hey, this is Tyler Equitec and espresso. How do you create these thin parts? Super fast? Well, new infusion this year in 2021, they released a new feature called the thin feature. And if you go to your extrude, so I'm going to do a rectangle sketch, a simple rectangle and hit extrude. So I'll finish out the sketch and find my extrude can also hit E on the keyboard E for echo E for extrude. And as I drag this out, it's doing the normal extrude. Nothing's different here, but if we go up to our menu, you'll notice this little thin extrude button. I love this feature. This was something that's been in solid works for a long time.
Speaker 1 (00:57):
And I believe in Venter does this well. Also, but I love that you can create a thin walled part from a simple sketch can add thickness to the wall and even specify how it behaves. So let's look at this a little closer. What else can you achieve with this feature? Well, one, I love that it avoids having to even finish or close off the sketch. So if I was gonna maybe sketch and create this, you know, 3d shape that I want to print on my 3d printer and I kind of want to make something kind of fun, right? So normally it'd have to come back and make everything an offset or make a effectively finished this out, right? Add all the additional entities. But now with the extrude, I'm able to just select these entities. You do need to choose then extrude if it's not closed off.
Speaker 1 (01:53):
So choose that first. Now you'll notice you can select the sketch lines and drag it out. Now it has depth. And this is where you can start to add the depth. But then also, do you want to add a specified thickness? I want three millimeters and notice that the thickness or the wall thickness is being applied to the inside of this line. Is that what you wanted? Well, you do get to specify it in the direction of the wall location so I could do instead the other side, you can see it flips it or you can center it to where it's doing kind of half and half for that thickness specified. So probably one and a half millimeters per side, based on this three millimeter
Speaker 2 (02:38):
And one other cool thing that you can achieve
Speaker 1 (02:40):
With maybe doing a rectangle is not only can you do a thin feature, but you can also add taper angle so we can create a pretty complex shape here just by kind of playing with these settings. We'll go thin extrude, and then we'll add a taper angle and specify thickness hit. Okay. And we've got a pretty cool tapered object. That's been effectively shelled out with a uniform thickness. Pretty cool from one feature, you can create this. The bummer is fusion 360 has yet to add it to the revolve, which I love having that in the revolve. Look forward to that. Maybe hopefully in the future.
Speaker 2 (03:18):
Thanks for watching. Hey, if you guys are looking
Speaker 1 (03:21):
For a beginner tutorials for helping you to get started with fusion 360, check out this playlist that I created for you here. Also, if you haven't seen this video over here, that YouTube recommends for you. Check that out as well. Hit subscribe, hit those buttons for me. Let me know what you thought of this video. I'll see you in the next one.
