Easy-to-Read Transcript: How to Create a Plane at an Angle in Fusion 360
Apr 28, 2025Video: Watch on YouTube
Sometimes, you don't have an existing reference plane you can work from.
We'll come back to that example in just a second.
For now, let's go up to Construct and find Plane at Angle.
Creating an Angled Plane (0:10)
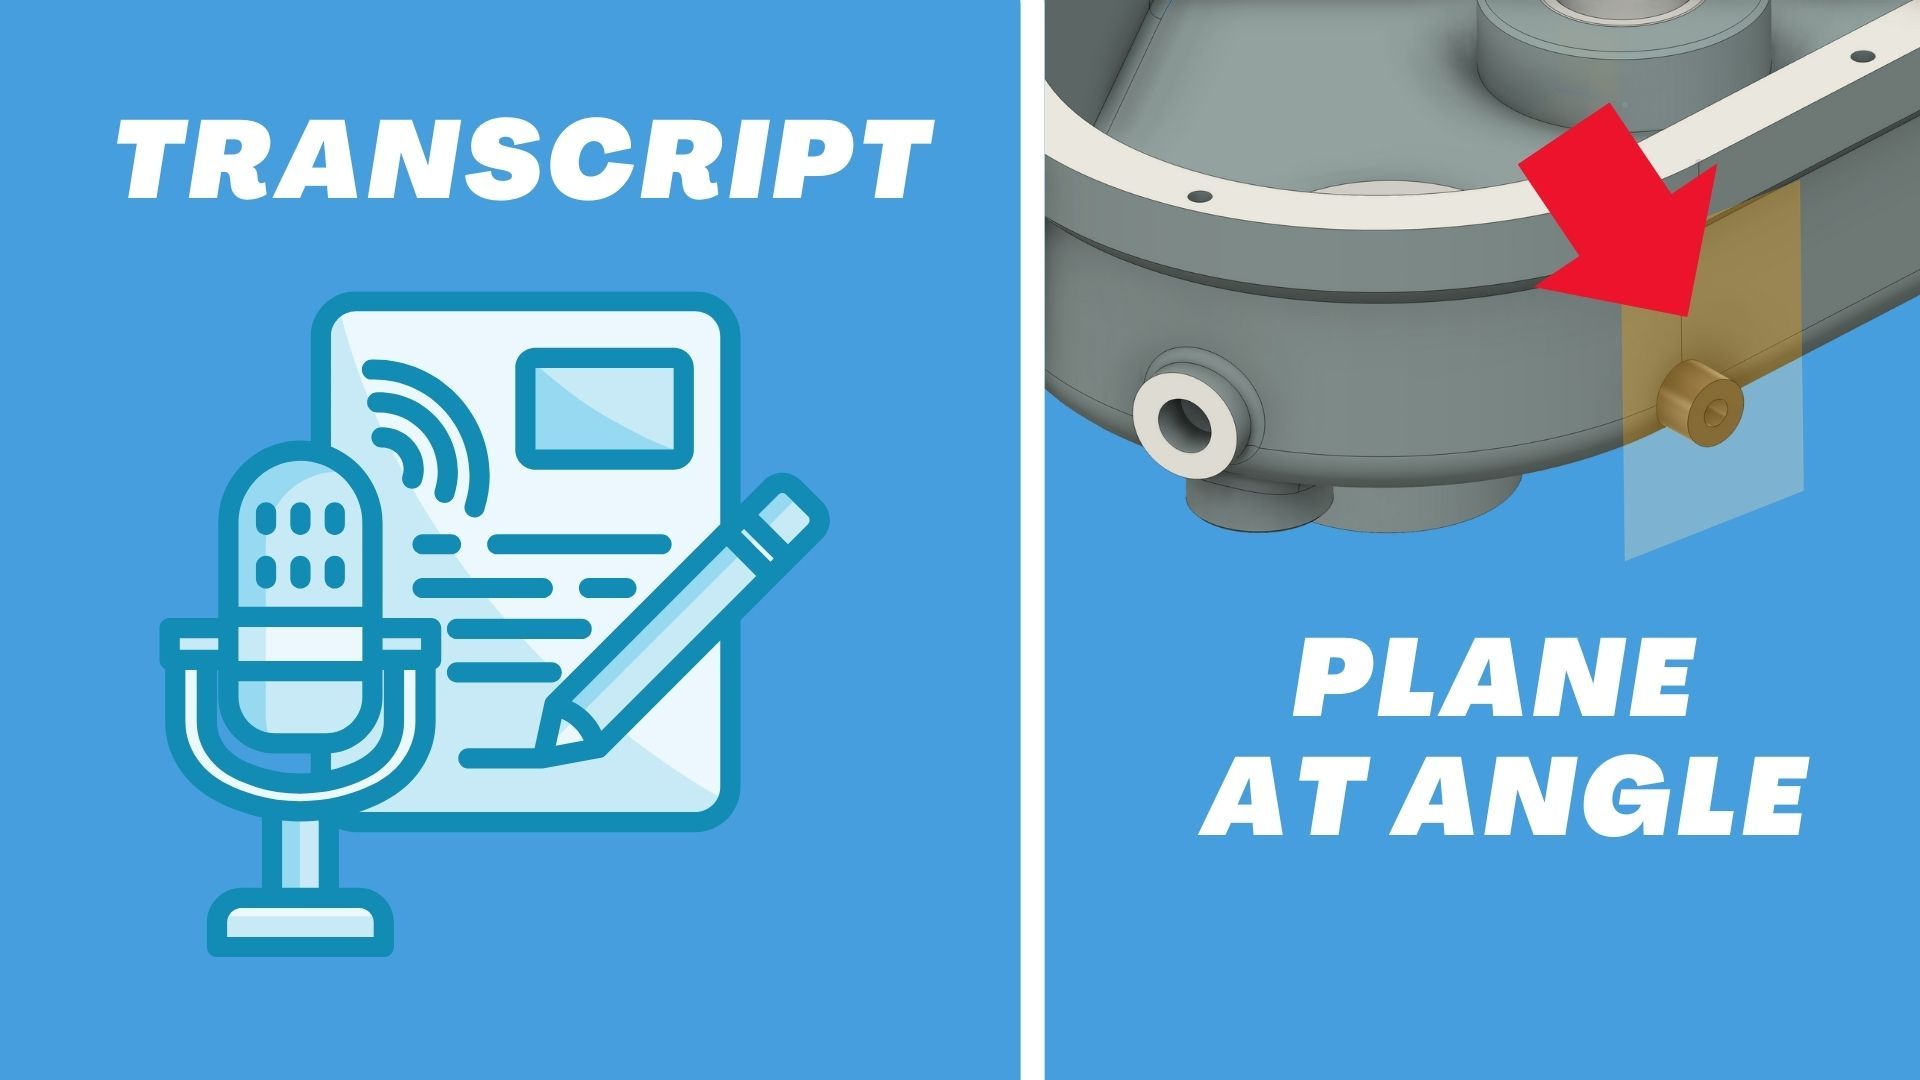
This lets you create an angled plane based on existing geometry.
You can select an axis, then turn the slider or type the value you want.
You can also use existing model edges — just select the edge, and then Plane at Angle will create a plane off of it.
Sometimes, you might need to create this in a series of steps.
Here's how:
- Select the XY plane.
- Drag it out into space to where you want it.
- Setting Up a Reference Plane (0:50)
Remember: planes are infinite!
You can drag them bigger if needed for visualization, but they're always infinite behind the scenes.
Once you have a plane off in space, you can start a sketch.
Draw a line where you'd like the rotation to happen — make sure it’s vertical!
Then use Plane at Angle again.
Rotating Your Plane (1:32)
Rotate the plane to the angle you need, click OK, and you’re ready to sketch on it!
Pro Tip:
Hit V to toggle visibility on and off dynamically — super handy for keeping your workspace clean.
Now you can create sketches like a circle at the perfect angle.
Extruding to Object (1:55)
If you're extruding up to uneven surfaces, remember to change the Extent Type to To Object.
Select your target face, and adjust to include adjacent faces.
This makes your extrusion solve cleanly around bends and slopes.
Thanks for watching — now you can create angled objects based on custom planes!
🎥 Rewatch the tutorial here.

